First, let’s let go of all excuses of why you take pictures on auto-mode instead of manual mode. Let me hear them…
- You’re too busy? Who isn’t!
- You aren’t artistic? I am in the medical field!
- It’s too hard? Have you read my easy explanations or camera settings?
- Your pictures look perfect in auto-mode? Now, I know that isn’t true!
Phew, doesn’t it feel good to get those off your chest?
Now, let’s get down to business!
Step One: Learn Your Camera Settings
I know, I know- I make that sound easy. It’s true that it does take time to learn and understand your camera settings; however, you won’t look back once you start to learn these settings.
Before you dive into trying to logic through shutter speed, aperture, and those other big words, let’s first understand what your camera is “seeing”.
Think of your camera as an EYE. It is constantly reading what is happening around you and changing. It adjusts based on light and movement. Like an eye, your camera is dynamic. Think of the settings on your camera like this:
- Aperture (or f stop) is your pupil. When there is a lot of light, it constricts to let in LESS light. When it is dark, it widens to let in more light.
- Shutter speed is your eyelids. If you blink fast, your eyes do not see a lot of movement. If your eyes are open for a long time, you will see a lot of movement around you.
Step Two: Practice Makes Perfect
If you aren’t willing to put in some practice, these settings will never truly make sense to you. You need to slug your camera bag over your shoulder, step out of your comfort zone, and try these settings out.
Test your limits! Try having your kid, dog, or subject move around and adjust your shutter speed. Or, play with your f-stop as you take pictures in bright sun or in a dark room.
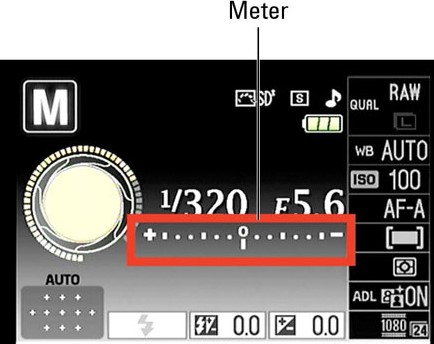
A magical camera setting that you should get comfortable with is your METER. Your camera will evaluate the settings you have selected and tell you if your picture will be underexposed (too dark) or overexposed (too light) on the meter. How fantastic is that?
When you click your camera trigger half way, your camera will evaluate the exposure based on your settings. If you look on your camera screen you will see your meter.
By looking at where it is marked, you will be able to determine if you need to further adjust a setting
If your picture is underexposed (dark), then you can lower your shutter speed, lower your F stop, or increase your ISO.
If your picture is overexposed (light), then you can increase your shutter speed, increase your F stop, or lower your ISO.
Step Three: Develop a Photography Flow
With a little bit of practice, manual mode will start to come easy to you. You will develop your own style. For example, when I walk into a room my mind thinks things like “how fast are my subjects moving?”, “how dark is the room?” – – and sometimes I don’t even have my camera on me (photographers, you feel me right!?).
I use a certain logic or workflow anytime I am photographing children. I am a little biased, but I have been using this ‘flow’ for over 10 years and it works fantastically!
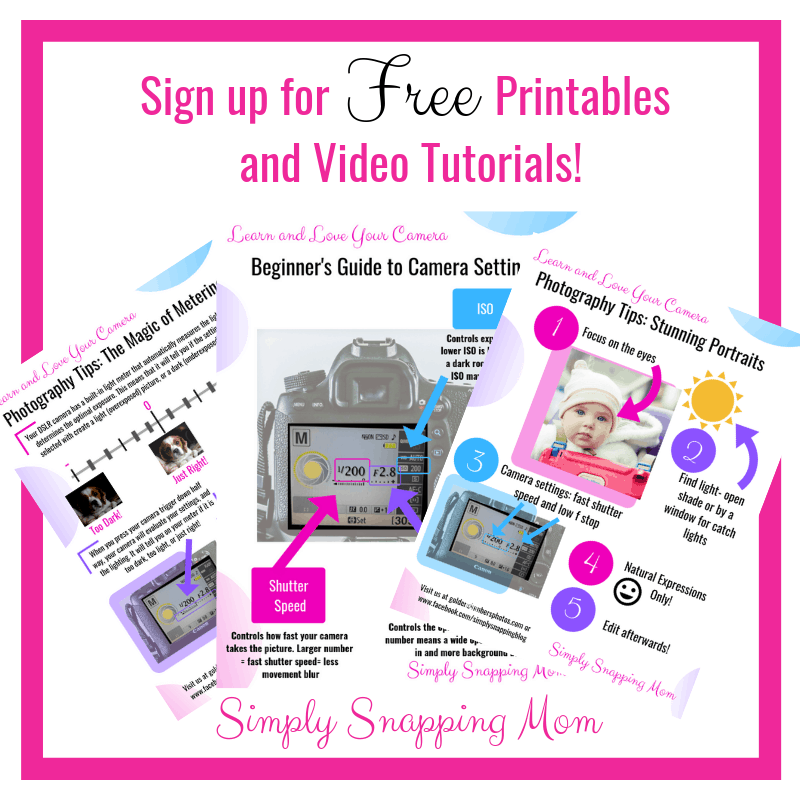
Join our community for access to my free guide on my photographing children – and all of my other freebies!
Summary
Time to follow these three steps and switch from auto-mode to manual mode. With a dash of knowledge, a pinch of practice, and a solid workflow, you have the perfect recipe for beautiful photographs!
Most importantly, have some fun with your portraits and start to enjoy this rewarding hobby!
I hope this made snapping a little more simple for you! If this was helpful, share it or follow me on Facebook!




Samantha | The Vegas Mom
Wednesday 6th of February 2019
I absolutely love this. I usually never use manual, but my husband always does. I love your little cheat sheet too. I need to start practicing in manual today.
admin
Thursday 7th of February 2019
Yes! Do it! Manual mode seems complex at first, but once you get the hang of it you will be shocked how much your photography will improve!
Lena Biggs
Friday 1st of February 2019
This is so cool! I took photography in high school and this explained things better than any class ever has.
Rachael
Friday 1st of February 2019
Love all the amazing advice you offer here! And your beautiful pictures prove that your tips work. My camera confuses the heck out of me but now I feel more confident!
Raluca
Friday 1st of February 2019
Taking photos on manual mode does need practice to make it better ;) Loved how you responded to the excuses :)) ;)