If you have had trouble getting great pictures indoors, then you are with the majority of new photographers.
If you even just think of your camera settings, getting sharp pictures in low light is a challenge. First, if you need help understanding the basic camera settings, I suggest you check out this super easy-to-follow tutorial for beginners.
if you have 2 minutes to spare, following these three simple tips will drastically improve your indoor photography.
Three Quick Indoor Photography Tips
These quick tips will give you brighter and sharper pictures instantly:
1) Find a window or door
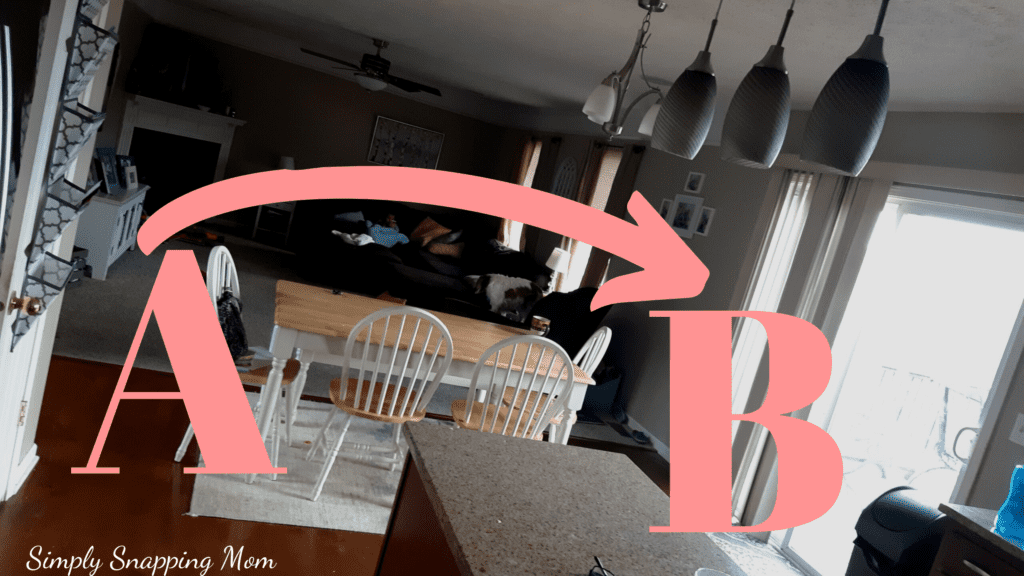
It sounds simple, but moving closer to the light streaming in a window or door will provide shocking results. Open those blinds and let the natural light shine in.
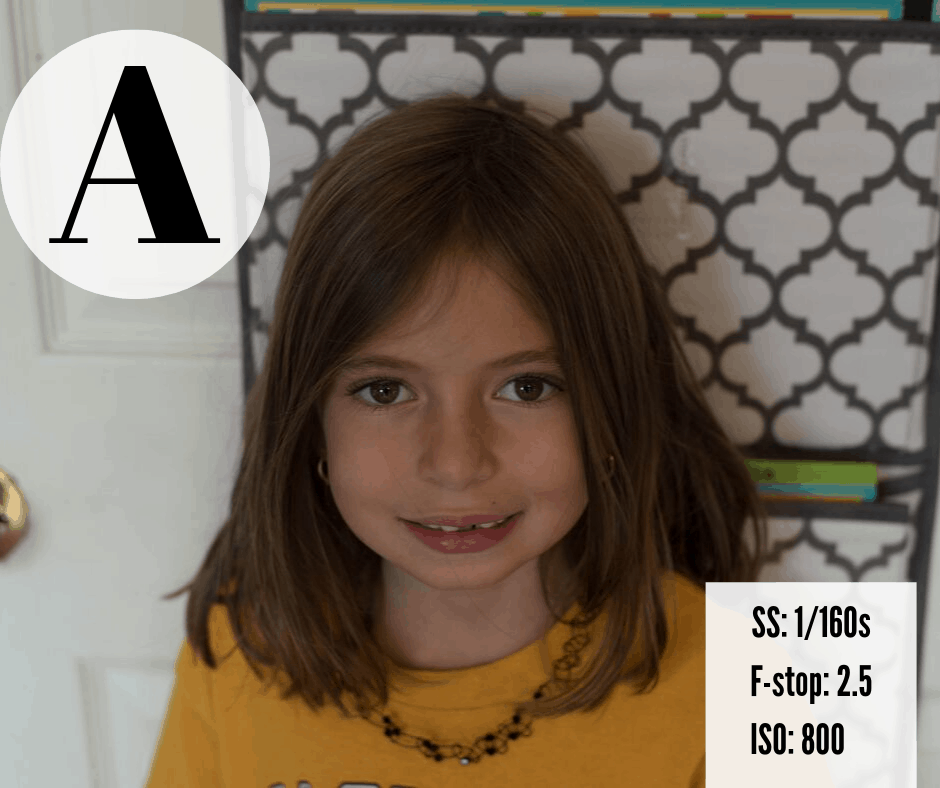
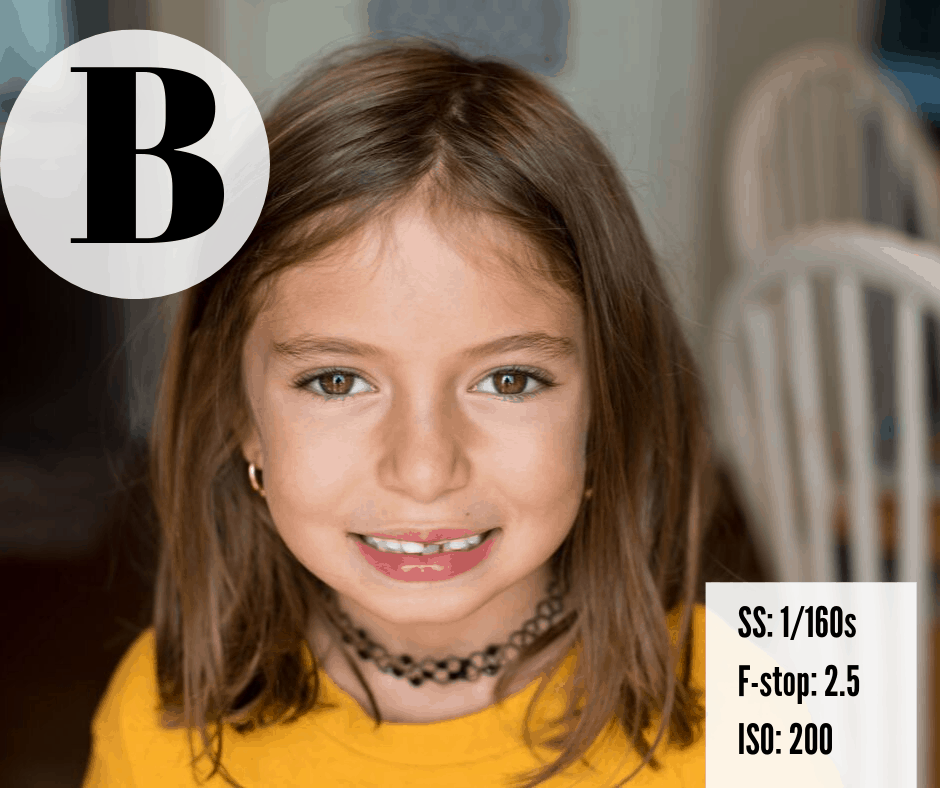
The below pictures were taken at the same time.
The only difference was in picture A, the subject was away from the window, and in picture B, the subject was close to the window.
2) Pay Attention to Your Camera Settings
The most important thing to remember, is not to sacrifice shutter speed.
In low-light scenarios, a lower shutter speed will allow for the camera opening to remain open longer. This allows for more light to enter into your camera. However, when the camera lens is open longer, there is a good chance your camera will show movement blur – or be unclear.
You may have to adjust other settings (such as increase your ISO or lower your f stop – read here for more details), but do not lower your shutter speed too low. Keep it at least at 1/160 s.
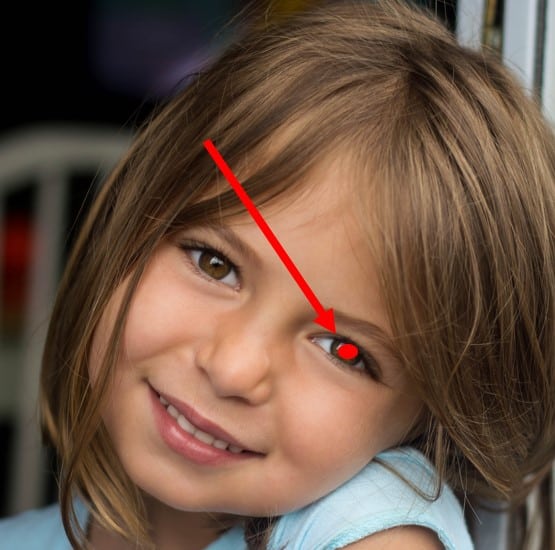
3) Focus on the eyes
When you look through your view finder, make sure those little red dots are on your subjects EYES. The eyes are the most detailed part of the face; therefore, it is important that they are the focal point in your photos.
Final Thoughts
These three simple tips can transform your indoor pictures from dark and blurry “deletables” to bright and sharp “framables” in a matter of minutes.
For more details on indoor photography, check out this post.
If you found this helpful, share it!
