
Learn all about aperture – one of your camera’s most important settings. When you understand the three BASIC settings you will be able to grasp your DSLR camera and take pictures you love. Article includes free printable ebook and video tutorial.!
Put your hand 6 inches in front of your face and focus on it. While focusing on your hand, everything else in view will be slightly blurry.
When you learn how to use your aperture settings, you will be able to produce pictures that mimic what your eye is actually seeing. Your aperture setting will give you control over this feature.
Aperture is the camera setting that describes the size of the opening of the lens. It controls the amount of light that enters the camera.
Think of it as a pupil. In bright light, it constricts to let in less light, and in a dark room it will open, or dialate, to let in more light.
Consider this: In the dark, your pupil dilates. It gets bigger to let in more light. In a bright room (or outside), your pupil constricts. It gets smaller and will let in less light.
Your camera didn’t invent the wheel. It mimics your pupil. It wants to open to let in more light, or get smaller to let in less light, as needed.
The aperture setting is measured by the “f stop“. LOWER F-STOP is a wider opening. A higher F-Stop number correlates with a smaller opening. This impacts light AND background blur.
Looking for a SUPER Beginner level photography tutorial? Start here!
Aperture Explained for the Beginner Photographer
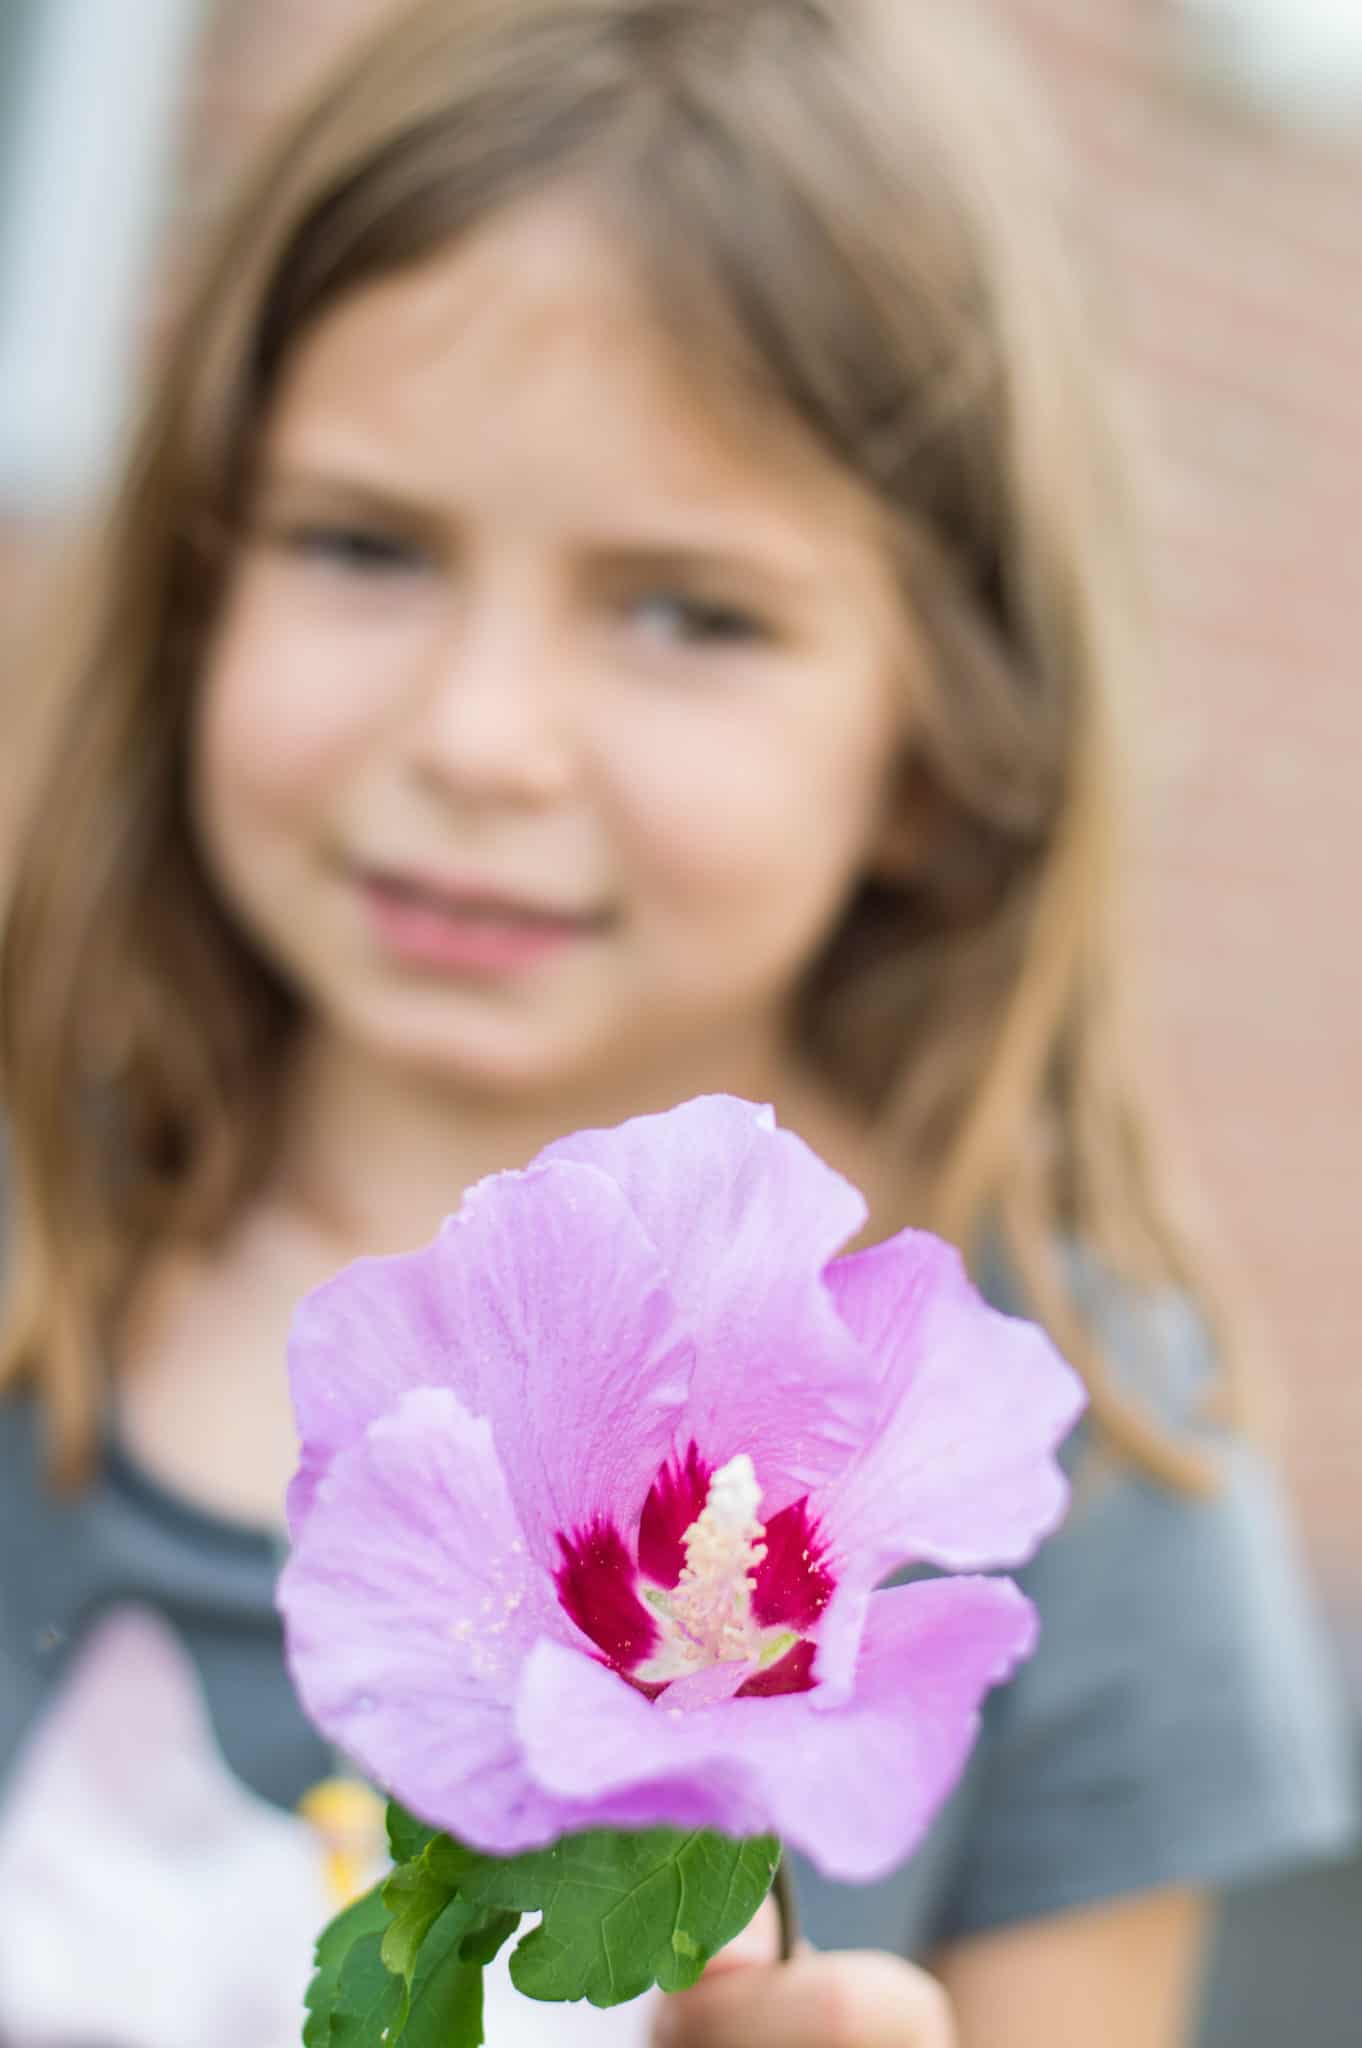
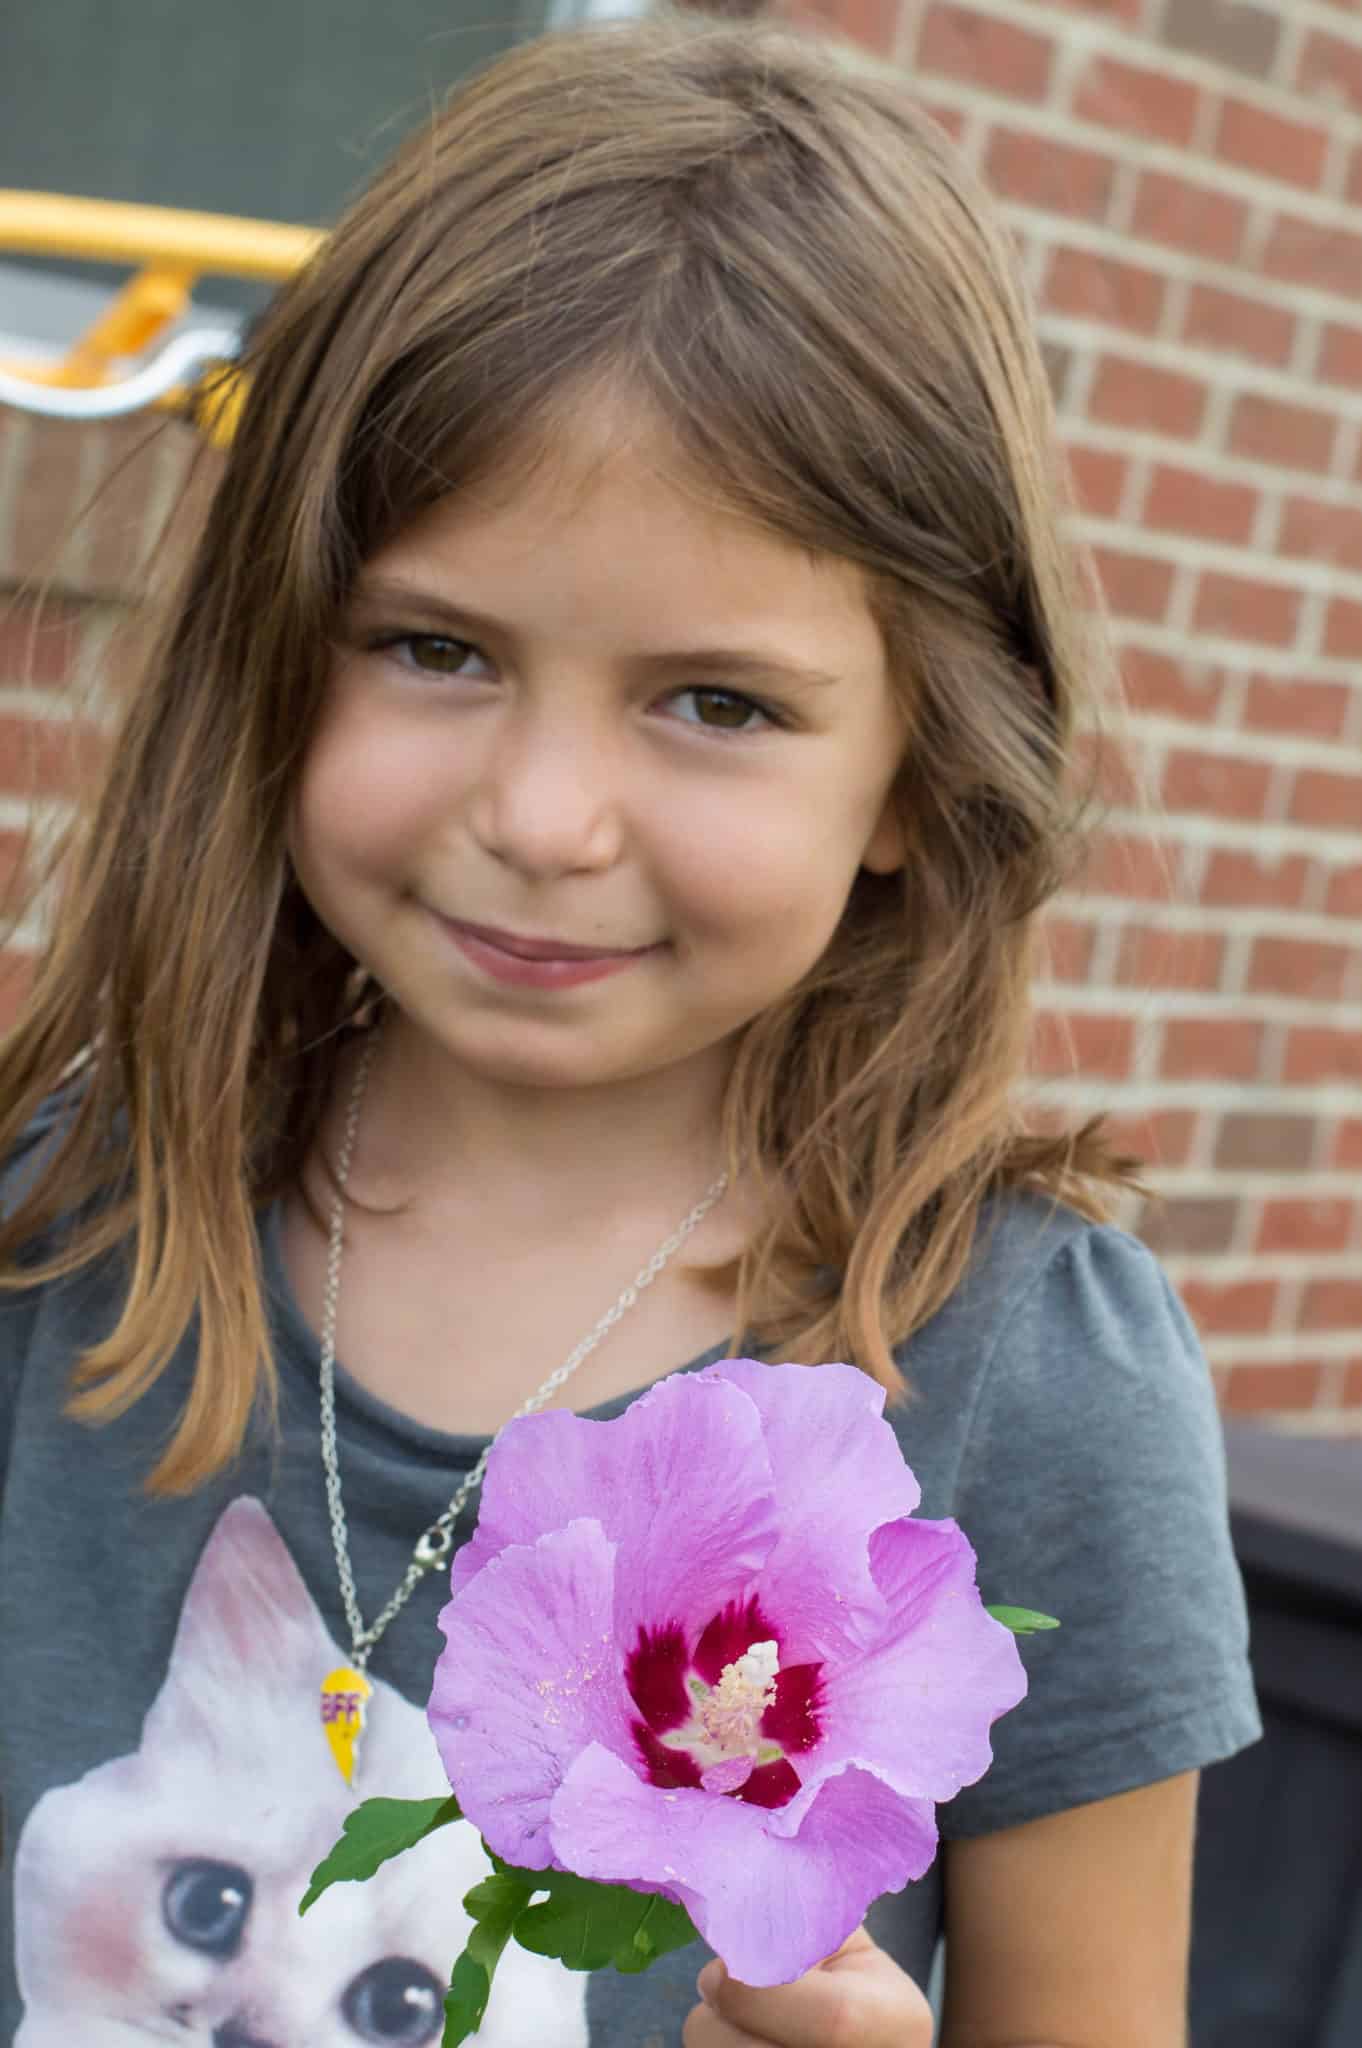
In the image on the left, I used a f/2.8 aperture setting to focus on the flower and make the girl blurry. On the right, I used a f/11 aperture setting to focus on both the girl and the flower.
To summarize, aperture serves two purposes.
- It allows better exposed pictures in low light
- Controls the blurriness of the background
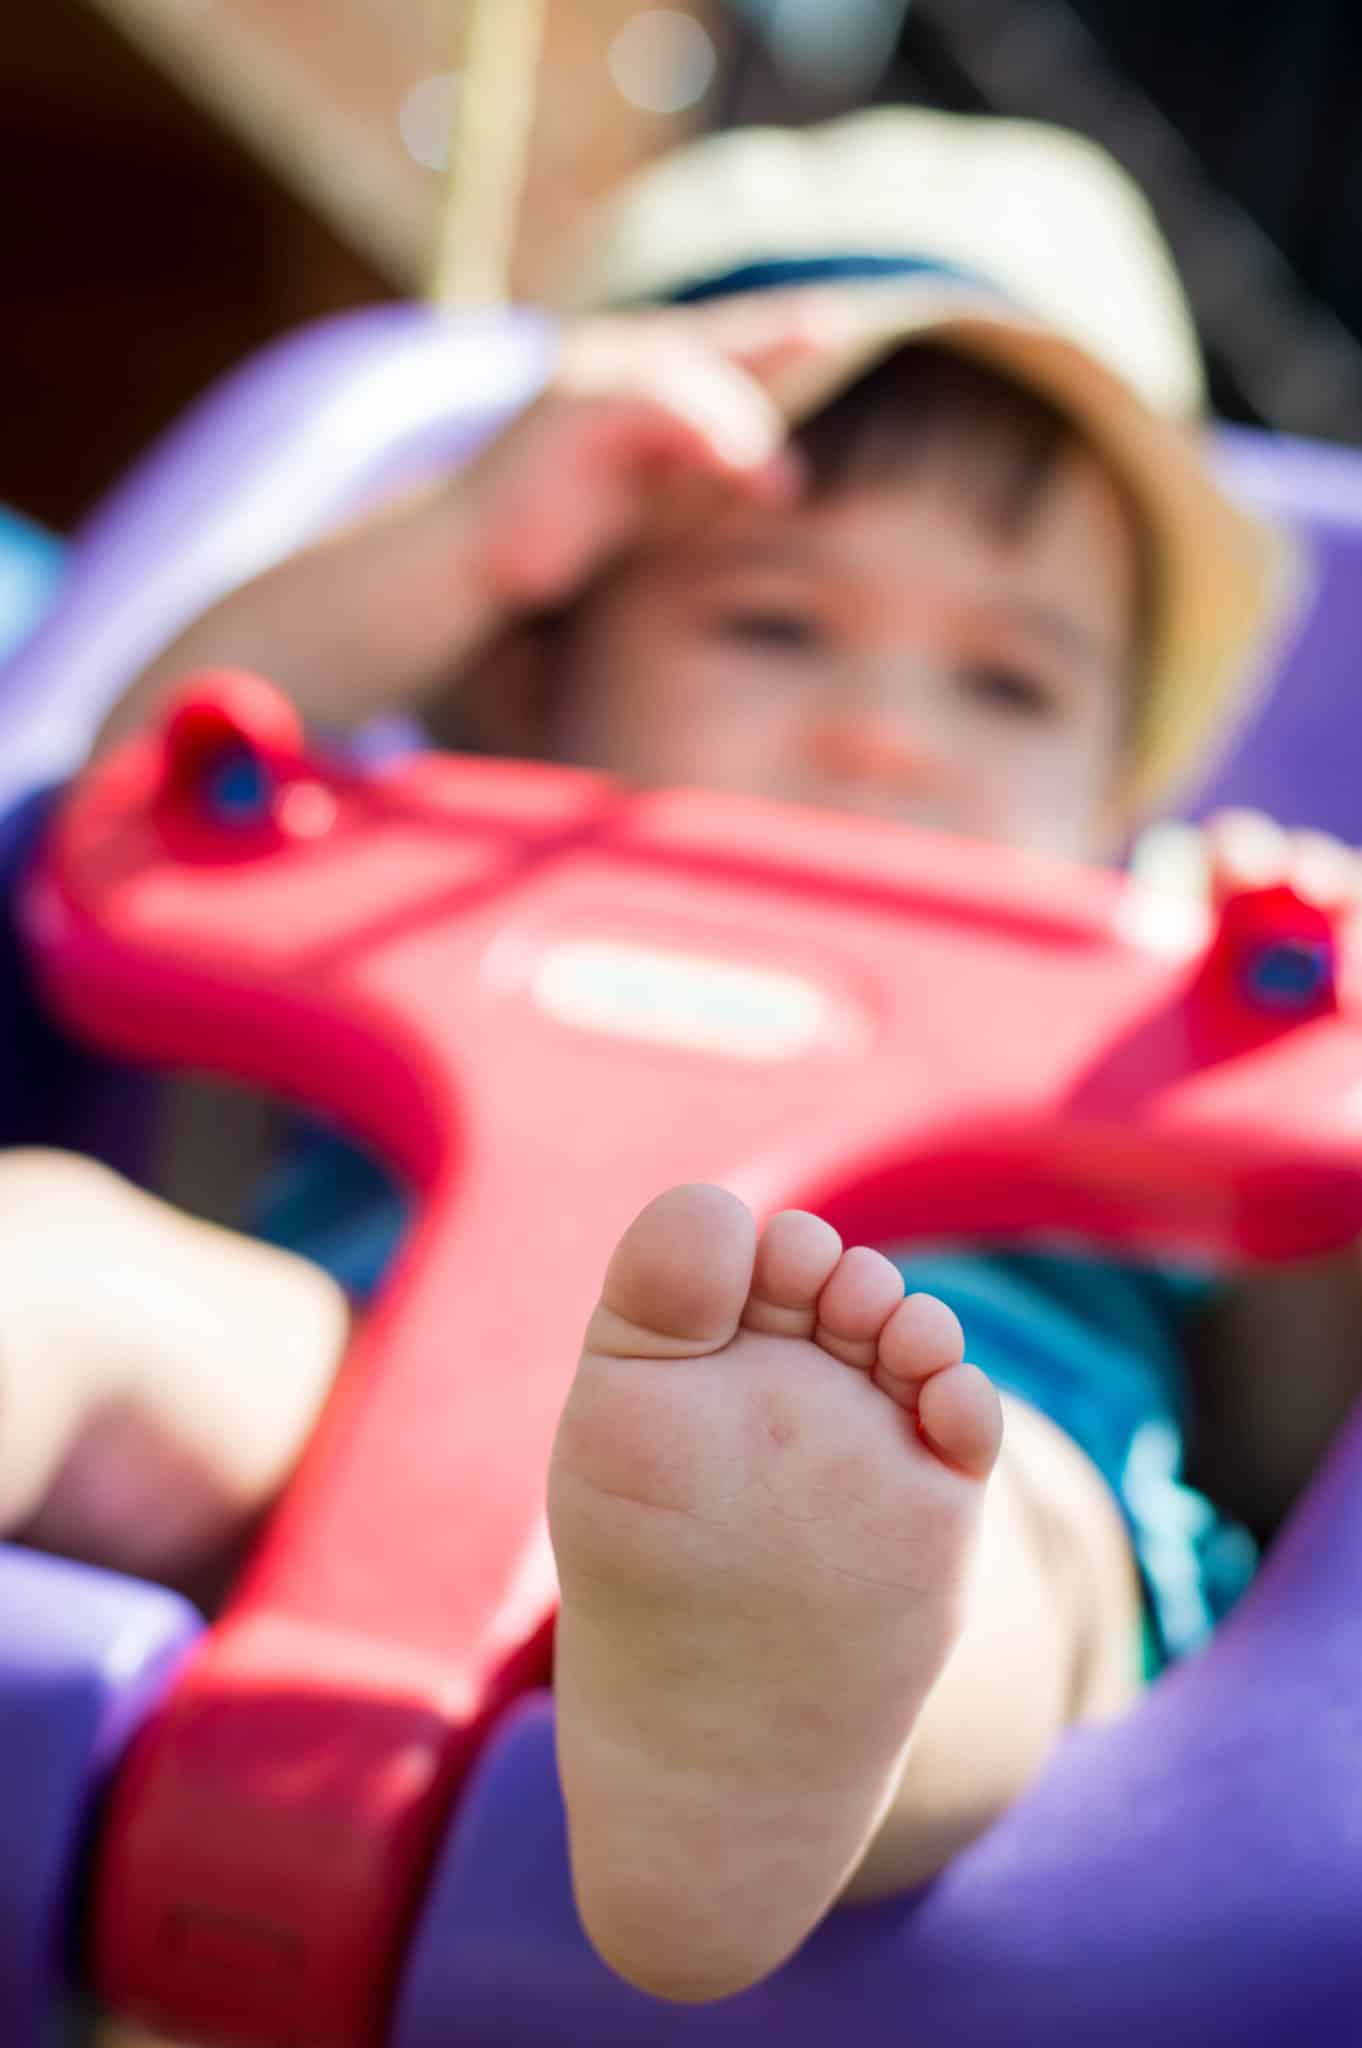
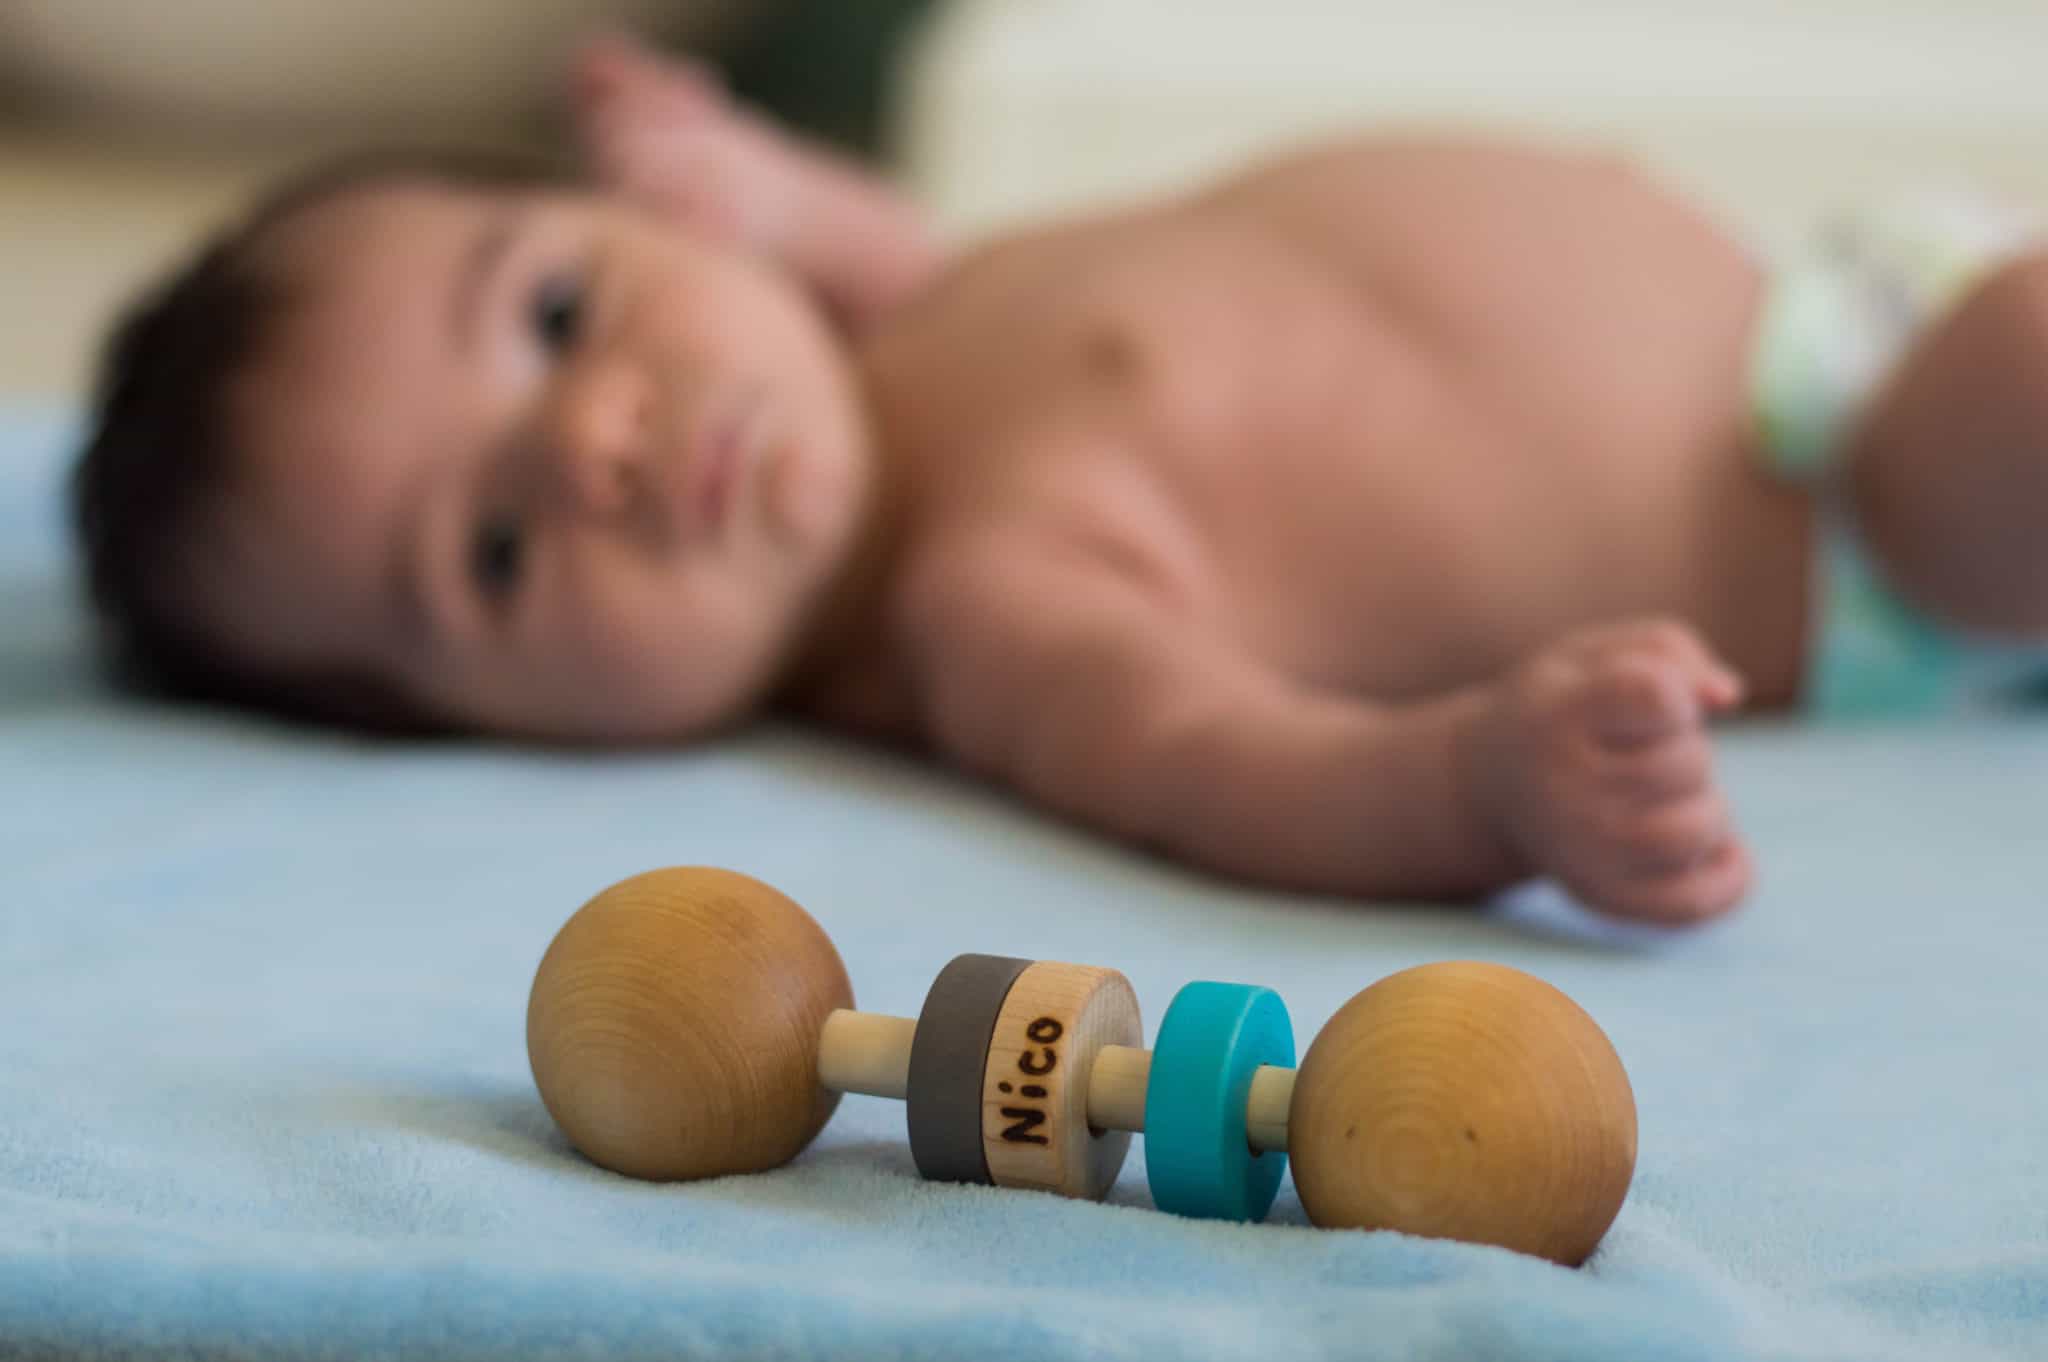
Aperture gives you control over the focal point in your pictures. It allows you to capture the memories exactly as your eye remembers them. Such as on this particular day when I thought these were the cutest square baby hobbit feet I had ever seen and I never wanted to forget them.
Quick Tip: I personally LOVE to use a low aperture, around f/3, whenever possible. However, if I am photographing multiple people I take a different approach. If you take a photograph of 2 subjects using f/2.5 and one person is even SLIGHTLY behind or in front of the other (which will happen), one subject will be a little out of focus. I made this mistake a lot in the beginning. I would always take pictures of my 2 kids at that time in f/2.5, and one kid always was out of focus. If I am photographing more than one person I use at least an f/4 if they are all generally the same distance from the camera. This ensures that no subject is sharper than the other.
If you are more of a visual learner, like me, check out my youtube tutorial on aperture or my complete three part tutorial in this post.
Click below to instantly download your FREE copy of Simply Snapping: Photography for Beginners.
Make sure to subscribe for access to ALL of the Simply Rooted Family FREE printables.
Click here to Download!

Here are some examples where I used the aperture setting to get the picture I wanted:
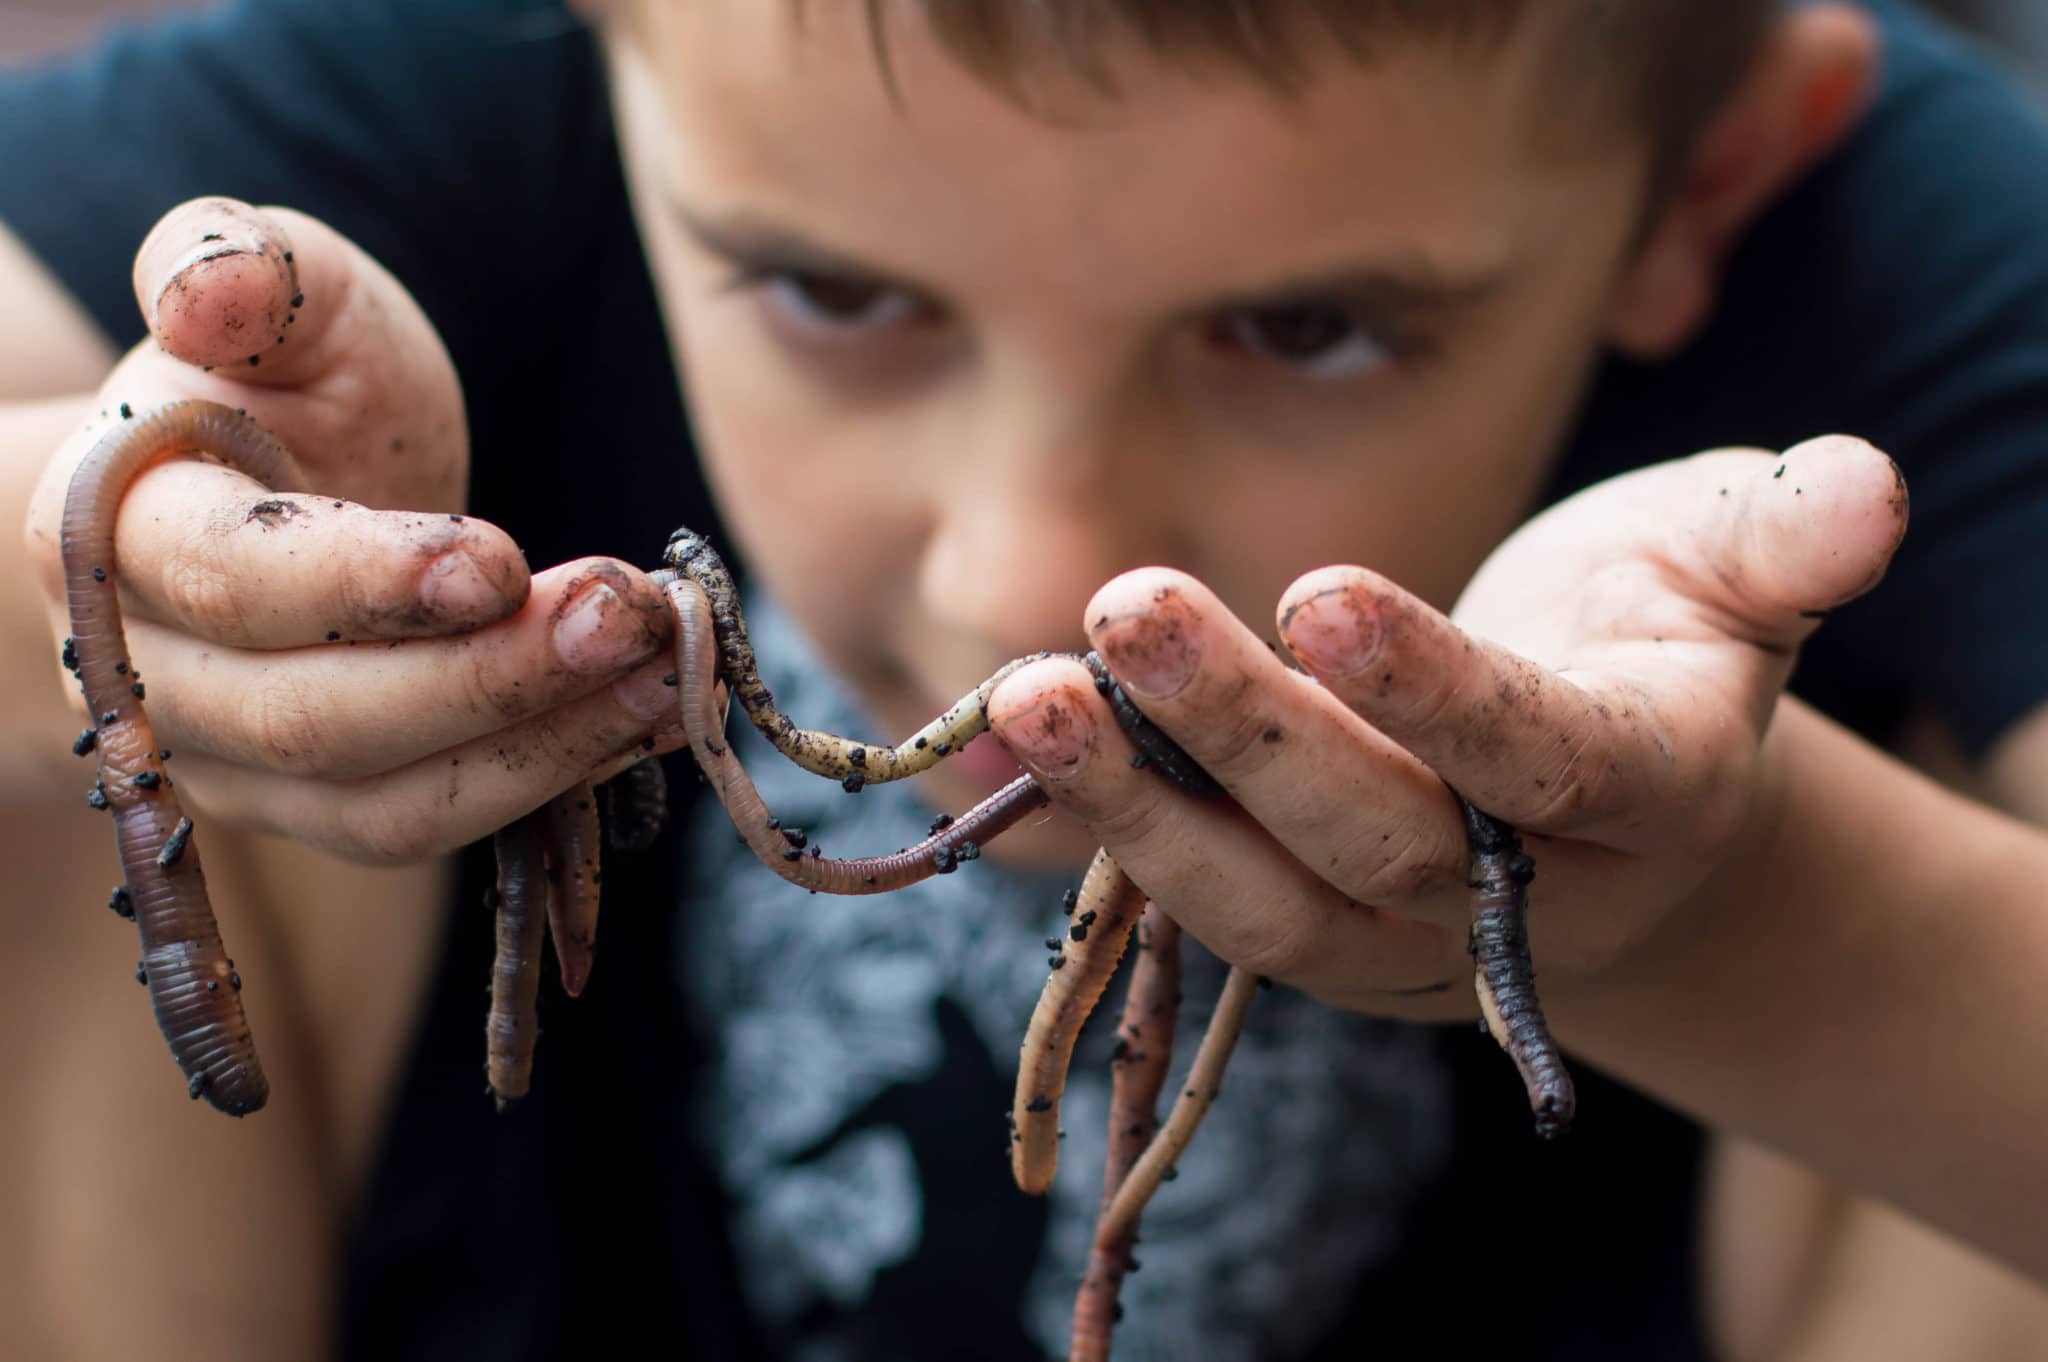
Considering the eye analogy again- when you step out into the sun, your eyes do not stay dialated- they constrict. If you try to use a small “f” number on a sunny day, your pictures will be OVER-exposed (white). This is because the camera is open wide and letting in all of the light it can. On a super sunny day, I use f/16. The background is as clear as the focal point, but the exposure and color is spot on and not washed out.
Keep in mind that some lenses will allow for “lower” F (more blur) than others. You may want to consider a lens such as my 50 mm lens below if you would like the option of a lower ‘f’. I used my Nikor 50 mm lens for every single picture in this post, and I love it! Here it is:

Mastering Aperture
Now that you understand what aperture is, it is time to practice to really get the hang of the different options. There are two good ways to do this.
- Read more and jump into manual mode
- Try “aperture priority” mode. With this mode, YOU adjust the aperture and the camera automatically adjusts other settings to optimize exposure.
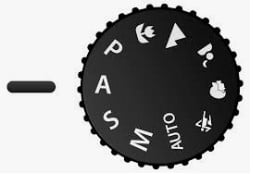
To try Aperture Priority Mode set your camera to this setting. Note: based on your camera brand and edition it may look different. Consult with your manual.
Assignment: Choose an item to photograph. For starters, find one that will not be moving a lot so that you can practice focusing. Focus on whatever you are photographing, and make sure at the background is farther away from the subject than you are. If the subject is right up against a background it does not give that back on the opportunity that get that blurry effect.
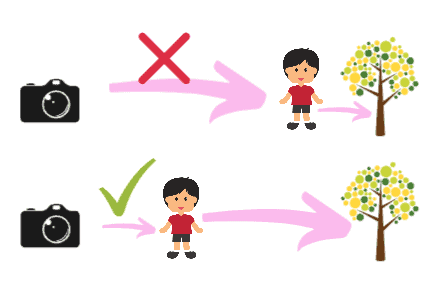
Photograph images that are different distances from each other – and with different aperture settings. Focus on something close up to understand how the background changes when you adjust this setting. Also, you will start to get a feel for how changing this setting affects the exposure/lighting on your photos.
Next Steps for the Beginner Photographer
Make sure to check out these other modules to learn more about your camera:
- Shutter Speed Explained for Photography Beginners: The Secret to Clear Photos
- Aperture Explained for Photography Beginners: The Secret to Background Blur
- ISO Explained for the Beginner Photographer: The Secret to Manual Mode
And start to understand how all of the settings are intertwined!
If you found this helpful, share it!
ISO Explained for the Beginner Photographer: The Secret to Manual Mode - Simply Rooted Family
Wednesday 16th of March 2022
[…] blur, background blur, and emotions in your photo. If you haven’t done so, first understand aperture and shutter speed, by checking out these posts – OR this tutorial if you are brand new to […]
Shutter Speed Explained for Photography Beginners: The Secret Clear Photos - Simply Rooted Family
Wednesday 16th of March 2022
[…] Understanding Aperture: The Camera Setting that controls background blur […]
Crazy-Simple Photography Beginner's Guide to Camera Settings Basics - Simply Rooted Family
Wednesday 2nd of February 2022
[…] camera setting is called aperture. Aperture refers to the opening of your camera, and ultimately the amount of light it will let […]
Simplifying Photography: ISO and Manual Mode Edition -
Monday 14th of October 2019
[…] blur, background blur, and emotions in your photo. If you haven’t done so, first understand aperture and shutter speed, by clicking […]
Clarrisa Lee
Tuesday 18th of June 2019
Very cool info! I'm just learning the super basics about photography and never understood what the F/ meant, but great explanation. thanks!
admin
Tuesday 18th of June 2019
So glad to hear that!! Thanks for commenting!