
What is ISO? Learn all about this setting and exposure – one of your camera’s most important settings. When you understand the three BASIC settings you will be able to grasp your DSLR camera and take pictures you love. Article includes free printable ebook and video tutorial!
ISO is the final camera setting a beginner photographer needs to learn before trying to manual mode.
Unfortunately, some beginners think that ISO is so complicated that they throw in the towel.
With these quick tips, you will learn that ISO is one of the most easy to use and impactful camera settings.
This of it this way – there are two MAIN camera settings: aperture and shutter speed. These camera settings determine what your picture will look like and HOW it will feel. They control the movement blur, background blur, and emotions in your photo. If you haven’t done so, first understand aperture and shutter speed, by checking out these posts – OR this tutorial if you are brand new to photography.
ISO is a very different, but equally important camera setting. ISO will SUPPORT your other camera settings so that you can get the proper exposure of the picture you desire. In this post, I will explain ISO (video below!) and how it ties into manual mode.
What is ISO?
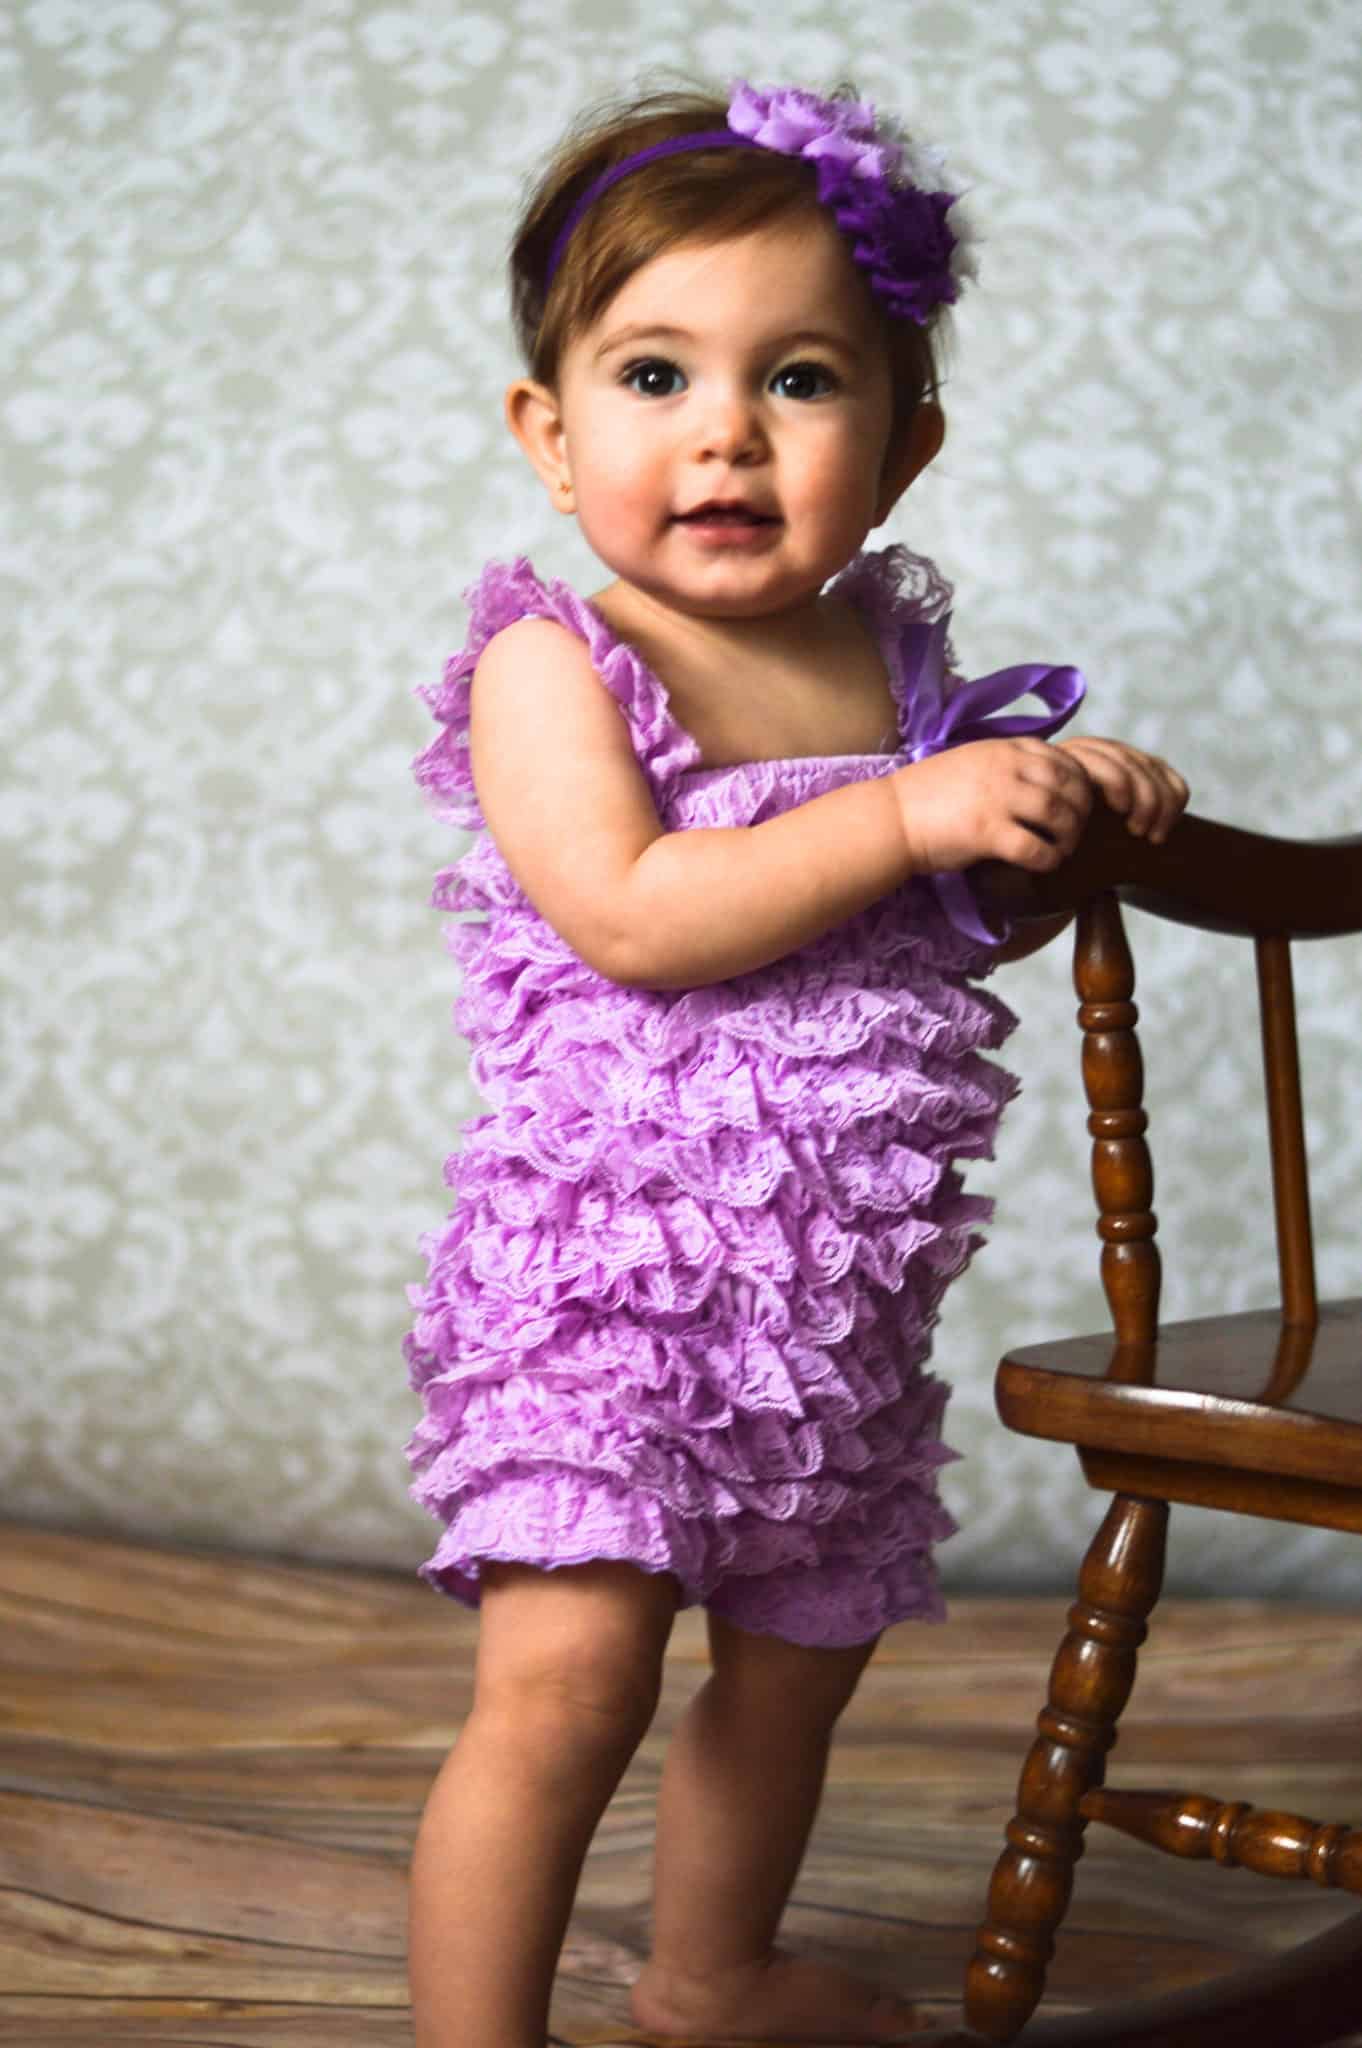
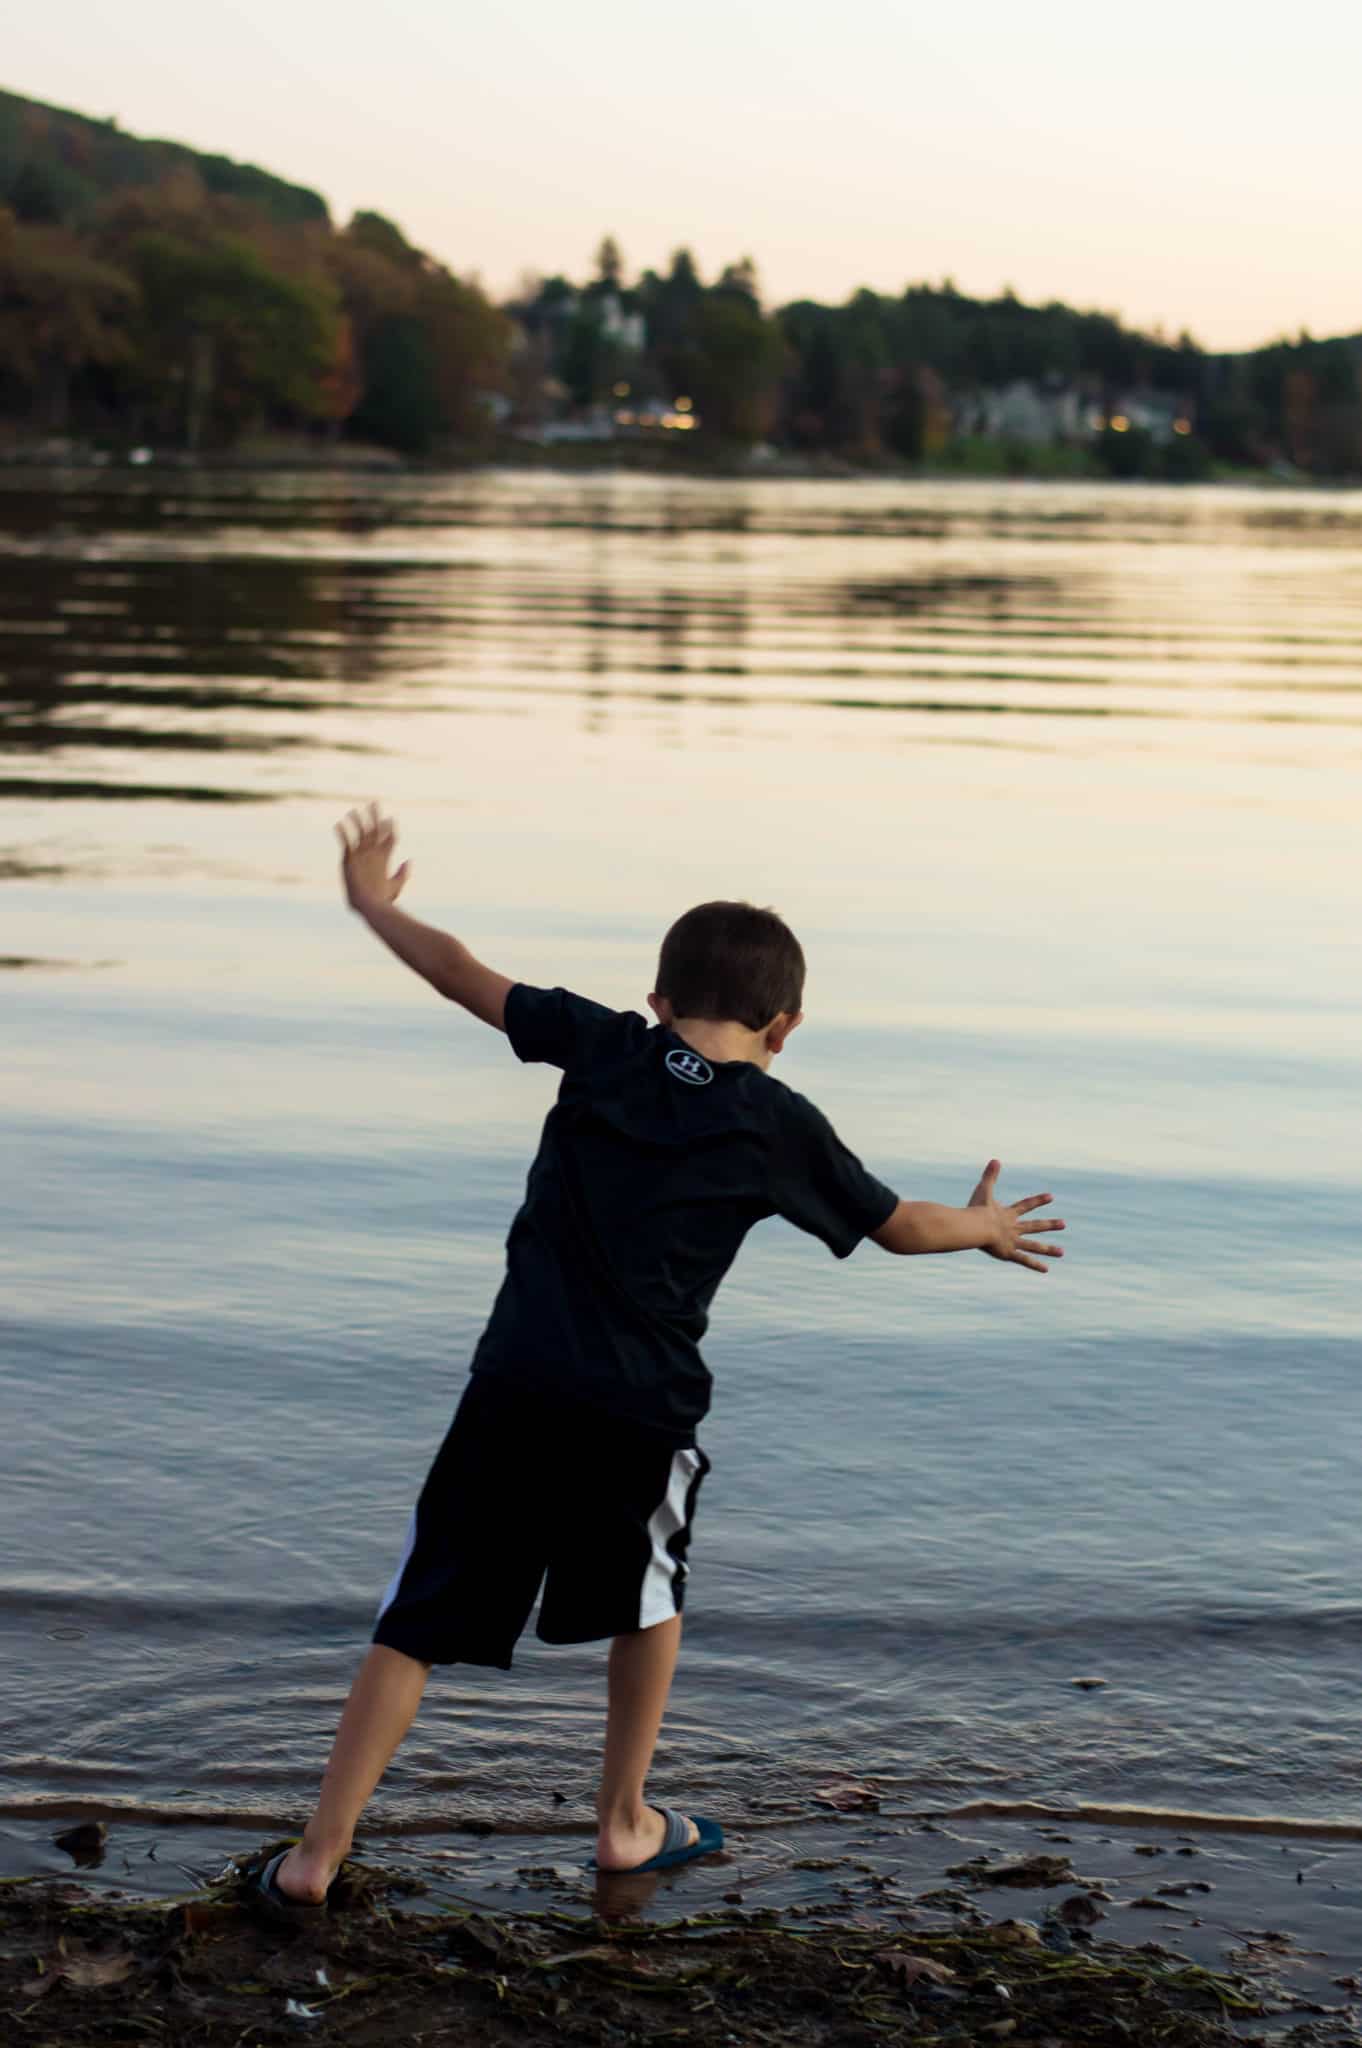
Even though the sun had set already and lighting was not “ideal”, I was confident that the below photo-moment was not lost.
ISO is my secret weapon for getting that perfect expose in seemingly terrible settings.

ISO measures the sensitivity of the image sensor: if you are like most, that doesn’t make much sense to you. I will explain it here:
The below three pictures were all taken in the same room, within 30 seconds of each other. The only thing I changed was the ISO setting.


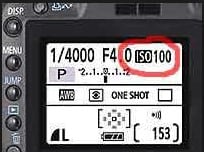
You can see that the LOWER ISO number is LESS sensitive to light, and therefore darker.
A higher ISO number (such as 1600), indicates that your camera is MORE SENSITIVE to light; therefore, it can take pictures in lower light. A low ISO number (such as 100), indicates that your camera is LESS sensitive to light, or you need MORE light to take a properly exposed picture.
You may be thinking: why not take all pictures in a HIGH ISO?
The trade off is the clarity. The higher ISO numbers will be grainy or show a lot of “noise:. The lowest possible number of ISO is ideal. An ISO of 100 will take a very clear/crisp photo, and the ISO 6400 will be very grainy.
Next, Read: How to use your camera meter (which TELLS you if your ISO needs changed!)
How to Use the ISO Camera Setting
Personally, I decide what shutter speed is needed for my picture, and what aperture I desire, THEN I adjust the ISO to compensate.
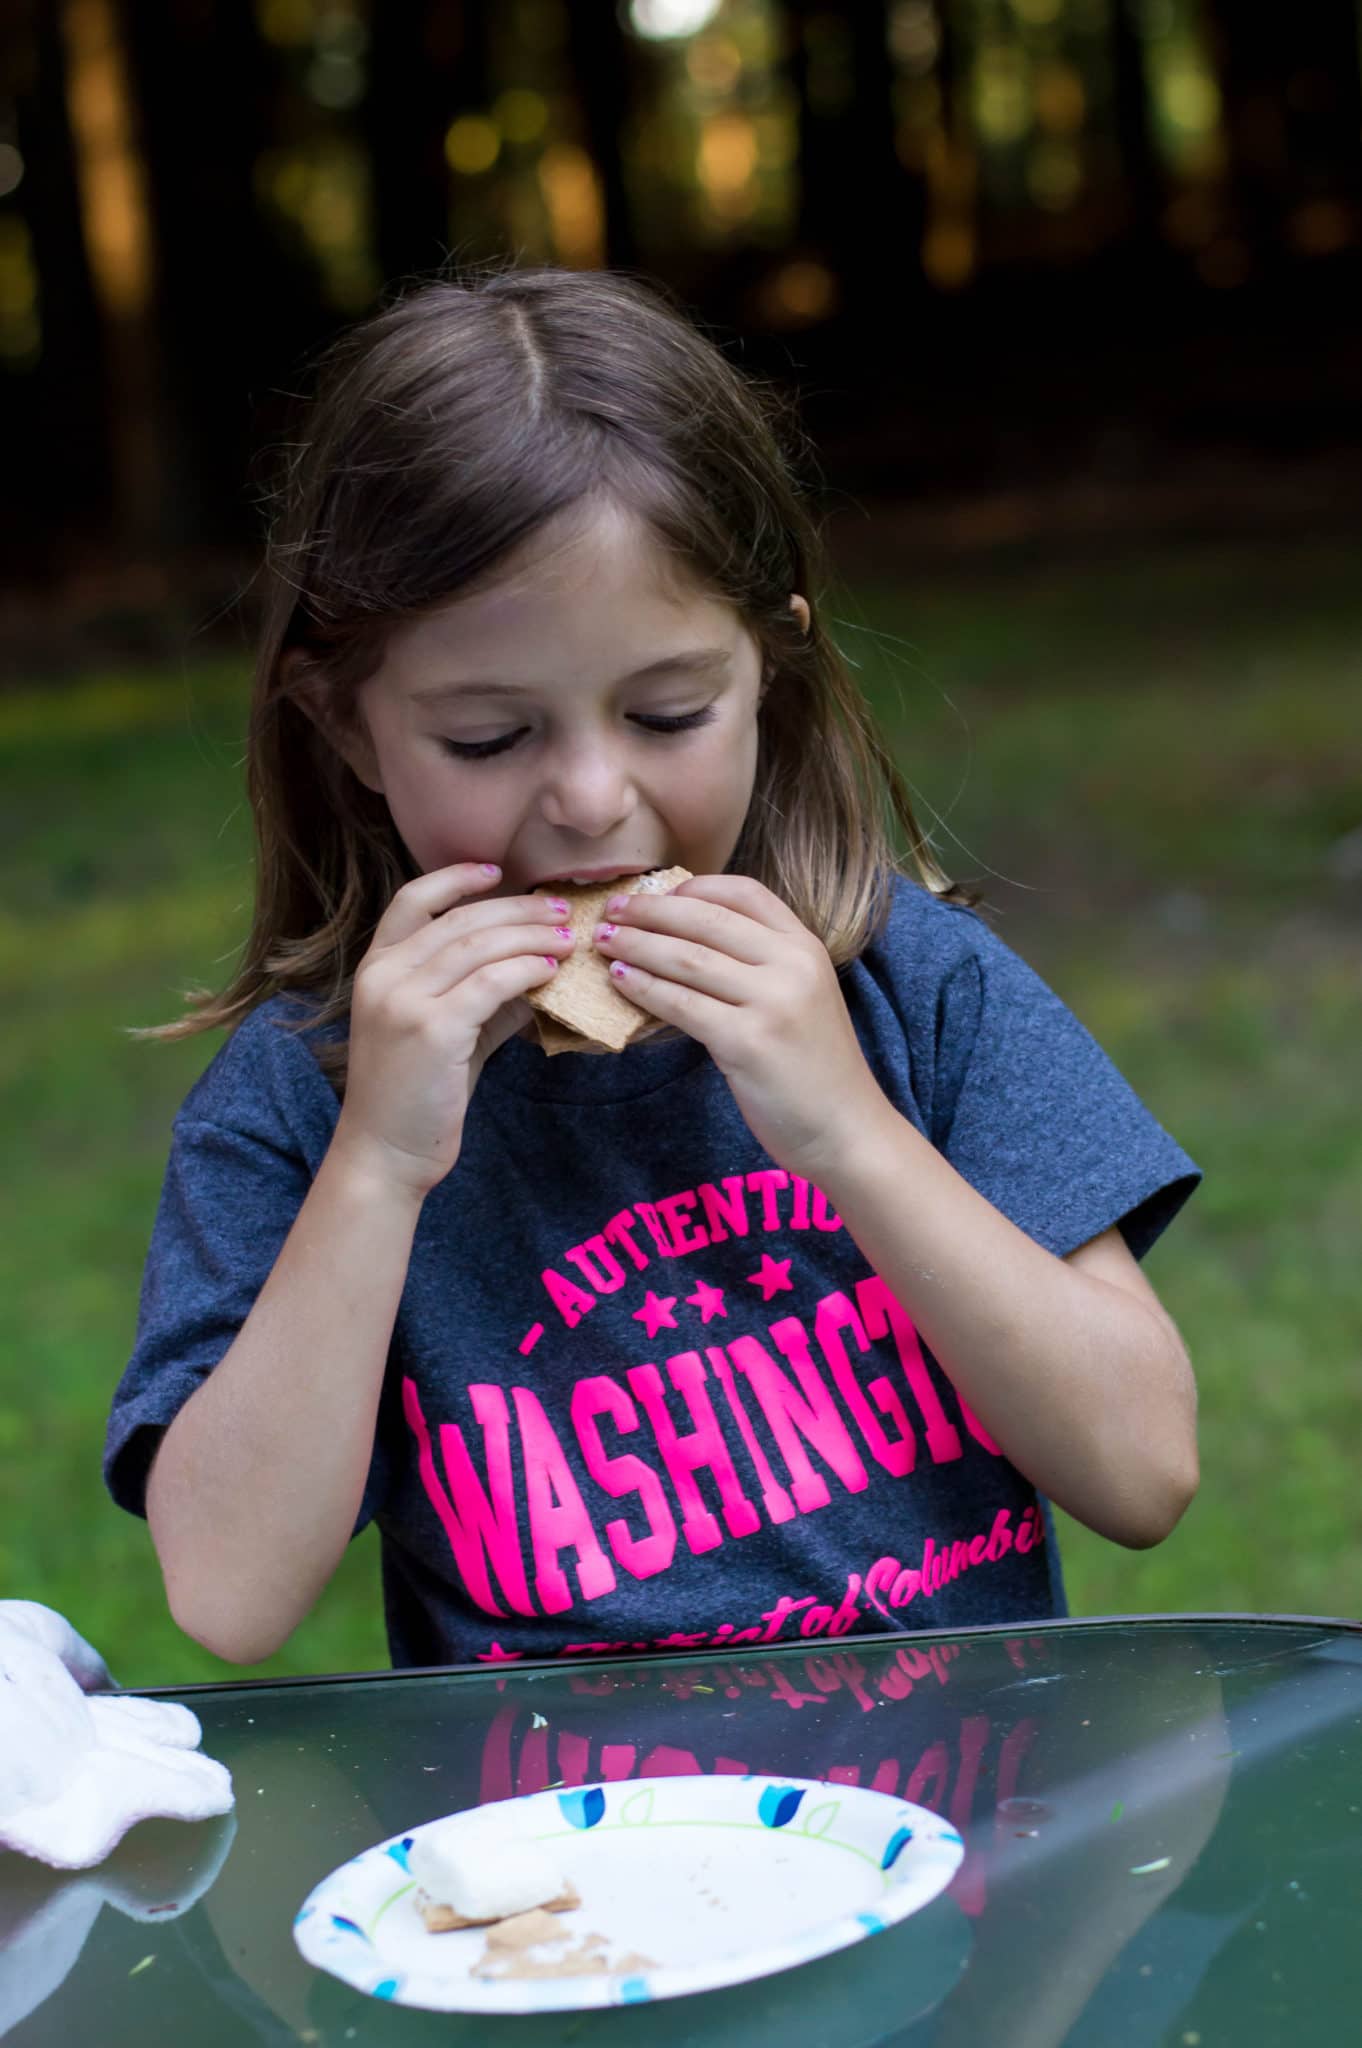
Here are some examples where I leaned on ISO settings to get the pictures I wanted (when there was not much light):


Looking for camera reviews? Start here!
If you are more of a visual learner, check out my youtube tutorial on ISO and using manual mode or my complete 3 part video tutorial in this post.
Practicing the ISO Camera Setting
Now that you understand what ISO is, it is time to practice to really get the hang of the different options. There are two good ways to do this:
- Read more and jump into manual mode
- Try adjusting the ISO settings in Aperture or Shutterspeed priority mode. With this setting, you can adjust the amount of light that comes into the camera to optimize exposure. Note: depending on your camera brand and edition this may look different. Consult your camera manual for setting details
Assignment: Take indoor and outdoor photos while adjusting your ISO. You will see that outdoor an ISO of 100 is usually best, but indoor (depending on lighting) you will most likely have to bump it up.
Click below to instantly download your FREE copy of our 20-page book: Simply Snapping, Photography for Beginners.
Click here to Download!


- Shutter Speed Explained for Photography Beginners: The Secret to Clear Photos
- Aperture Explained for Photography Beginners: The Secret to Background Blur
- ISO Explained for the Beginner Photographer: The Secret to Manual Mode
Next Steps: Manual Mode Photography
Once you understand aperture and shutter speed, ISO will help guide you to using manual mode. If you haven’t watched my free, short video tutorials.
Using aperture and shutter speed, YOU have control over what the pictures looks like and HOW it feels. ISO can be used to adjust for your settings and make sure they are properly exposed.
The below guide will help you understand how all of the camera settings are intertwined. Subscribe for more updates and free printables!
If you found this helpful, share it!
Shutter Speed Explained for Photography Beginners: The Secret Clear Photos - Simply Rooted Family
Wednesday 16th of March 2022
[…] Understanding ISO: Your camera’s ‘sunglasses’ […]
Cheryl Moore
Wednesday 30th of June 2021
Love this blog! I want to learn more!
Dramatically Transform Your Photography With These 5 Simple Lighting Rules -
Monday 23rd of September 2019
[…] Check out this post to learn all about what ISO is and how it impacts your photograph. […]