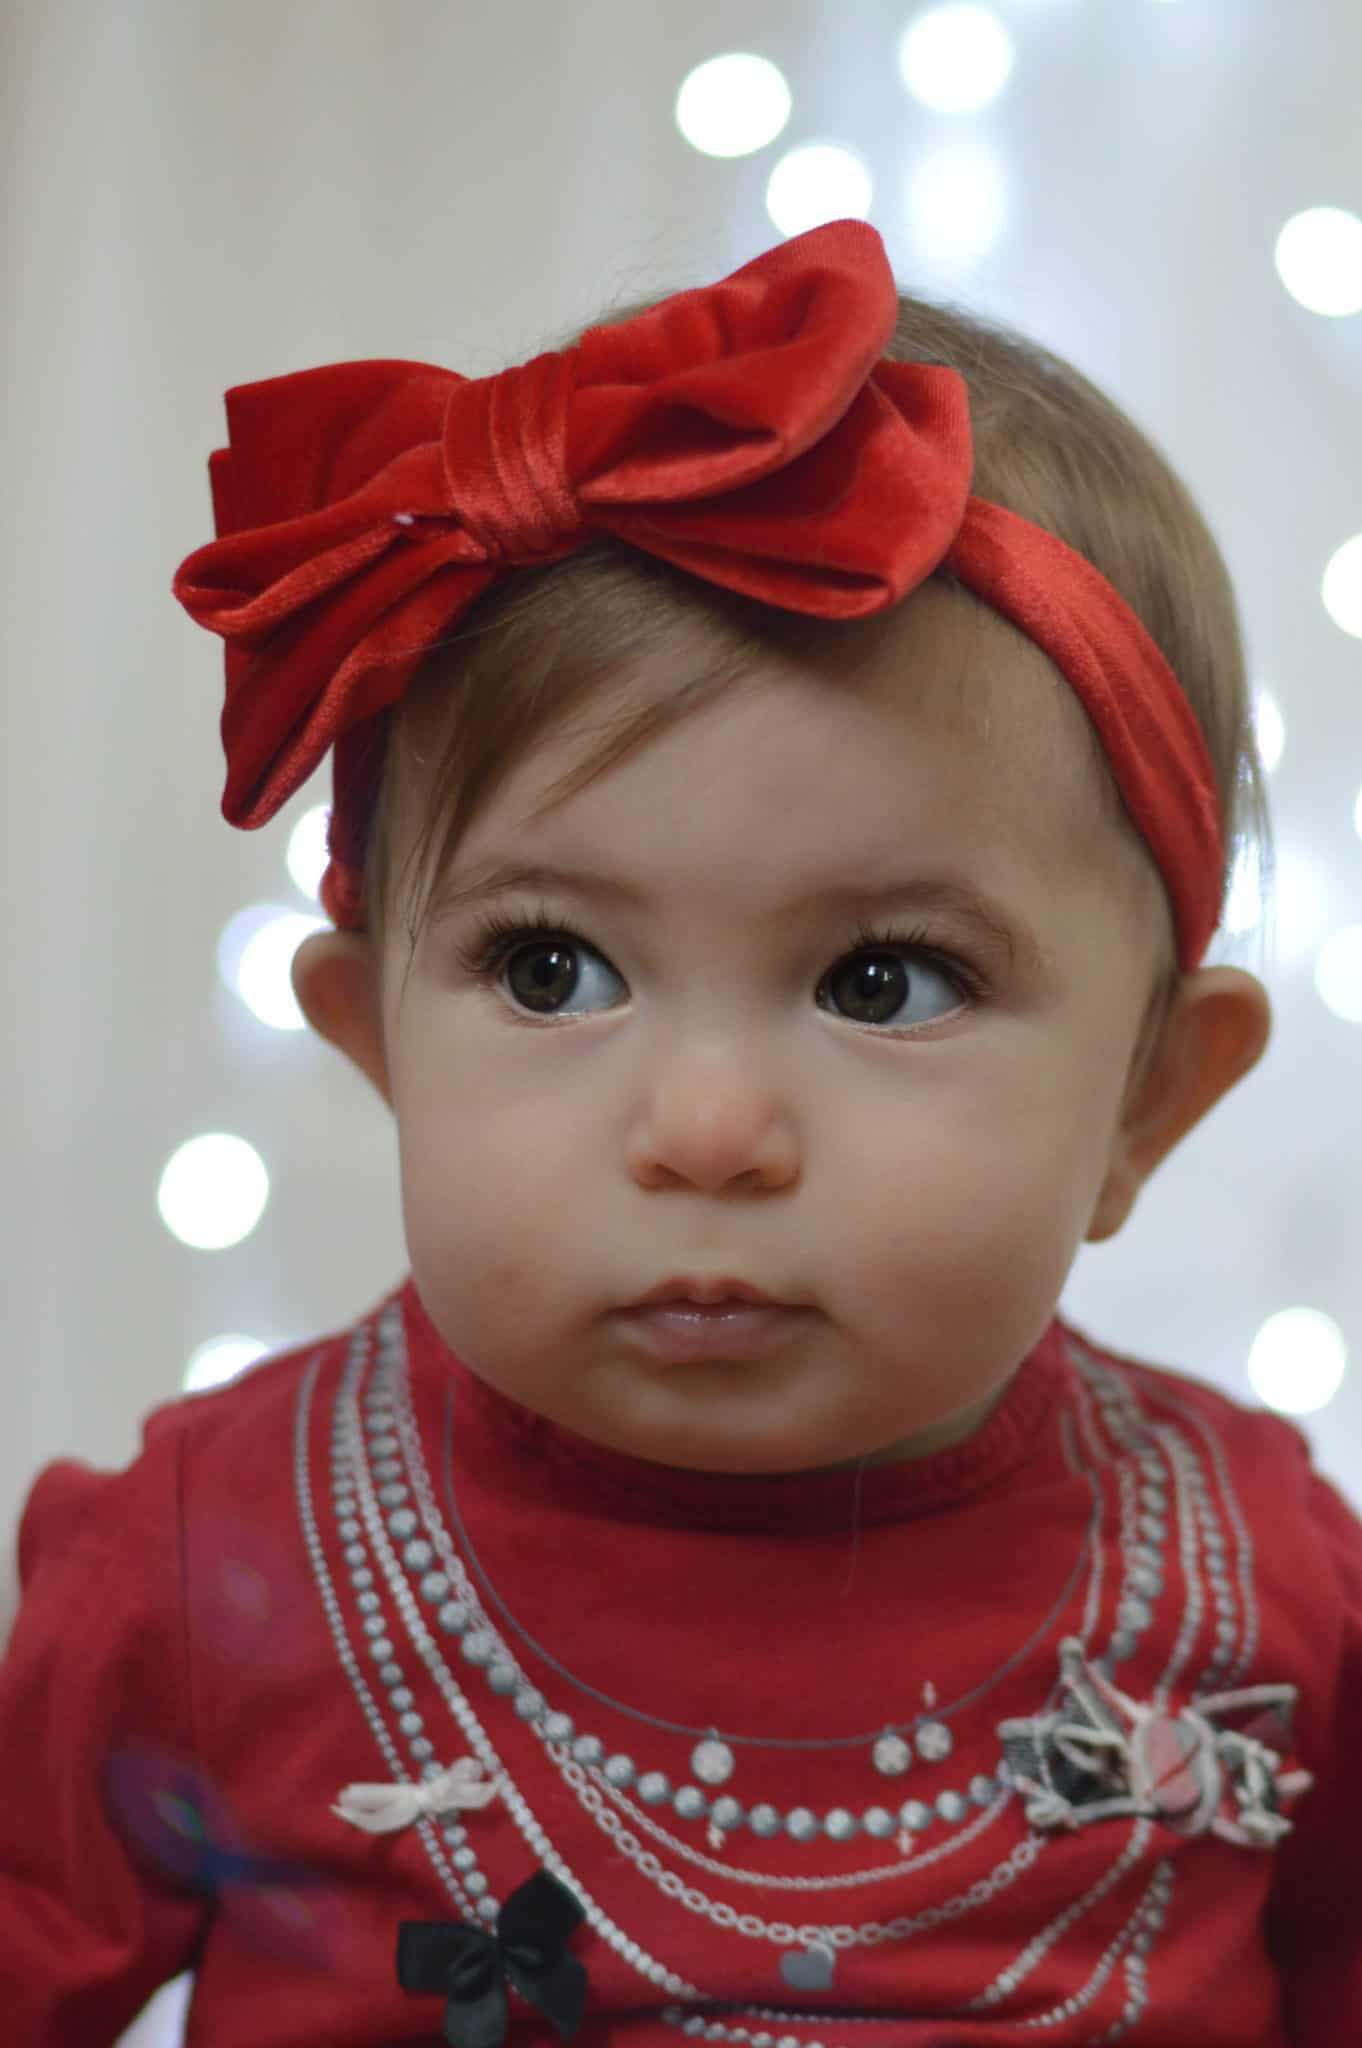
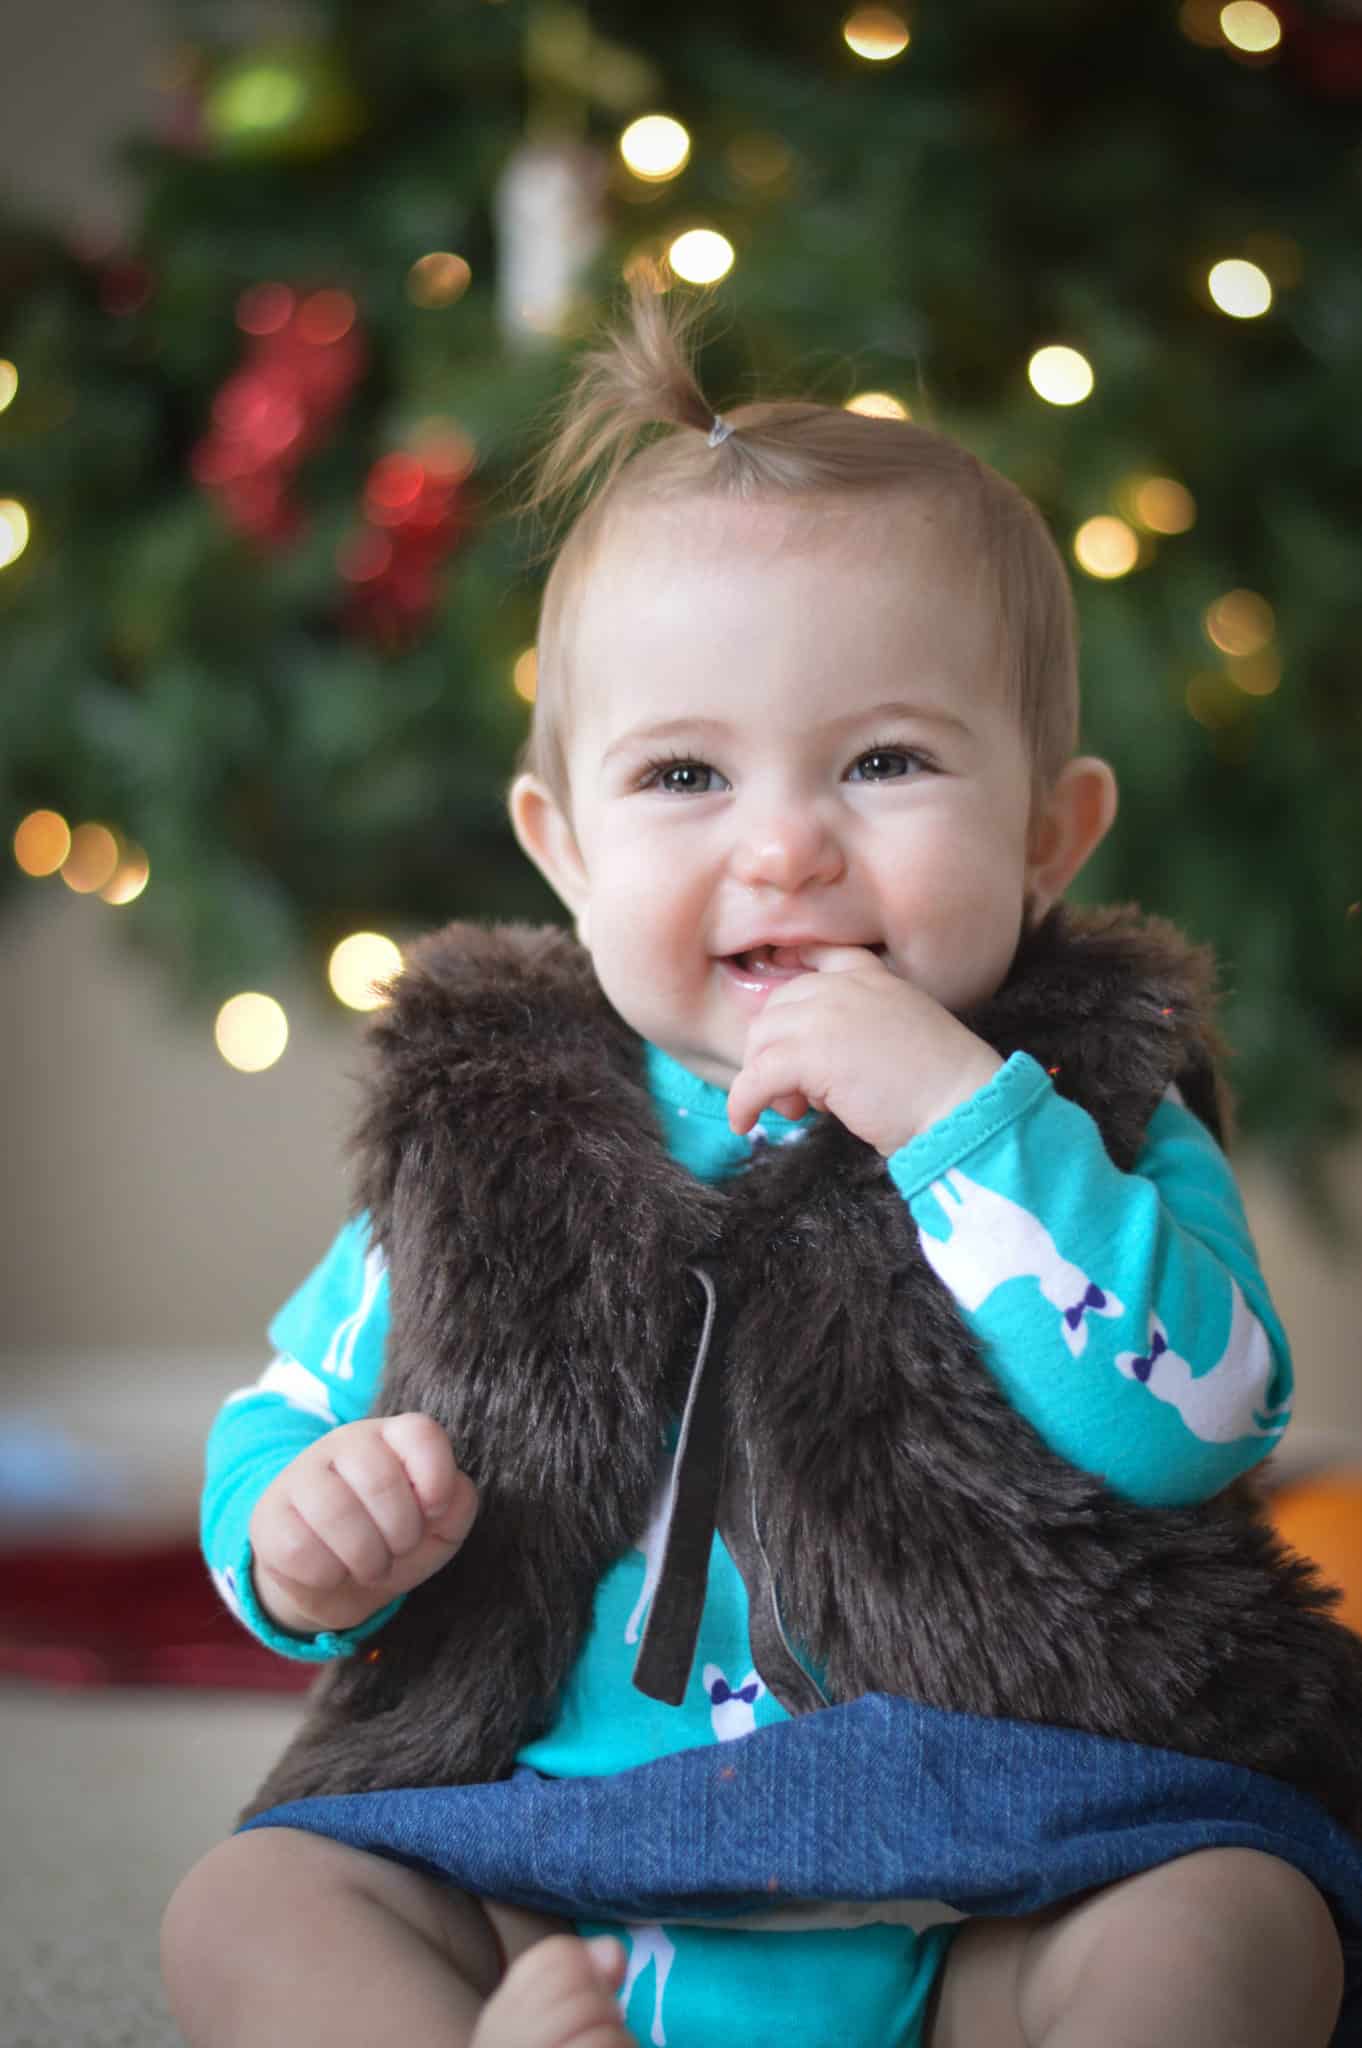
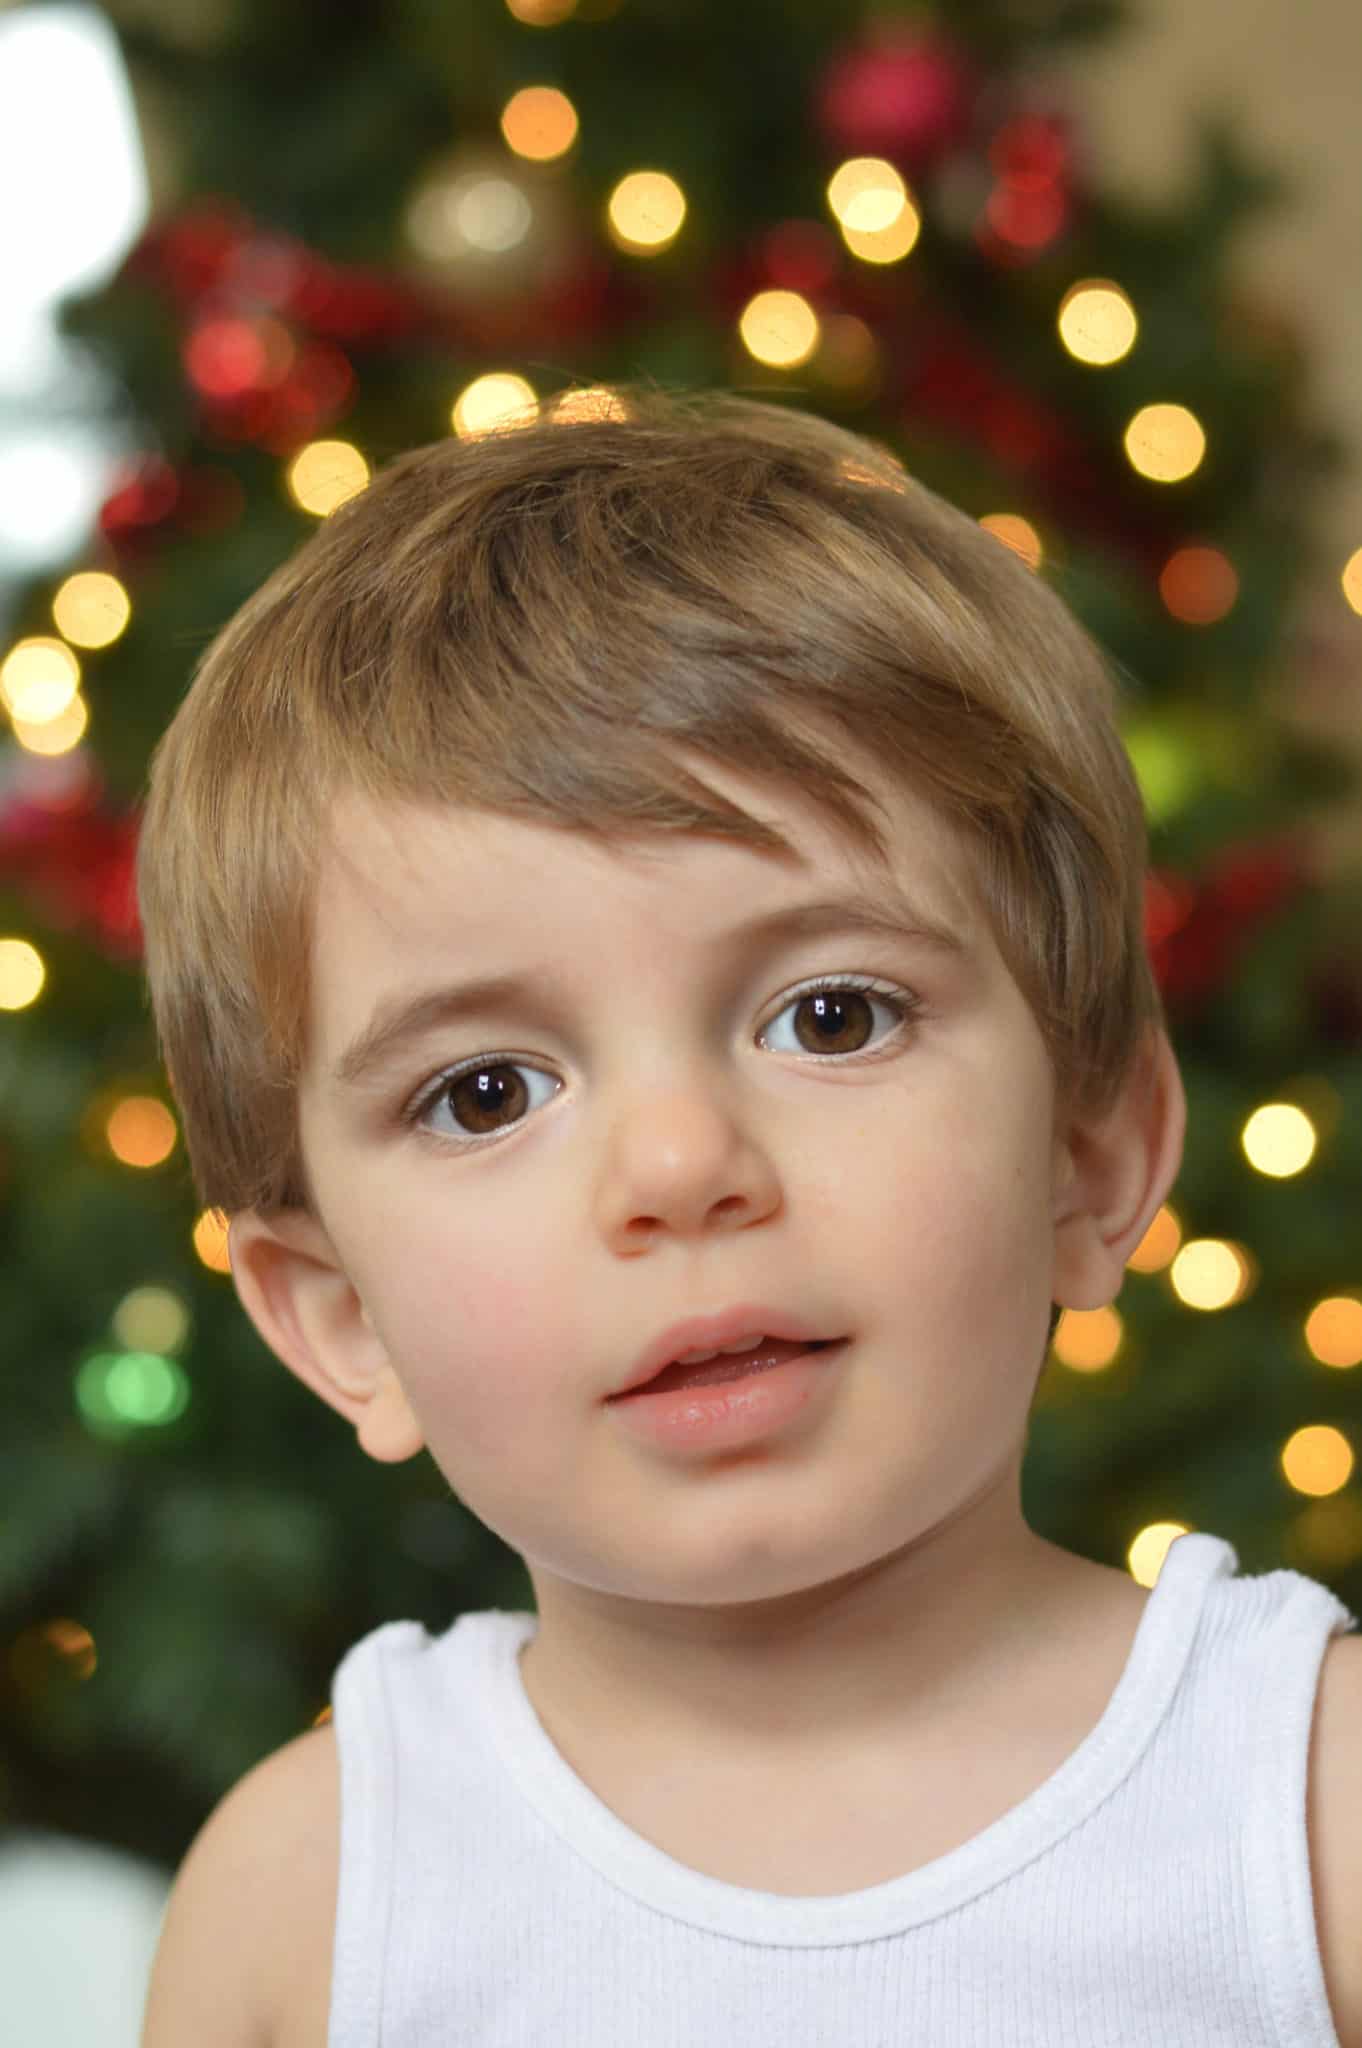
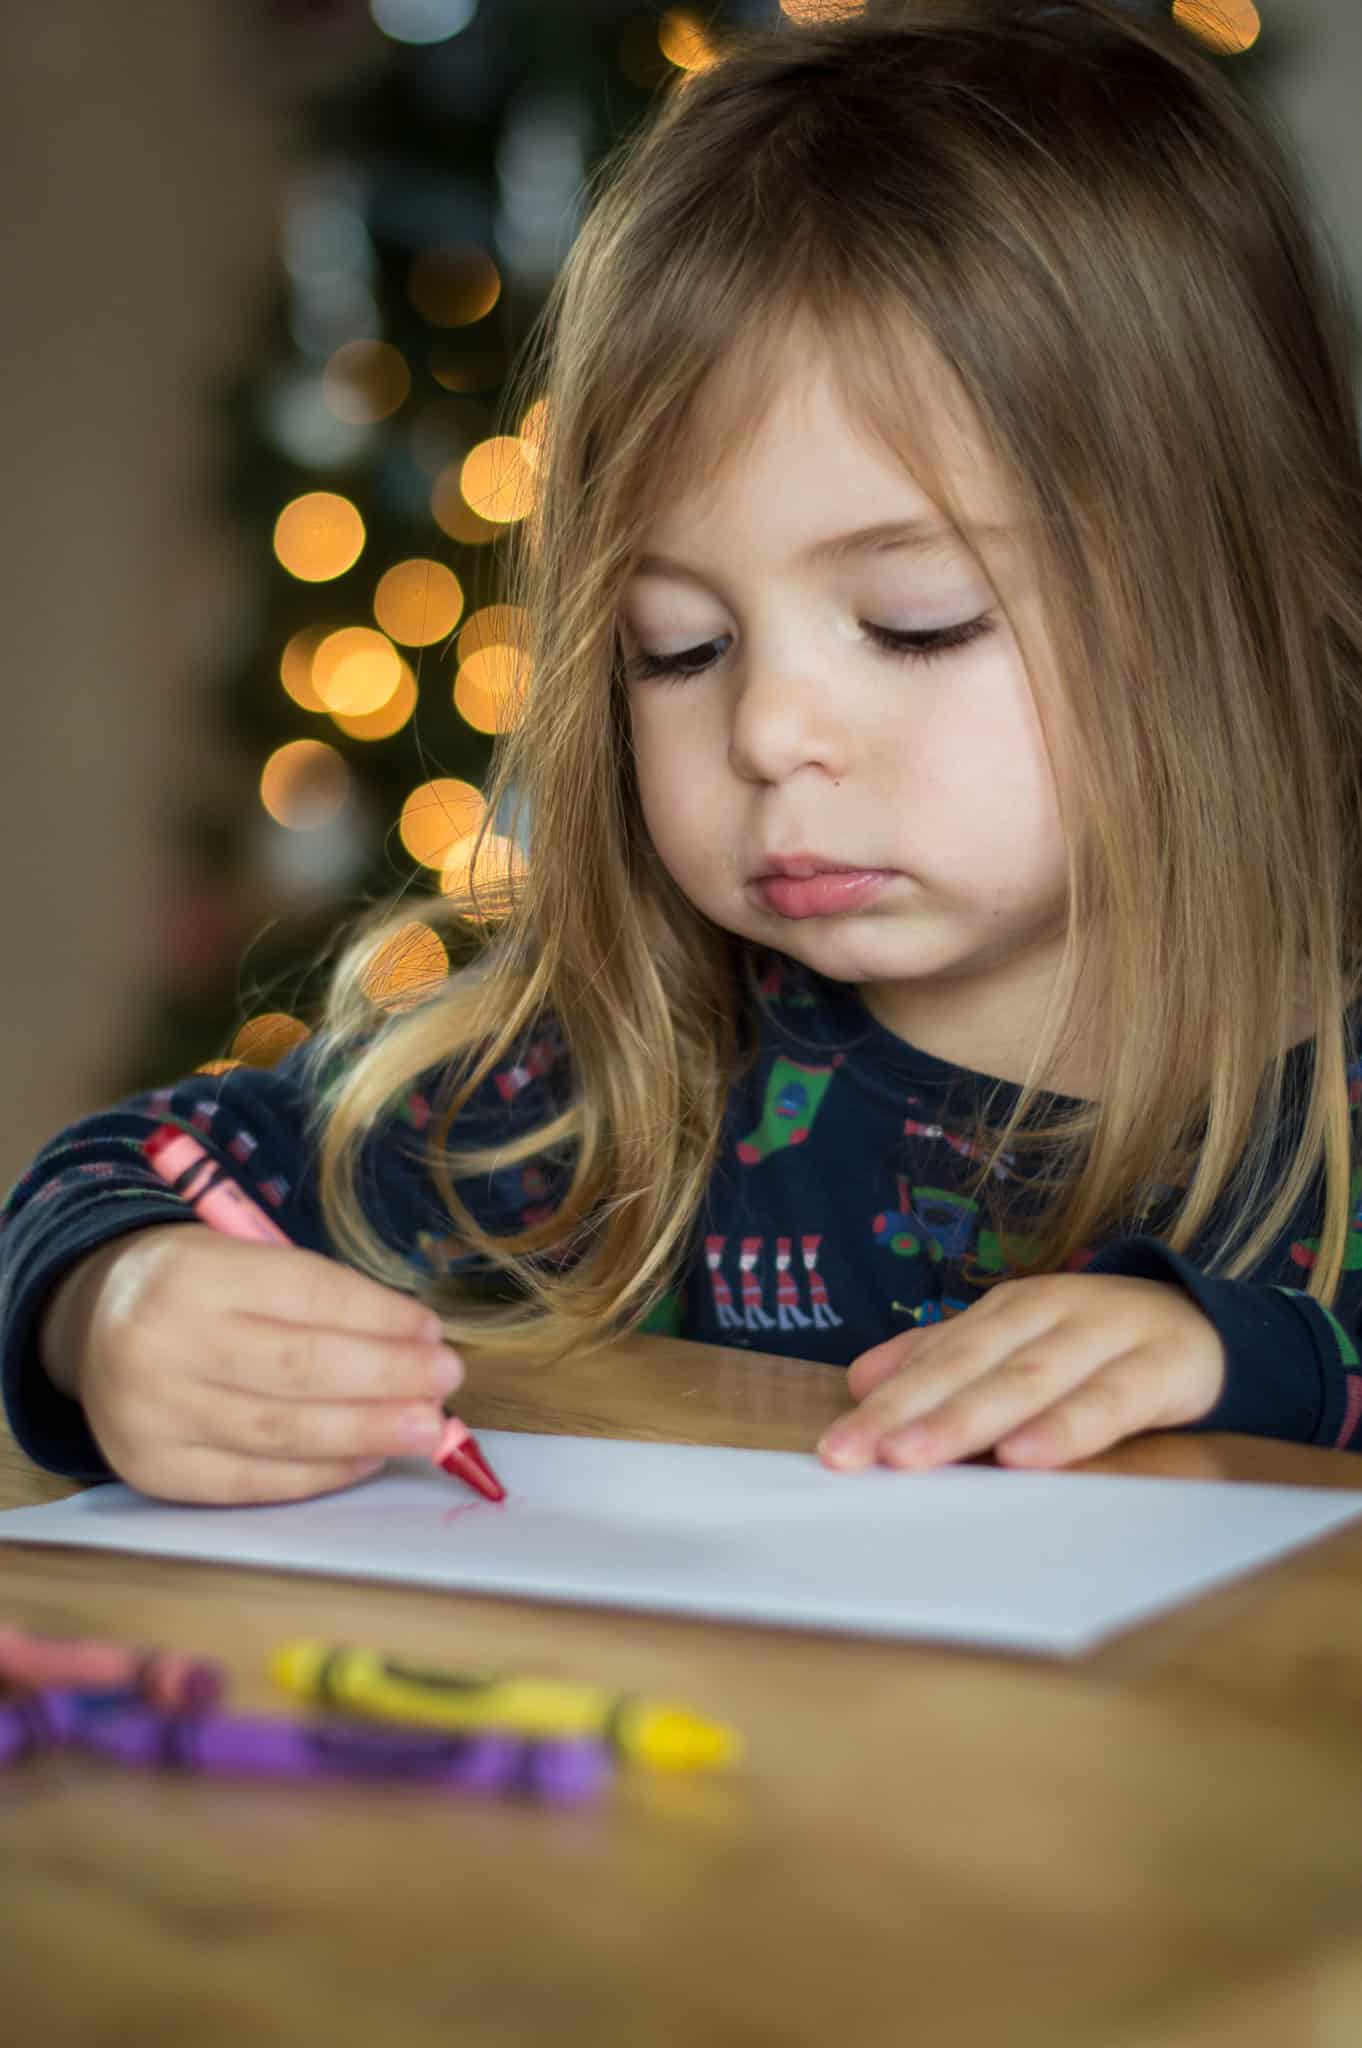
Who doesn’t love a photograph with a great bokeh effect? You may not even know what it is, but just trust me- you love it.
Bokeh is a Japanese word, which refers to the “blur” in a photograph. It adds a beautiful, natural look to your photos. You can create fantastic pictures all year ’round with bokeh; however, it is especially magical around the holidays. A bokeh Christmas tree picture makes everyone get the warm and fuzzies.
Right? Did you get the Christmas goosebumps there? I always do. It is super easy to recreate this effect! You just have to make sure you have the right camera gear and understand the camera settings.
What to Get out of Your Camera Bag
First, you need a DSLR. You can’t create this without one. I use my trusty Nikon D3300 w/ AF-P DX 18-55mm VR Digital SLR – Black.
Next, you need a lens that allows you to get a “low” F-stop. This refers to your aperture. Aperture serves two purposes to a beginner photographer. First, a low ‘f-stop’ number, will let in more light and allow for you to take pictures in low light. Secondly, a lower number will allow for that blurry “bokeh” effect in the background. If you don’t fully understand these settings, check out my super easy to read posts on your three main camera settings:
- Shutter Speed Explained for Photography Beginners: The Secret to Clear Photos
- Aperture Explained for Photography Beginners: The Secret to Background Blur
- ISO Explained for the Beginner Photographer: The Secret to Manual Mode
A fixed 50 mm lens is a fabulous lens for this. It allows you to get as low as “f/1.8”, which translates to SUPER blurry background, which I love. I use my 50 mm lens for 99.8% of my pictures and I recommend that if you are interested in photography, get one now!! Check out these lenses, which include my 50 mm lens and a similar product.
How to get the Bokeh Effect
To get the bokeh money shot you follow these easy tips:
First, place your subject at least a couple of feet in front of the lights, Christmas tree, or whatever you are using in the background. You want to be closer to your subject than your subject is to the lights.
Next, make sure the room has fairly LOW lighting. Let’s think about lighting and aperture for a moment. If you are using a low “f-stop” (which gives you that blurry background), then it always lets in a lot of light. To use that low ‘f-stop’, you do not want an overly lit room or your picture will be overexposed.
Lastly, set your camera settings correctly. You need your “f-stop” to be LOW. As low as your camera/lens will allow you. Preferably around f/2! I never take photos with a shutter speed under 1/160 s (so that you don’t have movement blur). Since you are taking a picture in low light you will most likely need a higher ISO.
If you follow these directions you will get those “ball” light effects in the background that makes everyone feel like they are eating candy canes, while singing Christmas carols, while sitting right on Santa’s lap.
Summary
I wasn’t lying when I said this was a down and dirty tutorial. Quick and to the point. Once you have this down you can do this anytime of the year! So as a recap:
- Get that 50 mm lens– Nikon AF FX NIKKOR 50mm f/1.8D Lens for Nikon DSLR Cameras
- Shoot in fairly low light
- Set aperture to ~f/2, shutter speed to ~160 s, and ISO to whatever you need to get good exposure (depending on the lighting, it may be ~800)
You got this!!
- Find Strength During Tough Times with These 5 Powerful Bible Verses
- 11 Common Ways Parents are Accidently Raising the Weakest Generation
- 5 Remarkable Life Lessons Kids Learn from Watching Dad
- Raising Free Thinkers: 5 Ways to Empower Kids to Think Like Leaders
- 9 Simple Ways I Cured My Anxiety Without Medication (and Why it Worked)
If you found this helpful, share it!



The Ultimate Guide to Everyone's Favorite Holiday Photographs -
Monday 28th of October 2019
[…] bokeh with holiday lights, such as those strung on a christmas tree. For a detailed tutorial, check out this post or just follow these quick […]