
I had been taking pictures for years, as a side hobby (more like an obsession). I researched photography constantly and brought my camera EVERYWHERE. I was constantly snapping away. All of my pictures were, well average. Nothing better than a cell phone shot.
Then all of a sudden something changed- or clicked.
What happened you ask? I started getting asked what photographer I hired to take my pictures- [answer: me!]. Started getting asked if I could do photo shoots for family and friends [answer: Sure!]. Then I started to get asked constantly if I could teach people how I do it and what type of camera and lens I use [answer: you bet!].
I have 3 foolproof ways to start getting asked:
What professional photographer did you use!?
Anyone can get professional looking portraits if you follow these simple tips!
- Focus on the eyes
- Use the “rule of thirds”
- Sharpen your images
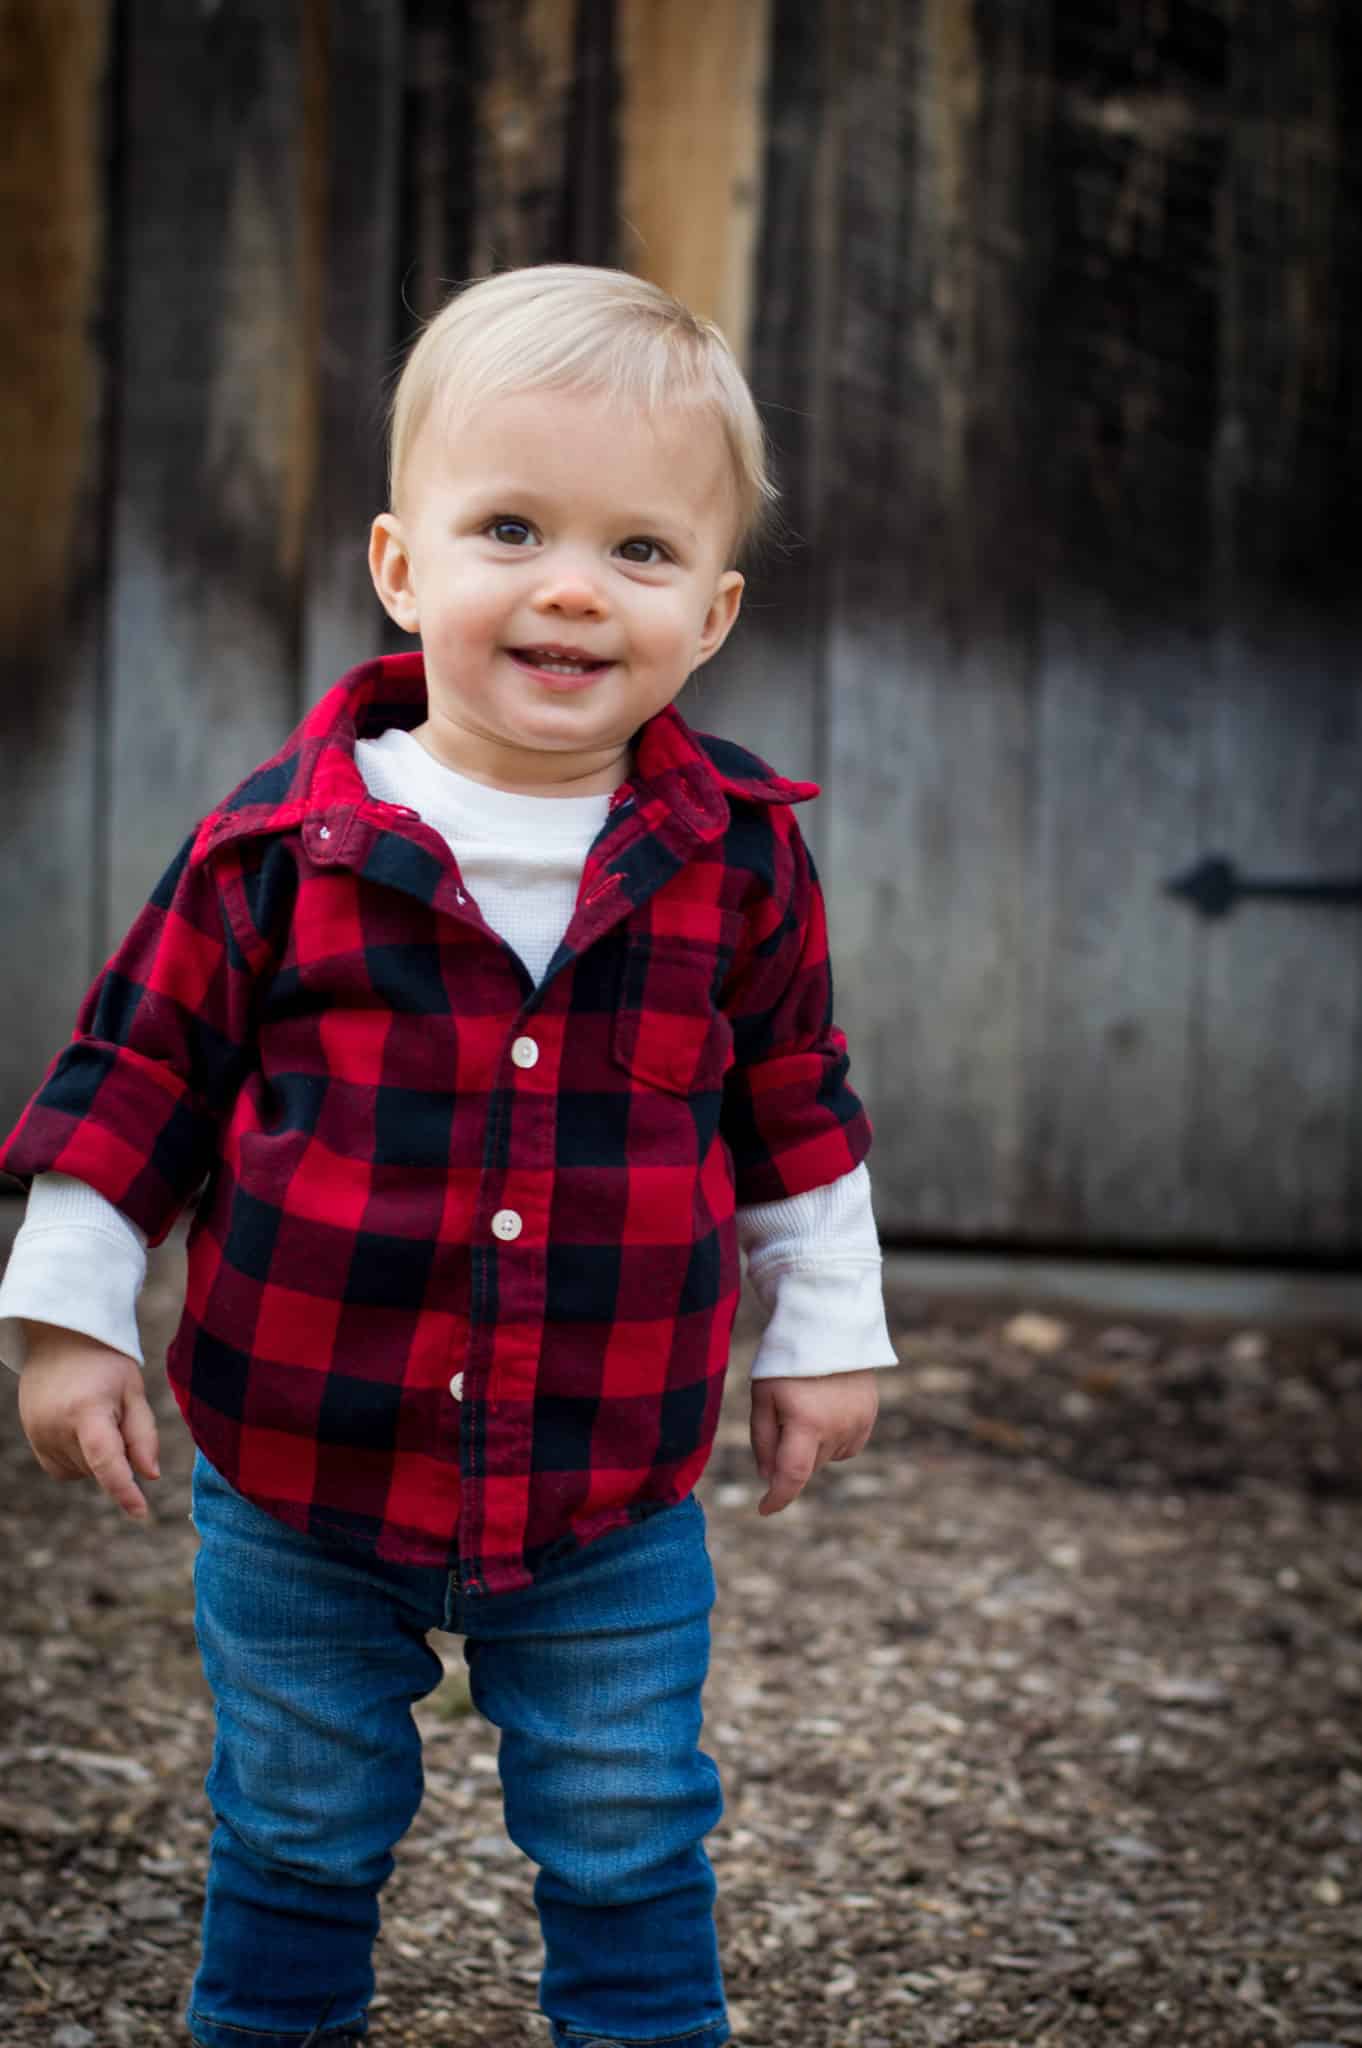
1) Beauty is in the Eye of the Beholder
The eye is the most detailed feature on the face. When I take any portrait, if I can’t zoom in and see a perfectly clear I- I delete it. Whoa– that sounds harsh; but, no joke – it’s true!

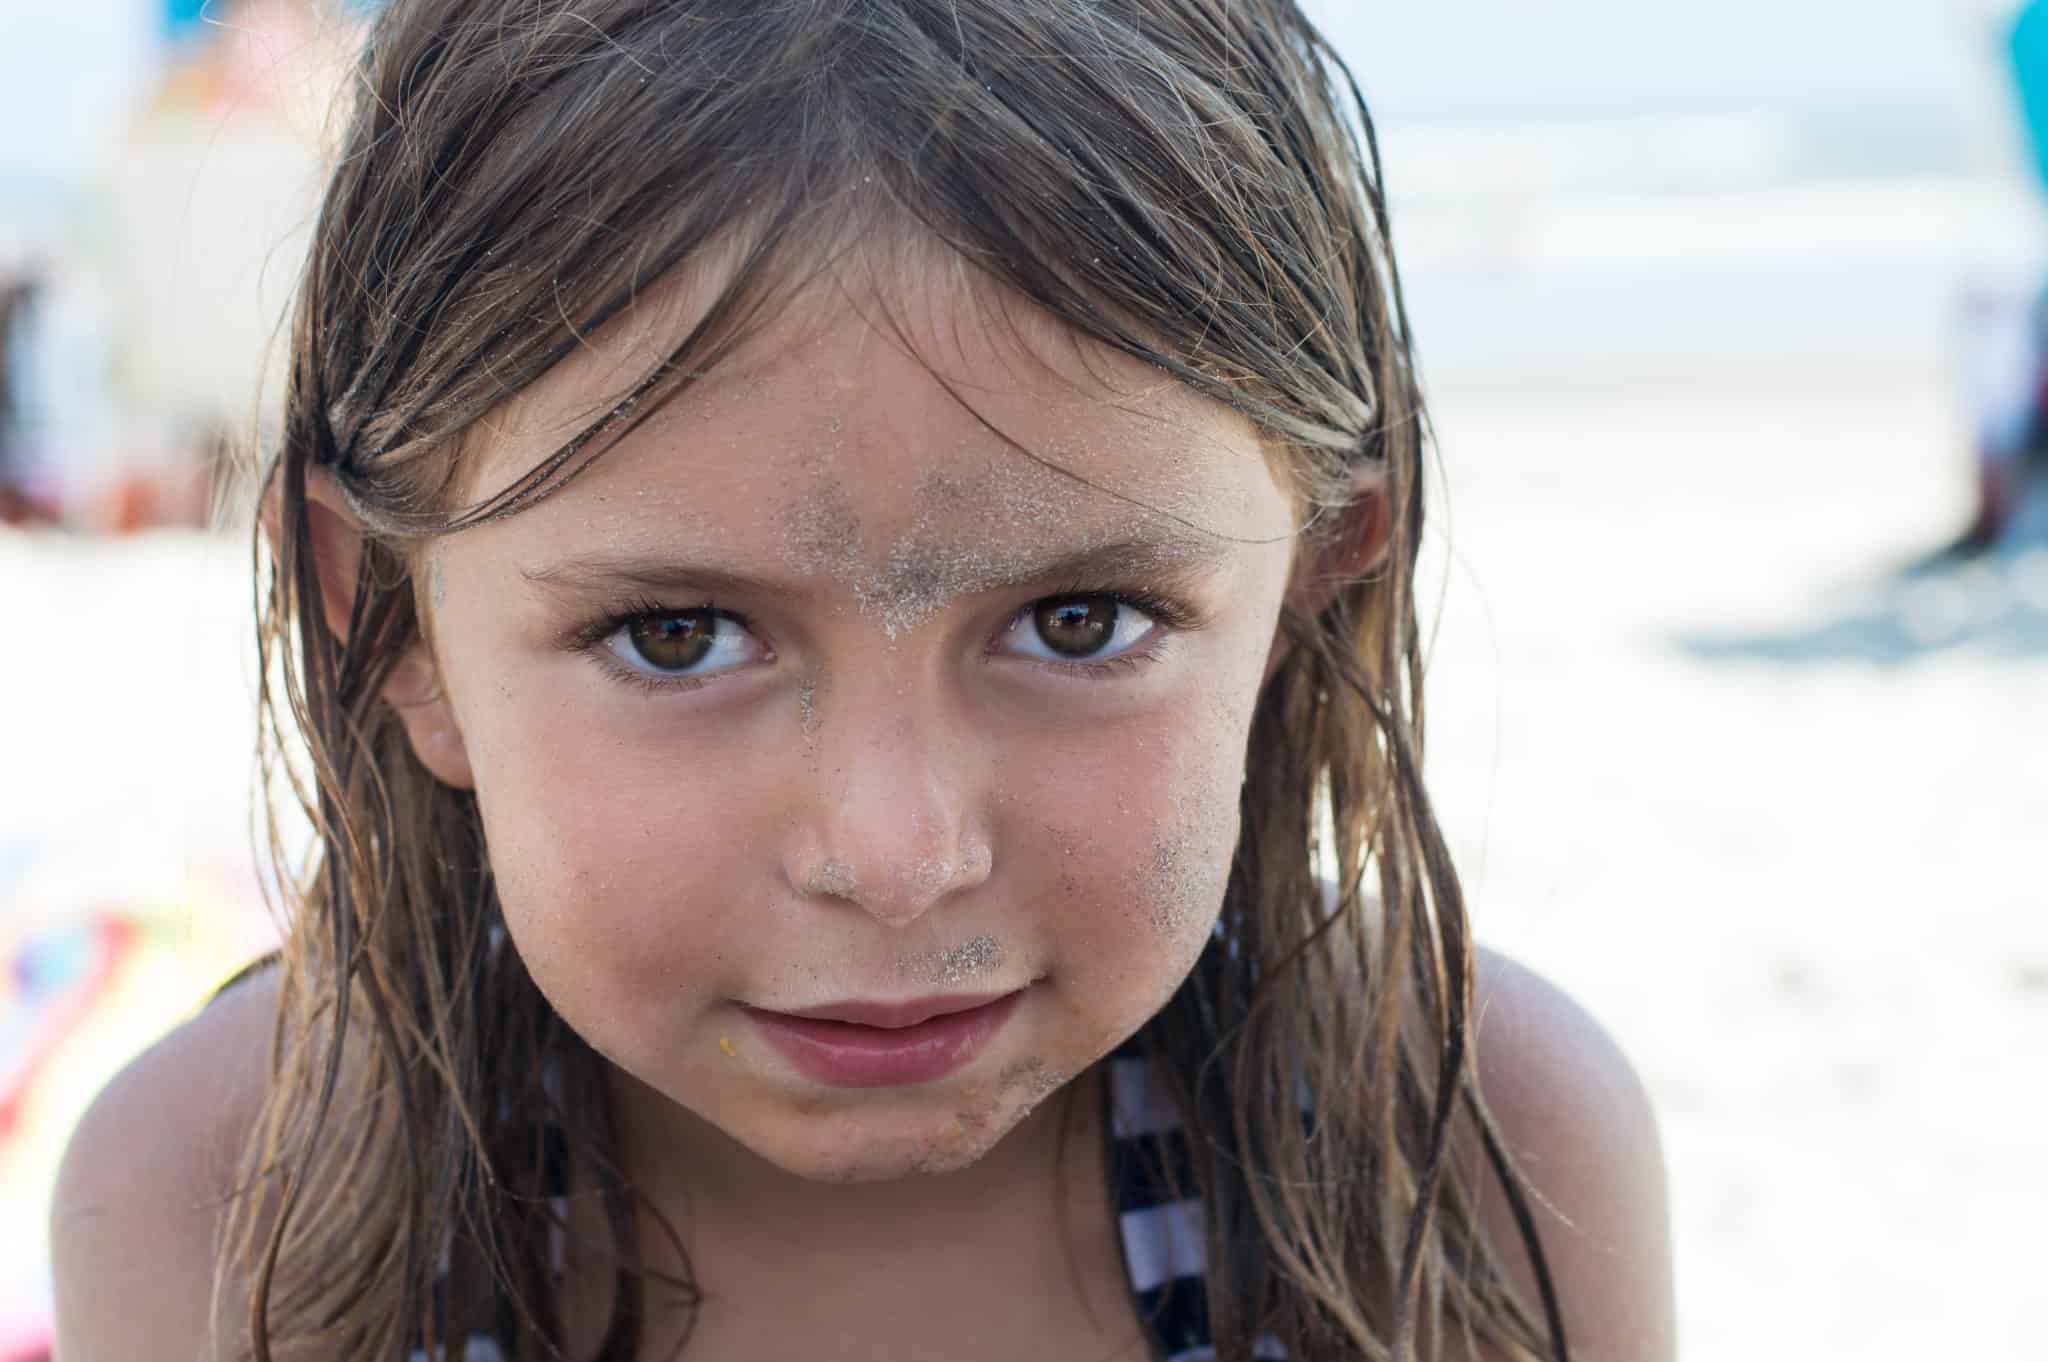
In this picture, if I focused on the nose, and the eyes were even SLIGHTLY blurred, then this picture would not have the dramatic impact it has [=DELETE!].
To properly focus, you have to understand the focal point options on your camera. These are settings on your camera to determine how you want to focus. Here are three main focal options you would have on most DSLR’s.

- AUTO AREA: means the camera will GUESS where you want to focus. Sometimes it gets it right, but not always!

- SINGLE POINT: you select the focus point manually (ex: you will move the red dot on your camera over the EYES)

- DYNAMIC AREA: Similar to single point, you select the focal point, BUT if the subject moves it will FOLLOW that focal point. (note: great for kids!)
I highly recommend the single point or dynamic area modes. When you look through your camera, you can move the ‘red dot’ to where you want to focus and then you have full control!

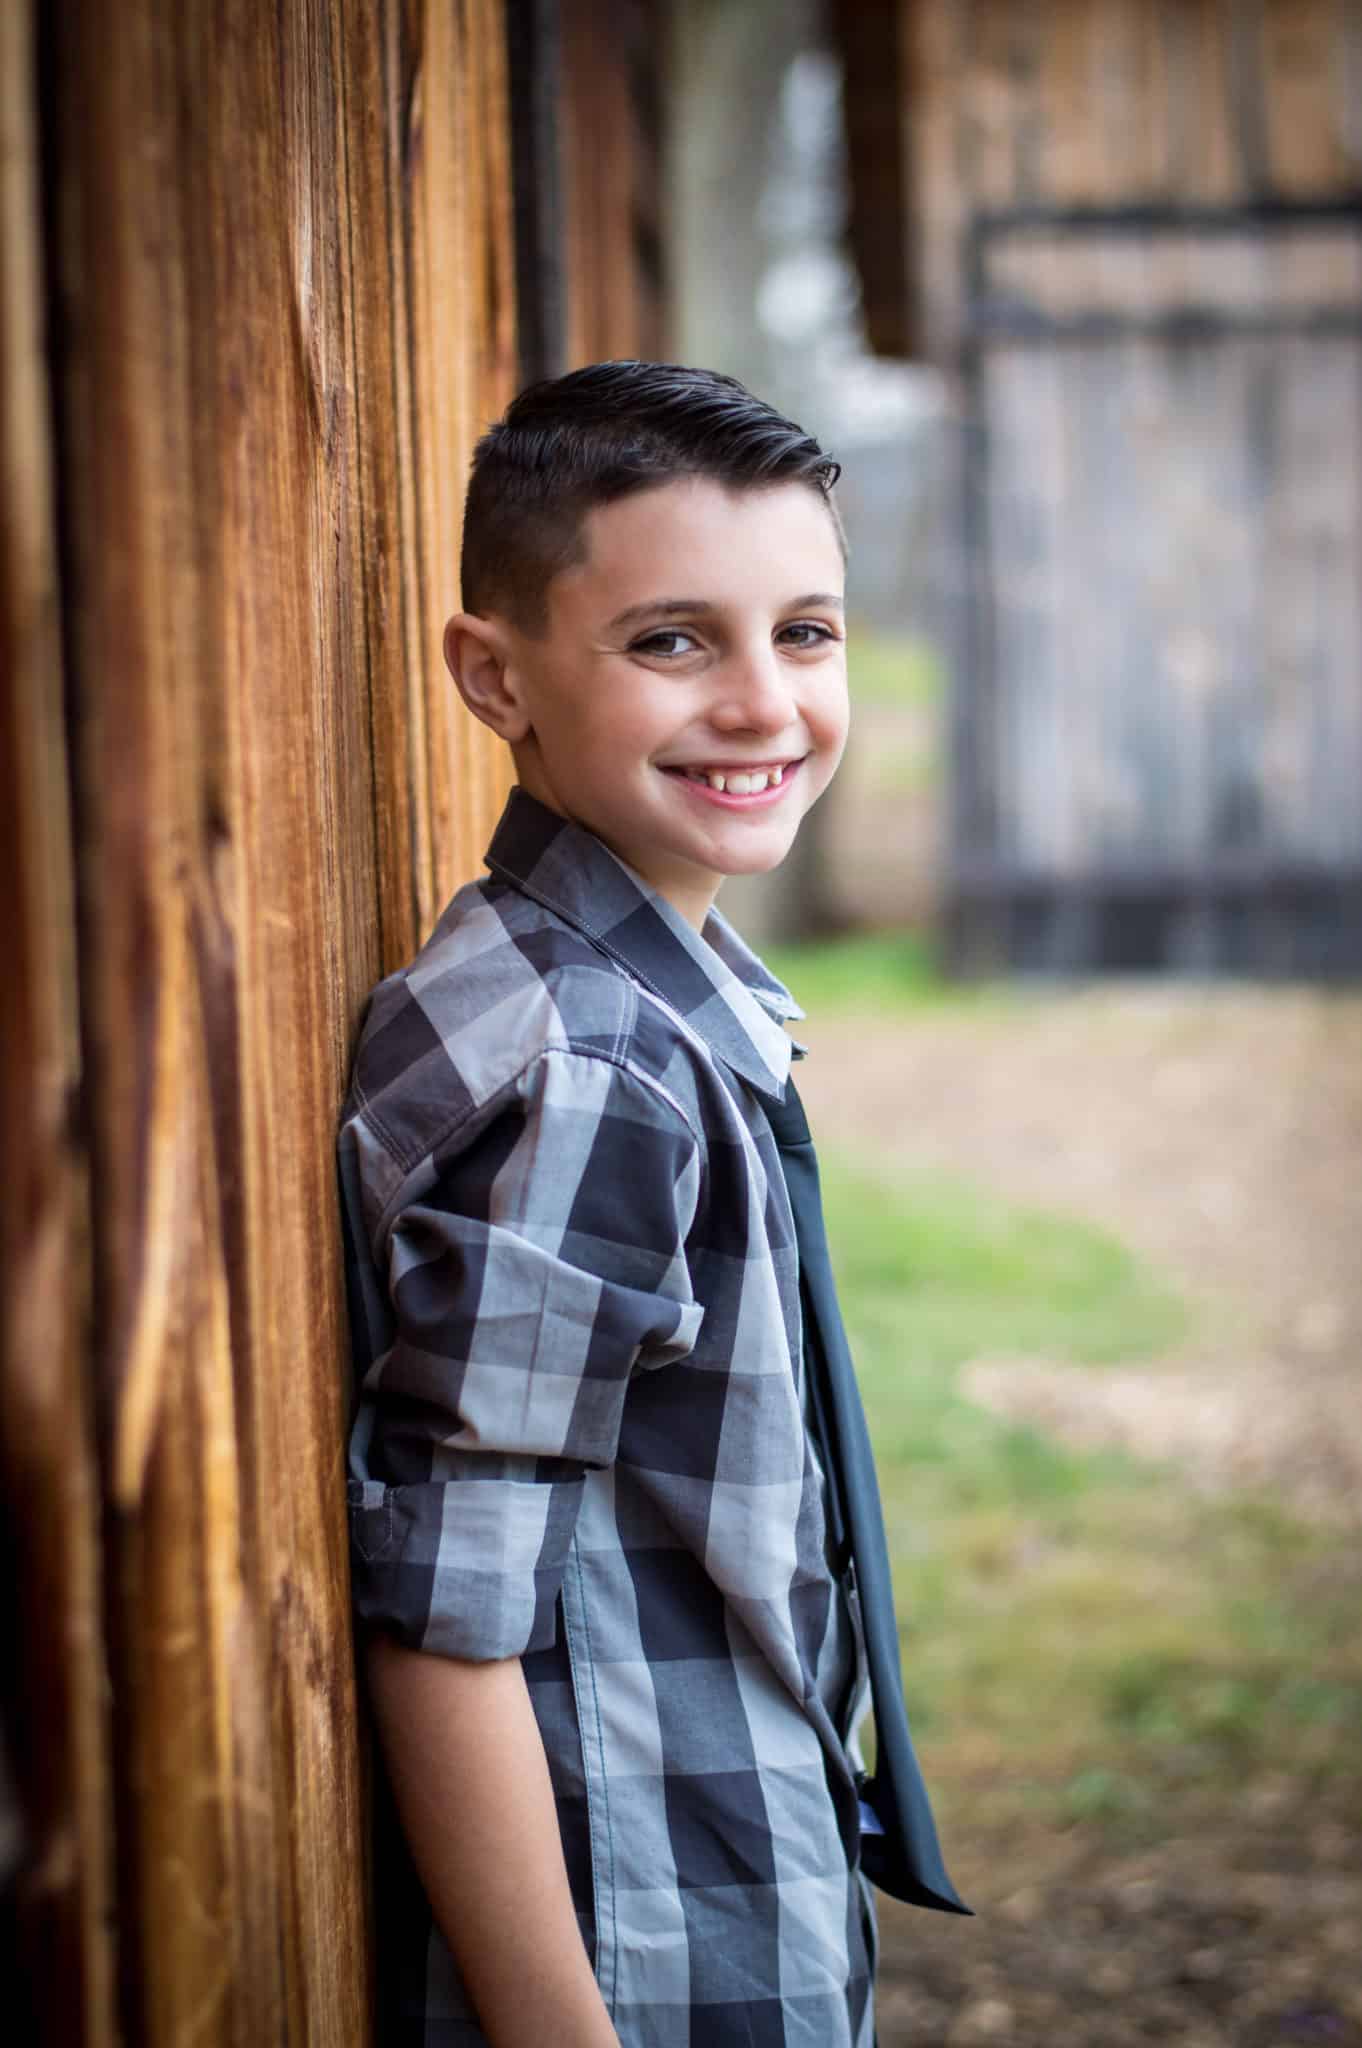
2. The Reliable “Rule of Thirds”
The “rule of thirds” is a great way to add a professional-looking touch to your portraits. What this means is, that although you may want to center your subject in the photo- it is actually more pleasing to the eye to NOT center your subject.
When you look through your view finder, break an image down into thirds (both horizontally and vertically) so that you have 9 parts.
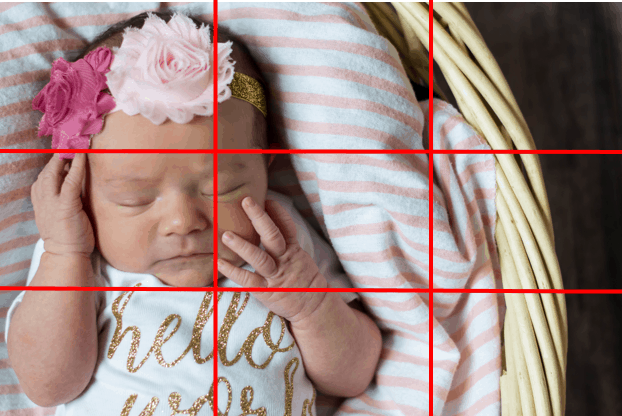
You want your subject to fall inline with one of these ‘mental’ red lines. Simple enough right!?
3. Sharpen those Shots!
I will be honest- this probably should have been number 1. This is the most important step. If you are unfamiliar with your three primary camera settings, I have three simple to understand posts about how to understand these settings:
- Shutter Speed Explained for Photography Beginners: The Secret to Clear Photos
- Aperture Explained for Photography Beginners: The Secret to Background Blur
- ISO Explained for the Beginner Photographer: The Secret to Manual Mode
Nothing screams “I don’t know what I am doing with this camera” than a blurry photo with a weak focal point.
Shutter speed Tips to Improve Sharpness:
Anytime I am taking a photo of kids, animals, or adults I NEVER use a shutter speed slower than 1/160 s (or faster for antsy kids). This ensures that even if the subject is moving slightly, you will not see any movement blur. Movement blur will destroy your portrait.

Aperture/Depth of Field Tips to Improve Focal Point:
Who loves those creamy backgrounds and sharp subjects! Everyone, that”s who! The lover the “f” number, the shallower the depth of field (aka blurrier background aka looks professional!) If the lighting allows, I try to use an ‘F’ (aperture) of 3 for a single person portrait, or 4 if there are multiple people.
Ready to Go Take Professional Looking Photos?
Sure you are! Remember– focus on the eyes, try the rule of thirds, and use your camera to sharpen your images.

I have one last big recommendation. If you read any of my posts, you know that I LOVE my 50 mm Camera Lens. I use it for 99.5% of my photos. It is what makes those blurry back grounds and sharp focal points possible. If you are in the market to get a new lens or improve your photography, get serious about getting a 50 mm lens! They are affordable and spectacular! Check it out for yourself!:
- A Non-Technical Mom’s Honest GoPro Review
- Affordable Camera Gear
- Christmas Wish List for Beginner Photographers
- Complete Guide to Flashes and Photography Lighting
- It’s All About That Lens
Here is my baby:
- Stinging Nettle: The Nourishing Green Powerhouse
- Plantain Leaf: The Quiet Healer Beneath Your Feet
- Skullcap: The Quiet Herb for Busy Nerves
- Mullein: The Velvet Giant of Herbal Medicine
- Echinacea: The Bright Coneflower of Immune Support
If you found this helpful, share it!

Issam
Monday 3rd of December 2018
Very useful information, thanks for sharing
Delux Designs (DE), LLC
Tuesday 27th of November 2018
Love these photography shots! You have a great eye!
JOHN
Monday 26th of November 2018
Am always looking for ways to improve my photographing skills. This post provides the necessary tips to help me up my photography game. Thanks for sharing.
Latha
Monday 26th of November 2018
I am a newbie with cameras... I didn't understand all this but I like the delete and the option where are asked to imagine thirds. That was an aha moment for me...wow. That picture looks better since it is to the left. I only have a phone. I take my product pics with that.
plant.well
Sunday 25th of November 2018
Great post! As a new photographer, these tips will definitely come in handy!