
Photography Lighting Rules that will Dramatically Transform Your Pictures
Learn the photography lighting rules that will bring your pictures to a new level.
If I was on a deserted island and I could pick one physical item to bring along, I would chose my camera. No questions asked.
Okay, well maybe a fire starter or machete would be a smarter pick, but I would truly miss my camera.
I didn't always have such an intense love affair with my camera. It took a lot of practice and learning before everything truly clicked.
Of course it is important to understand your camera settings; however, there is another concept that will make or break you pictures every-time. This important factor is lighting.
I have 5 lighting "rules" that I follow in every single picture that I take. I will share the "rule", and demonstrate the huge impact it has on a picture.
Whether you are using a DSLR camera or even your cell phone, you can dramatically transform your photography with these 5 simple lighting rules.
1) Use Natural Light
If you are taking pictures indoors, if there is natural light anywhere, find it and go to it. Get by a window or open a door.
I took picture A and picture B in the same room, only a couple feet away from each other.
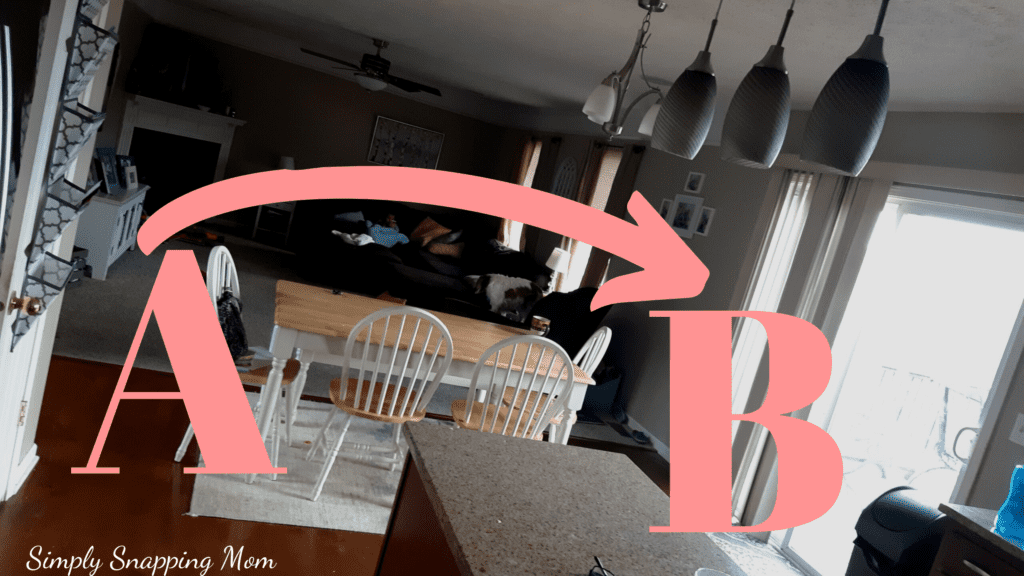
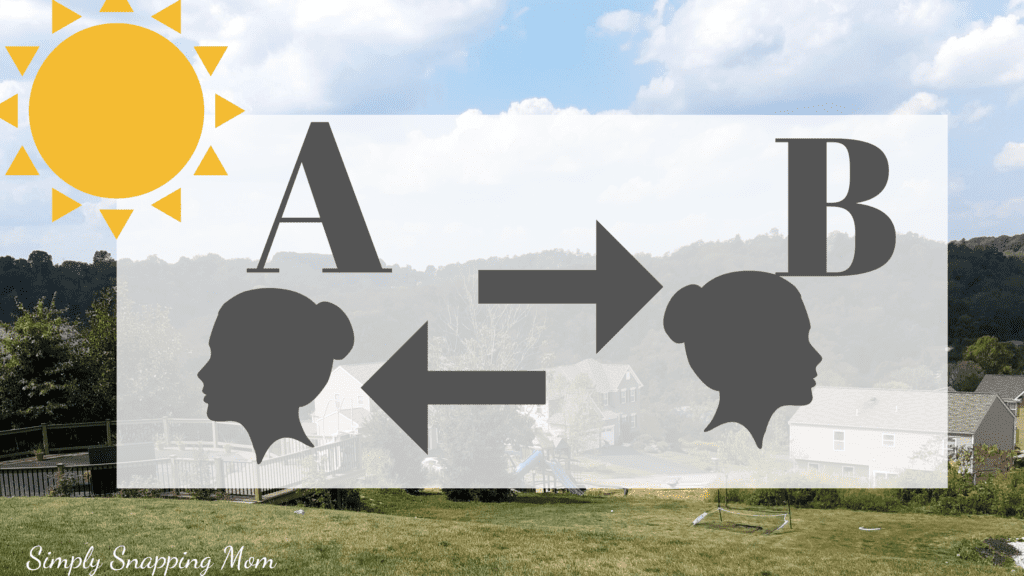
Picture A is taken at the A location above, and picture B is taken at the B location above.
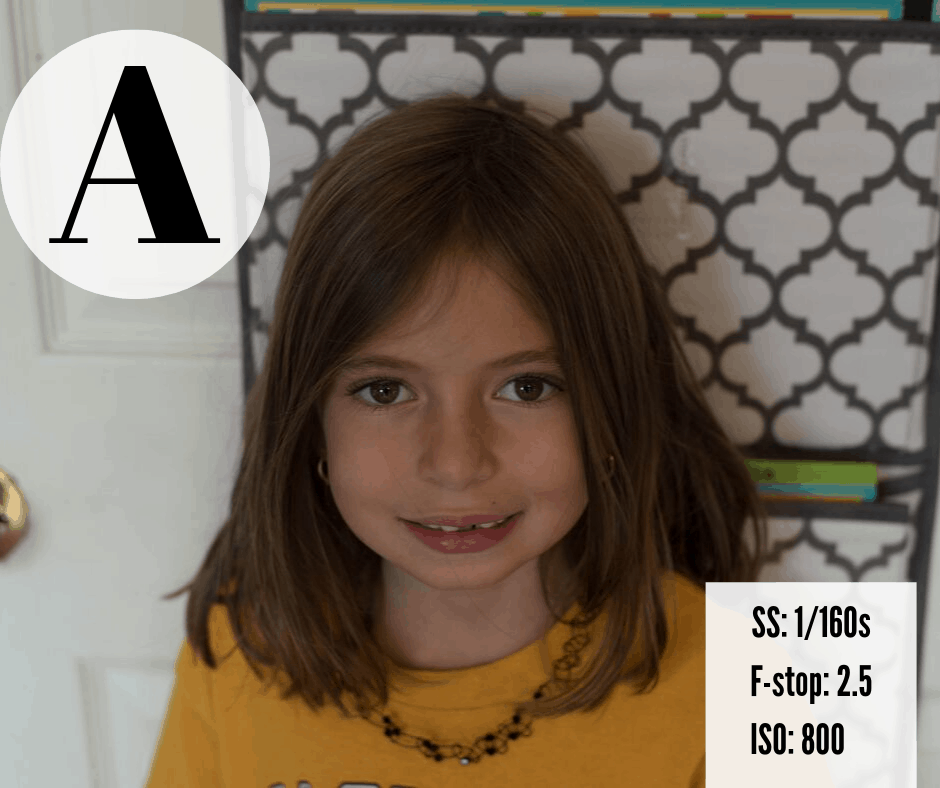
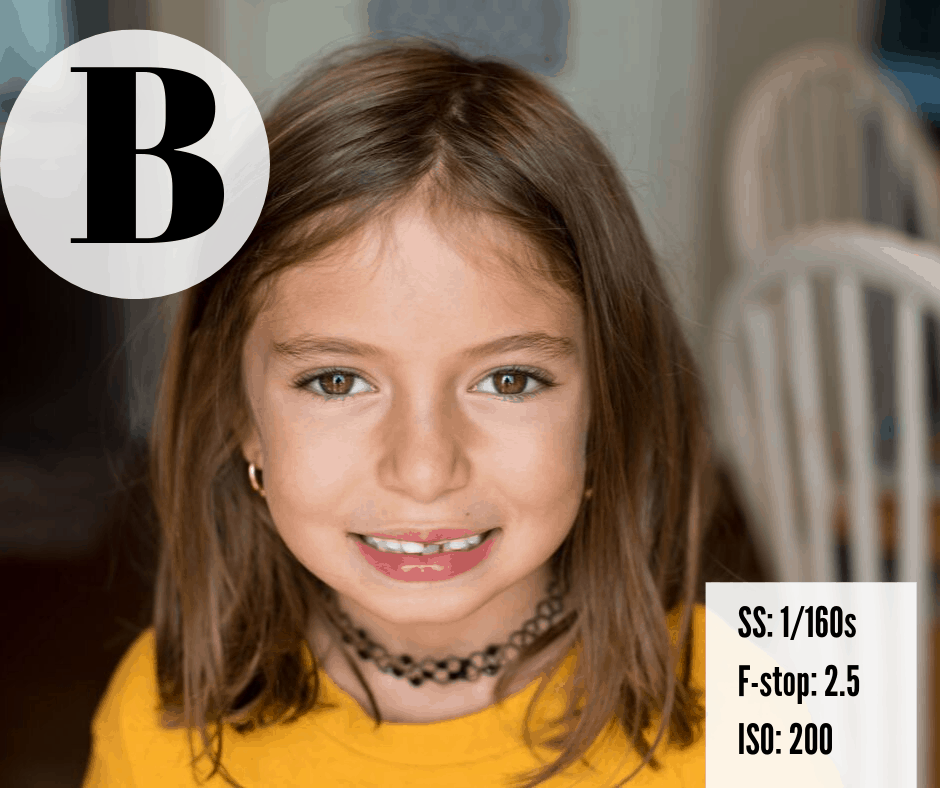
You can see that by moving your subject only a few feet towards a natural light source, it brightened the photo with catch-lights (aka the light or glimmer that reflects in the eyes of a subject) and I was able to lower the ISO, which resulted in a clearer picture.
Check out this post to learn all about what ISO is and how it impacts your photograph.
2) Face Subject TO the Light
Not only do you want your subject to be near natural light, you want them to FACE towards the natural light.
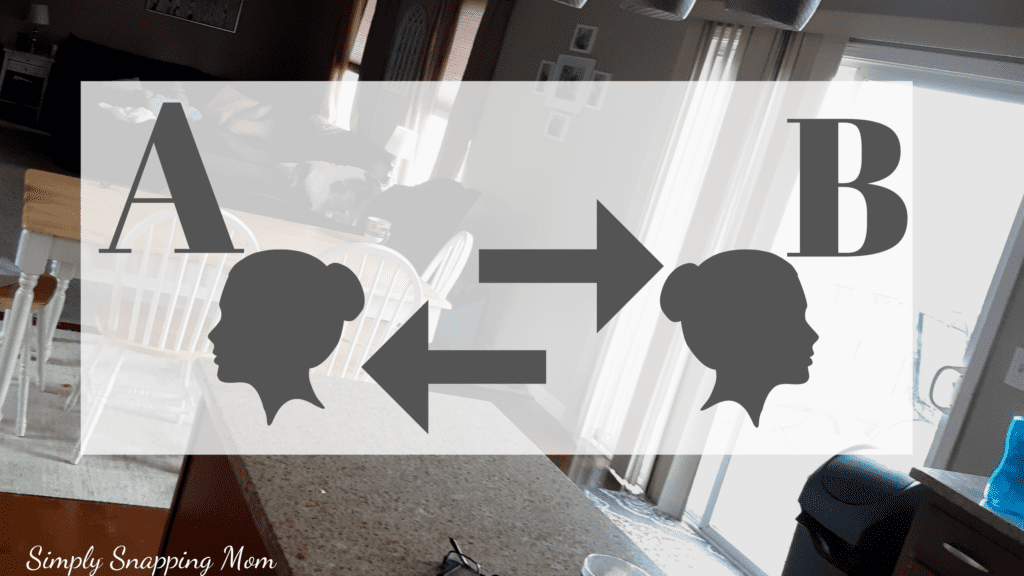
Here, picture A is taken facing the A direction, and picture B is taken facing the B direction.
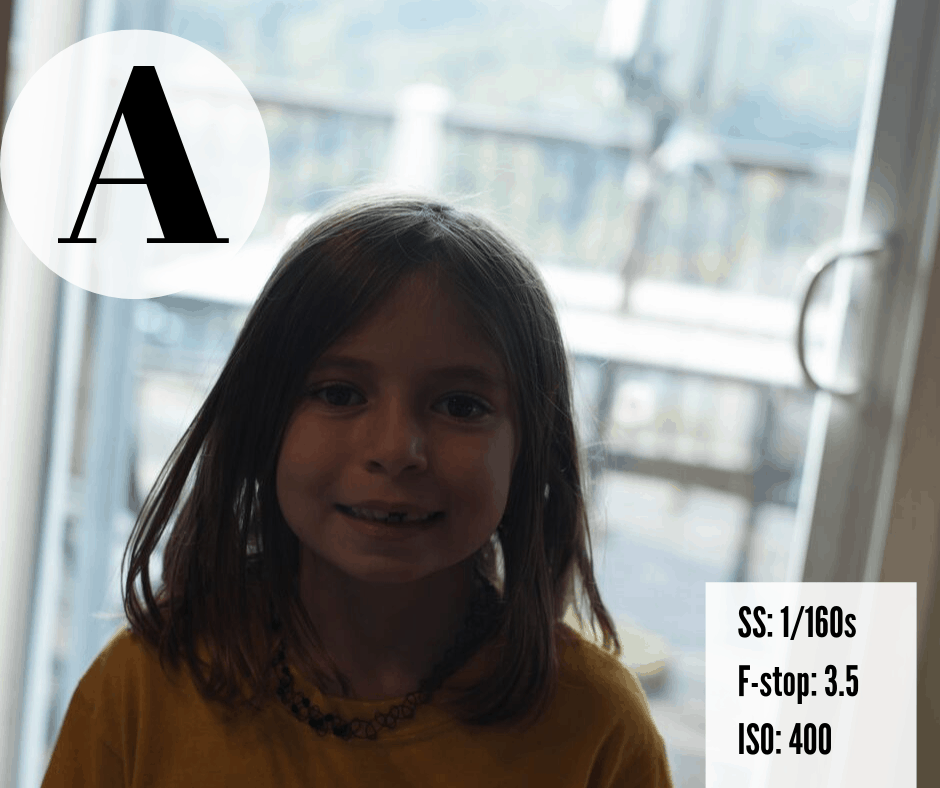
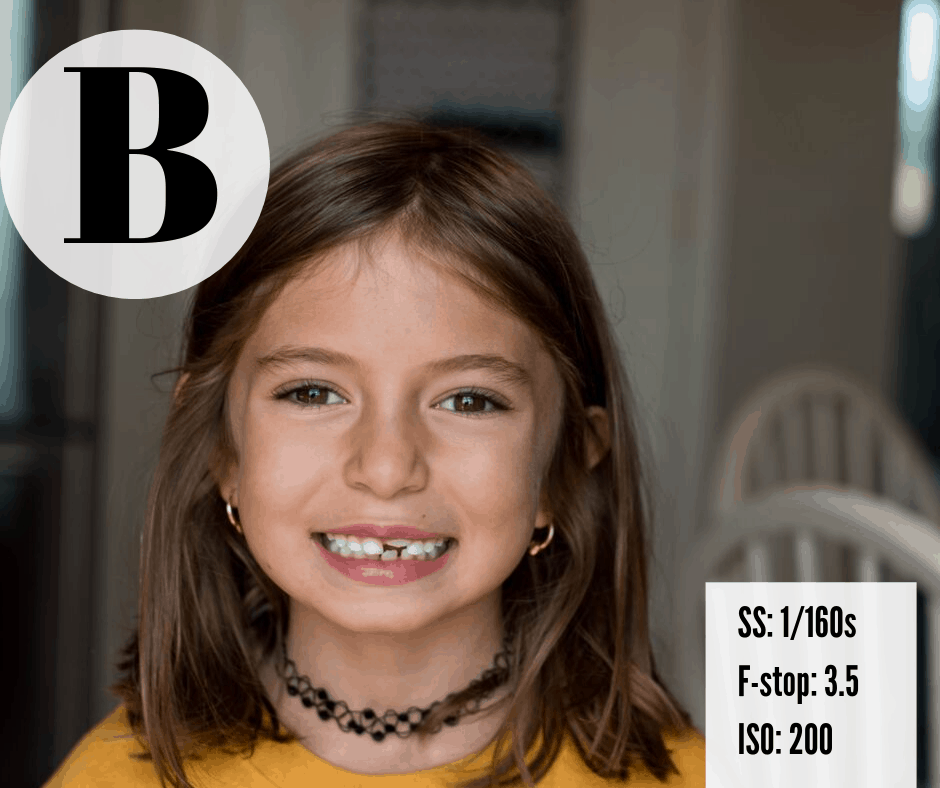
These two pictures are taken at the EXACT same spot, just from a different angle.
Taking Headshots? Follow these simple headshot photographer tips.
3) Find and Use Open Shade
Next, let's look at the open shade concept.
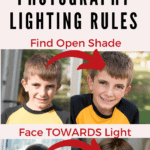
Early in my photography journey, if you would have asked me what the best lighting was, I would have confidently shouted out "in the sun!". I couldn't have been more wrong. Shade is actually where it's at; specifically, open shade. Open Shade is achieved when your subject is in a shaded spot, facing TOWARDS where the sun or light source is.

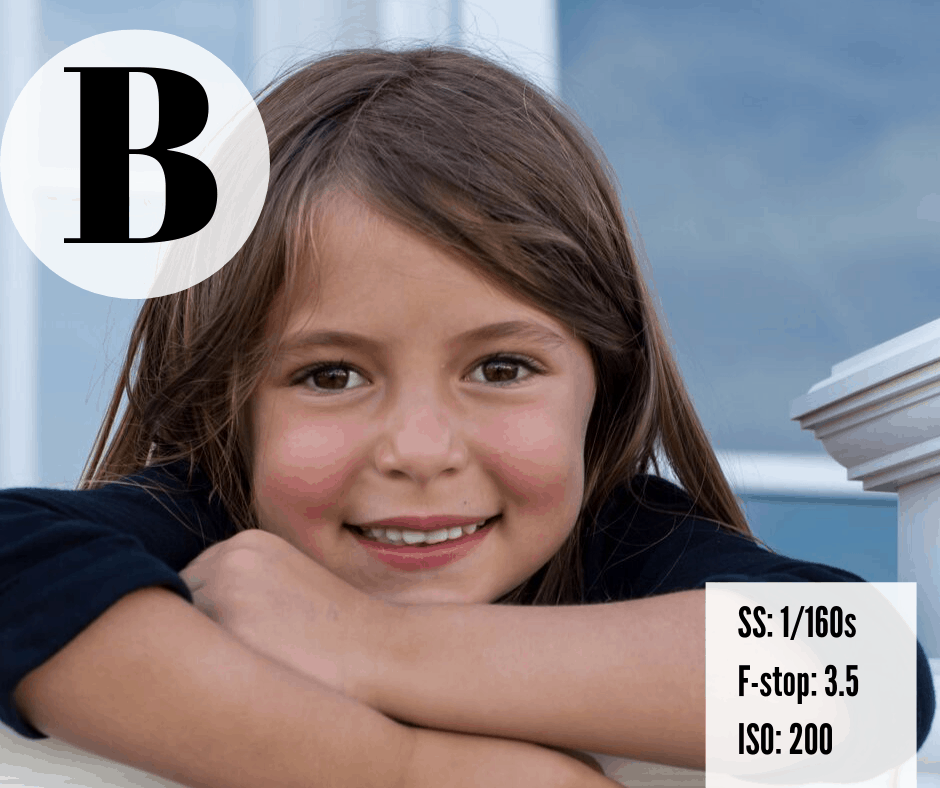
In this example, picture A is taken in the sun, and picture B is taken in open shade.
For more on finding and using open shade, check out this post.
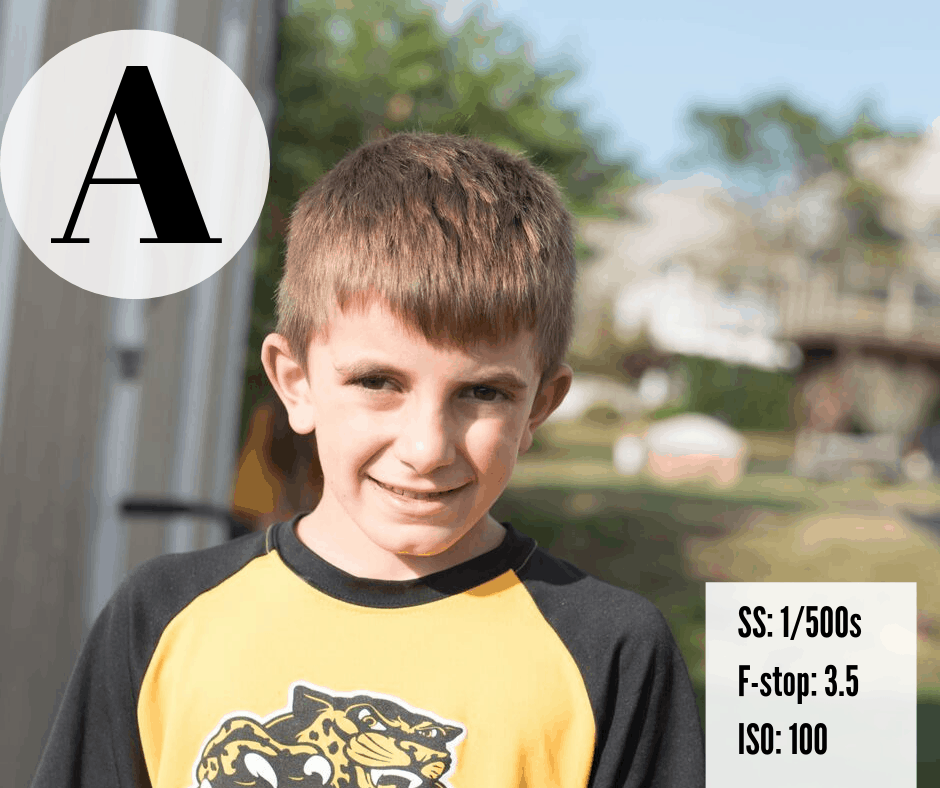
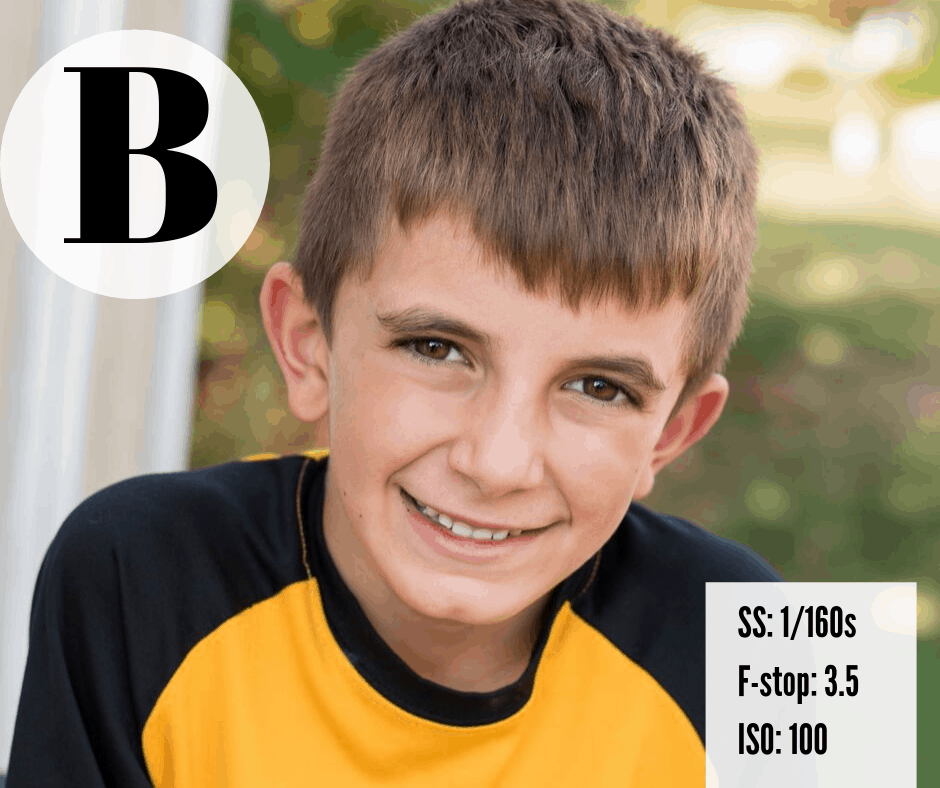
In direct sun, the colors all dull and the picture appears "flat". The features of the subject are lost. By moving the subject back a few feet to a shaded spot, the picture dramatically improved.
4) Facing AWAY from the Sun
I know I said above that the subject should face TOWARDS natural light; however, this isn't always the case when the light is too bright or direct.
If the sun is bright, face your subject away from the sun to create a softer, backlit photo.
Picture A was taken facing the sun, and picture B was taken with the sun behind the subject.
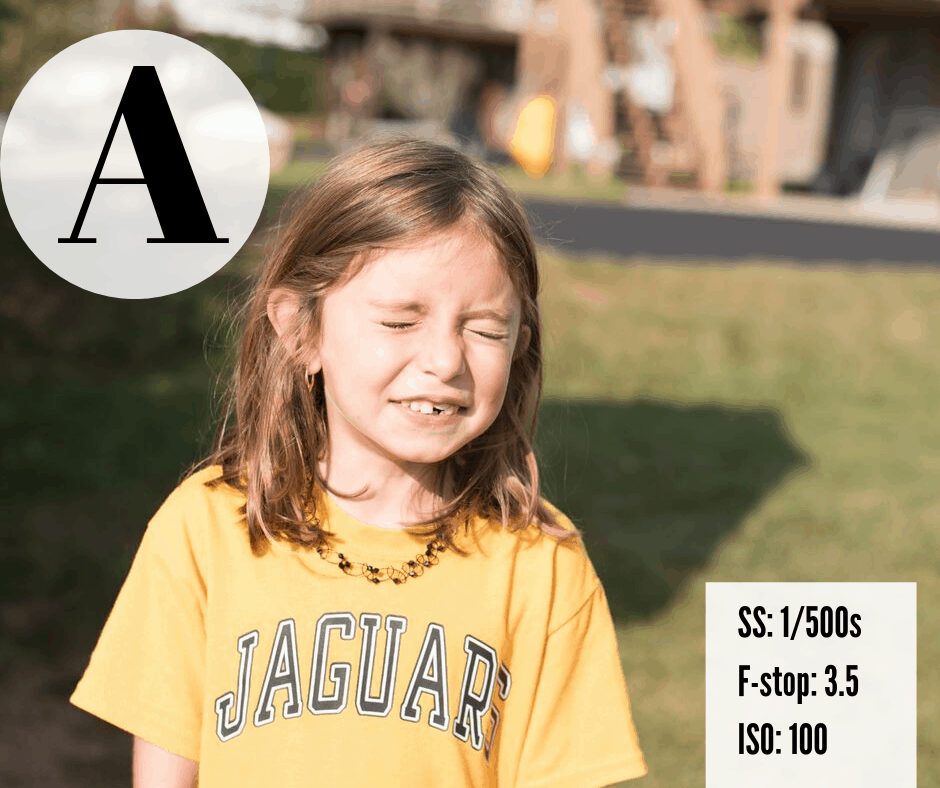
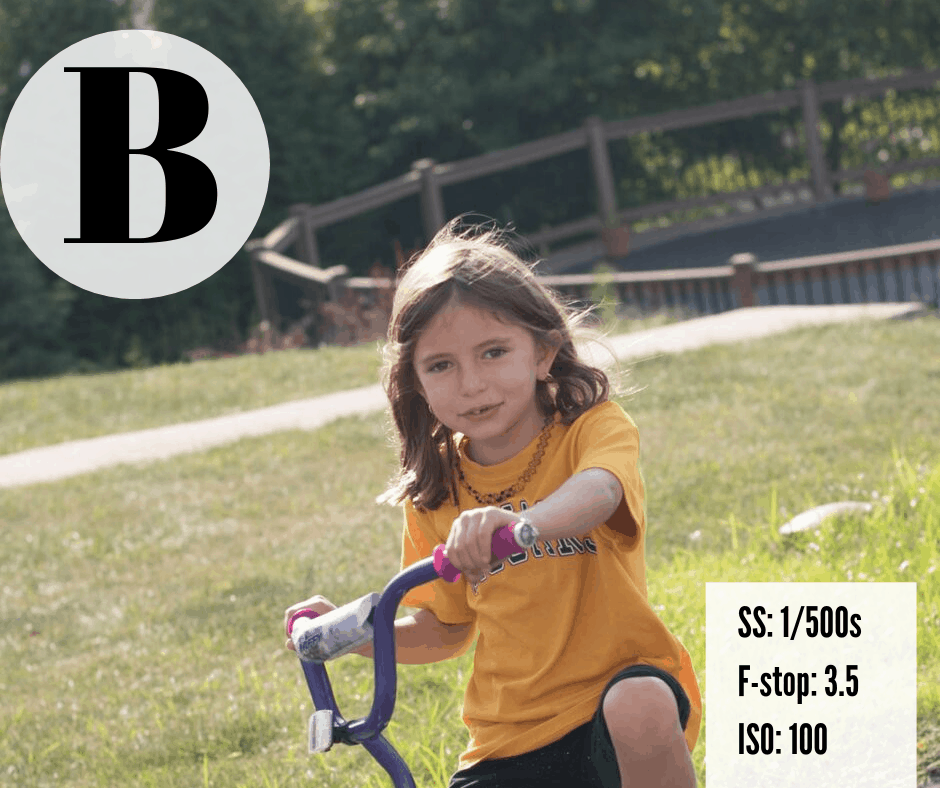
When the sun is in the subject's eyes, it will create unnatural expressions, harsh shadows, and dull colors. When the subject faces away from the sun, the picture transforms.
Click here for more quick tips on photographing in harsh sun.
5) Evening Lighting is Better Than Mid-Day
Lastly, you won't always have a choice on WHEN you take your pictures; however, if you do have an option, the evening is a great time for photography.

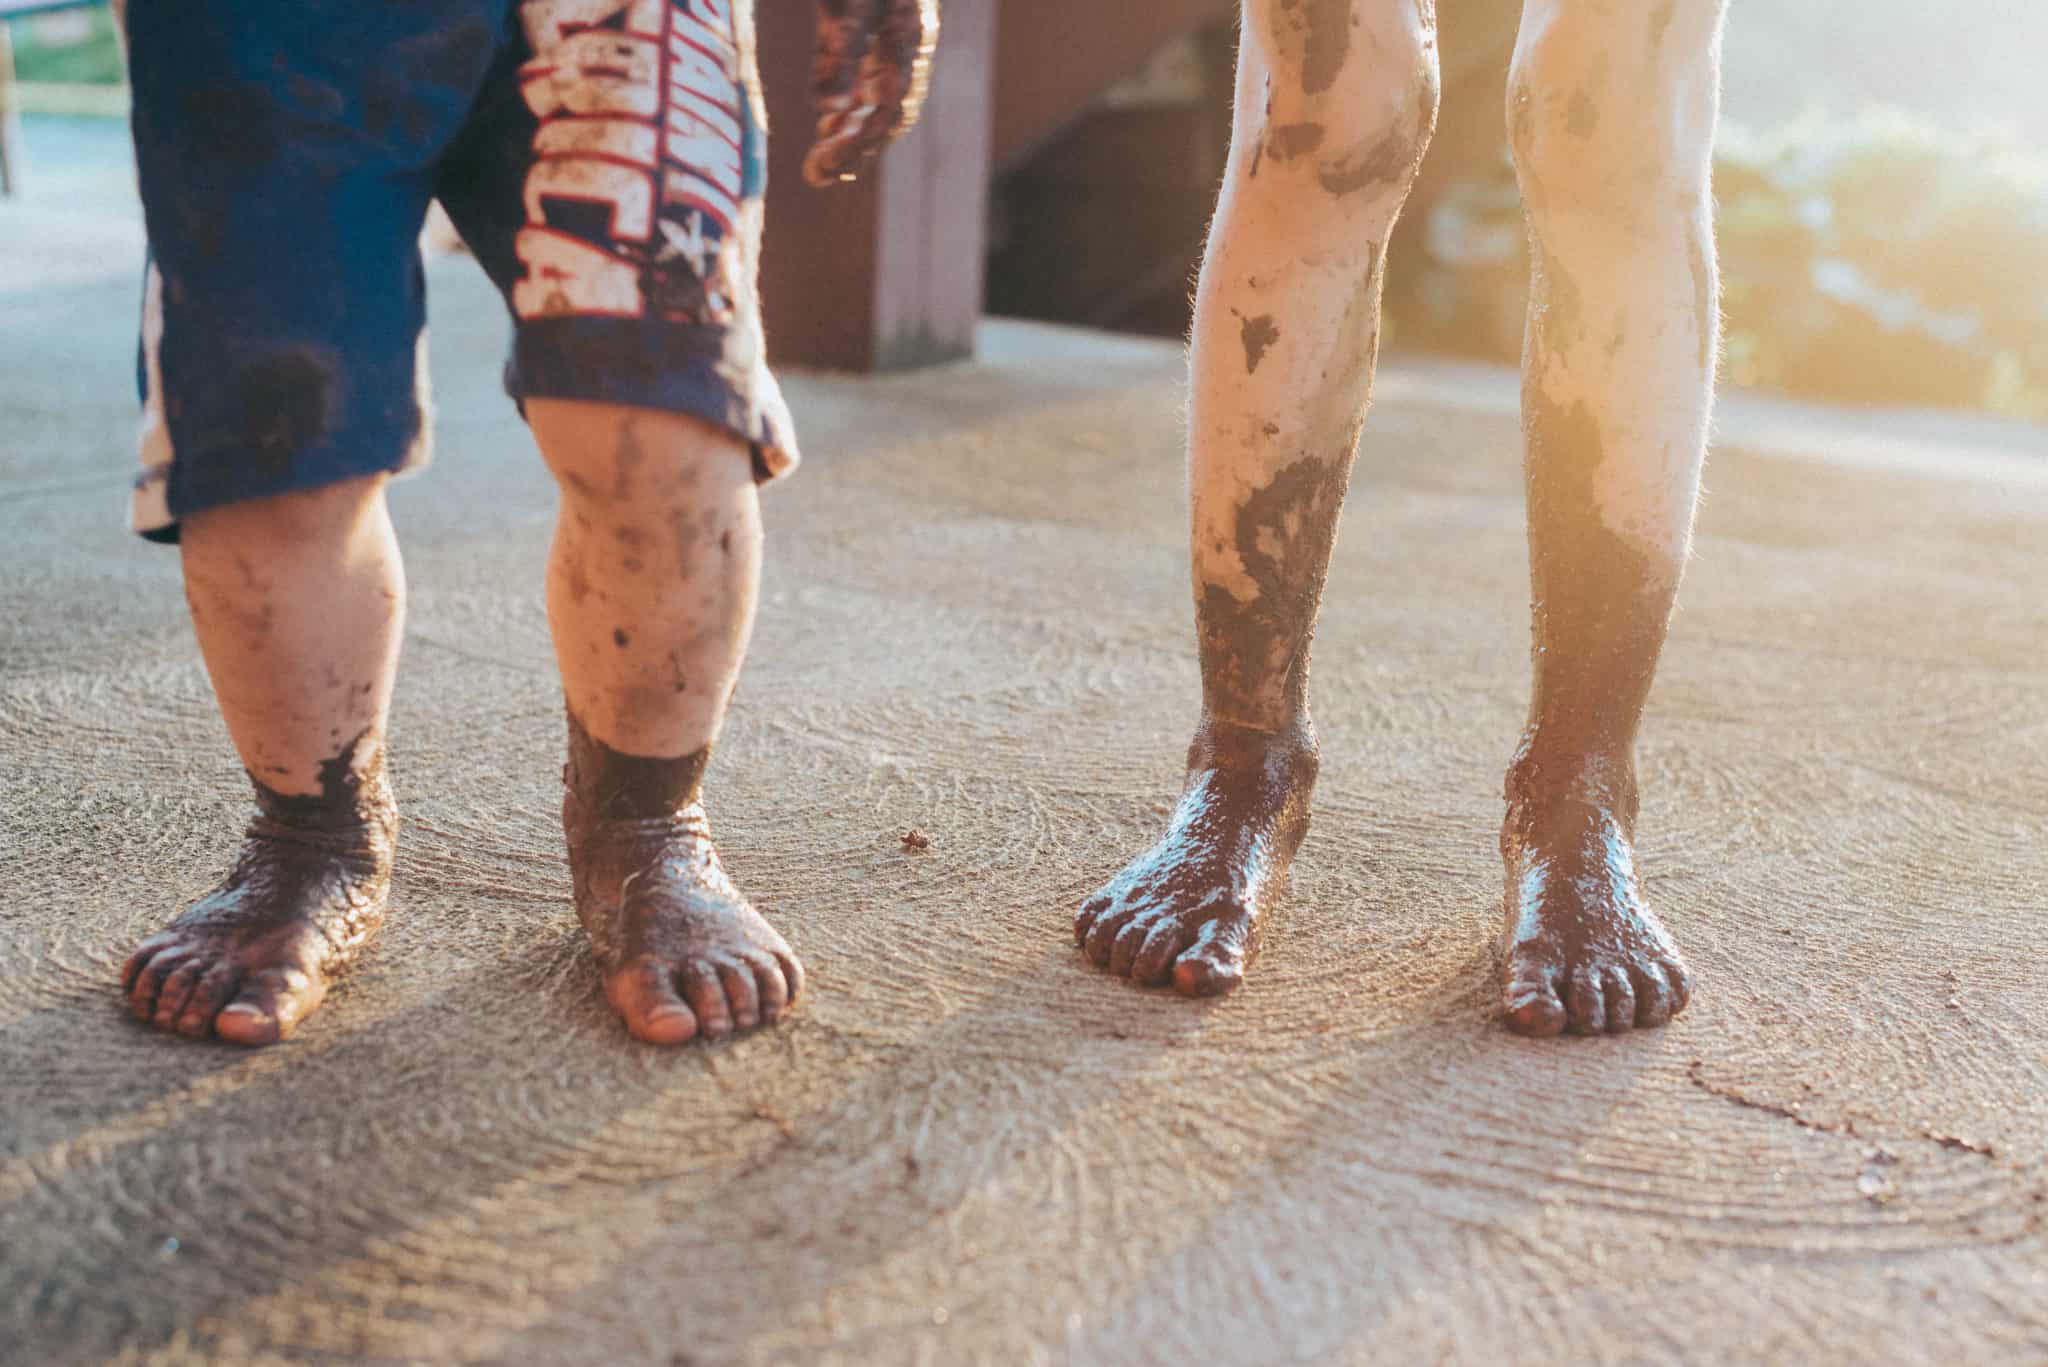
Picture A is taken at noon on a sunny day, while picture B is taken when the sun was setting.
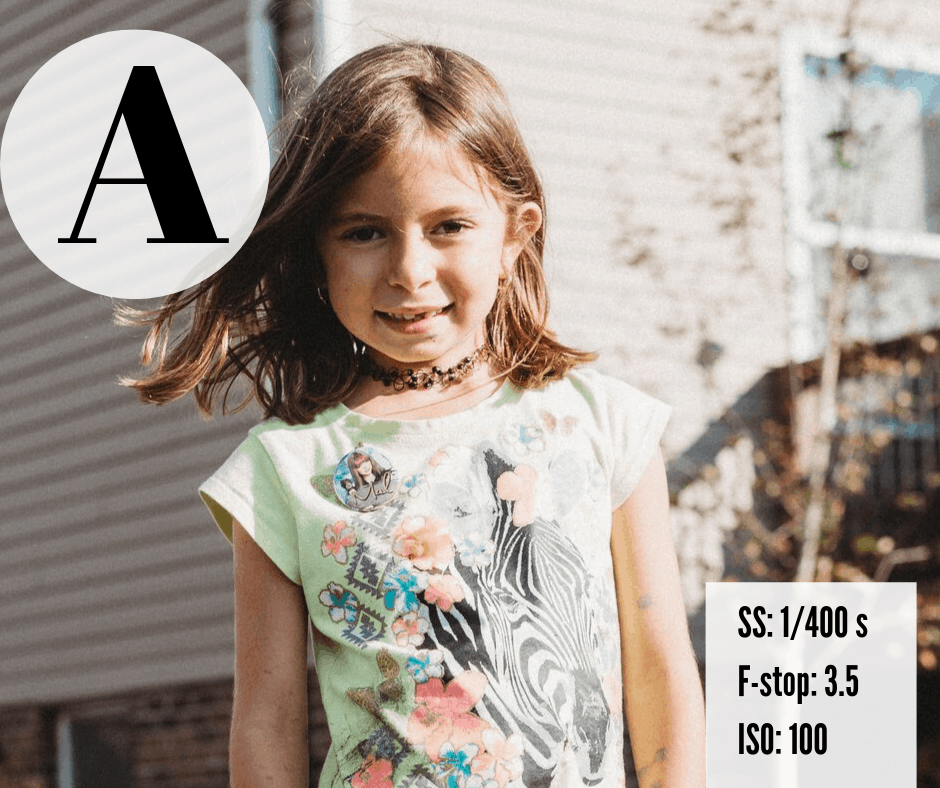
I always pull my camera out in the evening for soft and beautiful portraits. Additionally, a cloudy day provides the same soft light.
Final Thoughts on Photography Lighting
If you live by these 5 photography lighting rules, you will take remarkable pictures every time, no matter what type of camera you are using!
If you are more of a visual learner, check out this video here.
Print the below as a reminder, and make sure you subscribe for access to all the Simply Snapping Mom freebies!

For your FREE copy of the Simply Snapping Ebook:


If you found this helpful, share it! And follow me on Facebook for up to date discussions on family and photography.




These are all super helpful! I always thought in the sun was the best spot too! Thanks for sharing these I hope I can up my picture game a little.
Thanks for this. I am terrible when it comes to pictures and catching the right light. This does help.
Love these tips. I will definitely use them for my Instagram pictures.
Great advice, I've been wondering why most of my pictures are always blurry. I plan to apply this when next am snapping
You've showed the tips so nicely through the pictures. Love your dedication!
Great tips! I'm a professional photographer and always tell people to shoot during cloudy days. It's nature's sofbox!
Thanks for these tips! I loved how you showed the difference through your pictures!
These are great tips! It is amazing what a difference light makes.
I will keep these in mind whenever taking photos. Great tips.
I am still working on improving my pictures and I am grateful that you shared all these great tips with us.
Light is so important in photography and once you start noticing it, your photos will improve dramatically. I never take photos during the lunch hours, that's when the light it the harshest.
Fantastic photography tips! I'll have to remember these. They seem like no-brainer ideas that so many people forget.
Wow, thank you for these really important tips! I am such an amateur at photography and I learned a lot! Thanks!
Thanks for sharing, these are great photography tips!
Awesome lesson! Very important part of photography and loved how you showed the actual settings you used in the corner of the sample pictures! Thanks for sharing.
Great tips! I use my phone for everything! I need to get a camera!
These are super good rules, I've definitely learnt something here (especially about utilising the shade). I'm really loving taking photos at the moment so will take this into consideration. Thank you 💚
This was super helpful as I am trying to do my own photography now. Thank you
This is incredibly helpful! I do some basic amateur photography (never taken a class or anything) and this really helps!
Love this post! It is perfect, I've been having trouble with lighting but I will definitely use these tips.
Thank you so much. I struggle a lot with taking good pictures. I will try taking in open shade as well as face directly away from sunlight from now on.
Golden hour is my favorite time to take photos! Everything glows!