
Complete Guide for a Dazzling DIY Glitter Photo Shoot
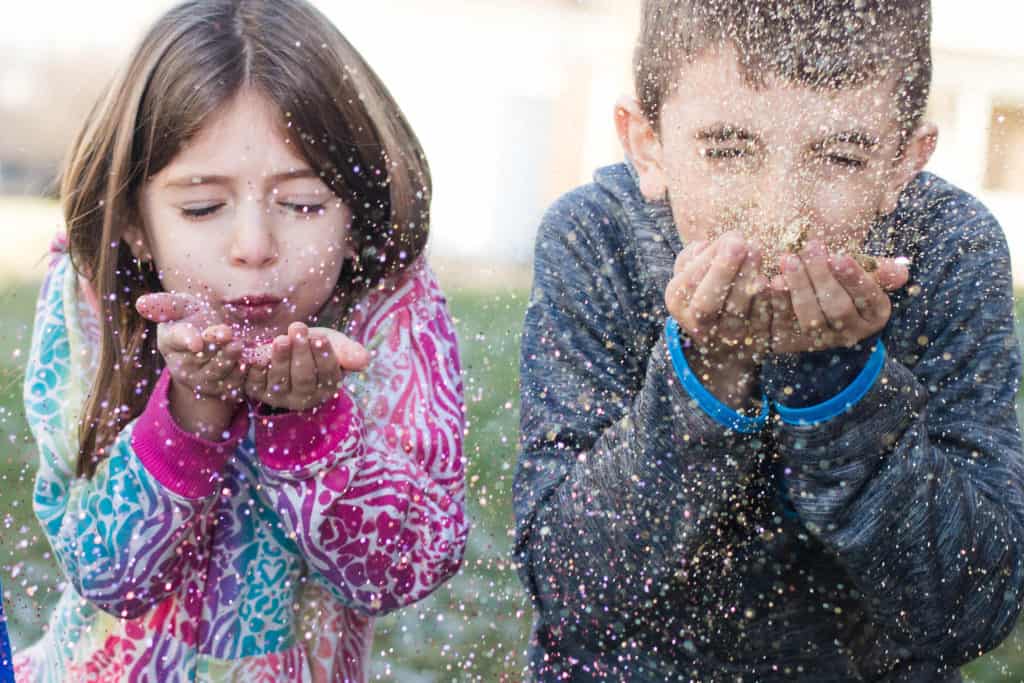
Who doesn't love glitter? No one, that is who! (unless we are talking about the cleaning up aspect). That is why glitter pictures are so lovable and fun! They are great for senior pictures, party invitations and more! However, without the following tips, you might just find yourself disappointed with your pictures and, well, cleaning up a huge mess!
If you are more of a visual learner, check out my quick video tutorial on glitter photo shoots:
Step by Step Guide:
Follow these easy steps for your fun, glitter photo shoot.
What you need
- Glitter (I know, duh!). Make sure you get thicker, or chunky glitter. If it is too fine it will now show up in the pictures
- Camera
- Light!- whether it is natural light or a light source (like a flash), you will need plenty of brightness!
Set Your Camera Settings
If you don't have your camera settings right, this picture may not turn out the way you hoped. Let's review the settings.
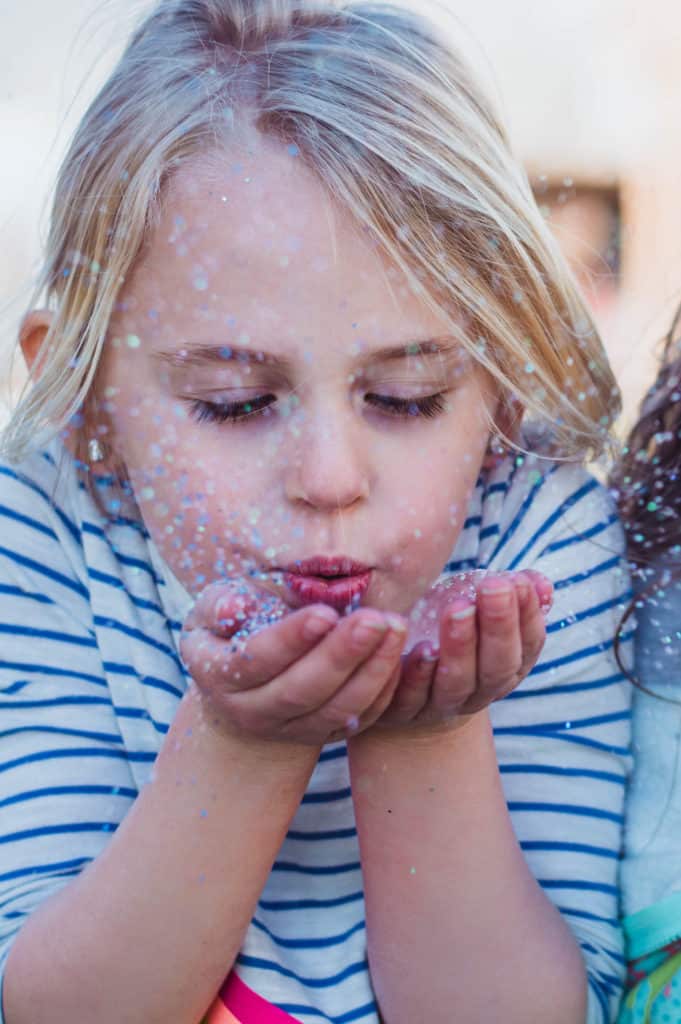
First, you need a FAST shutter speed.
This will allow you to capture the glitter particles and not movement blur. I used a shutter speed of 1/800s in my photo shoot. If you need assistance with shutter speed, check out my post explaining it!
Next, I used a wide aperture (low f stop), to get a little bit of the background blur. I set my aperture to f=3.5. If you need assistance with aperture, check out my post explaining it!
Next, set your camera release mode to continuous or "burst
mode.
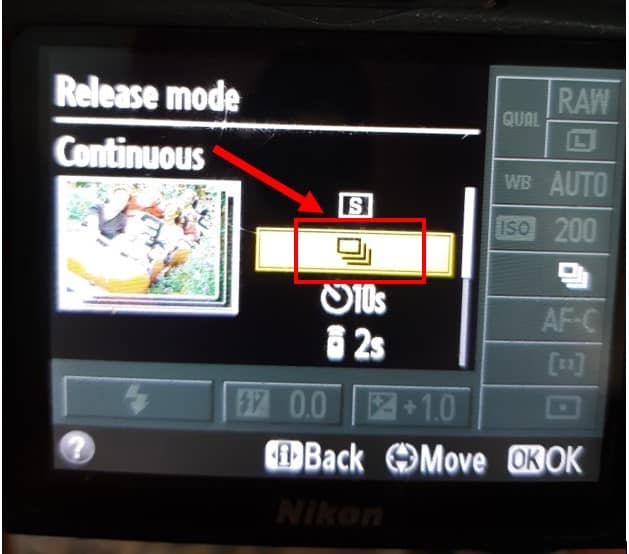
The release mode is the setting in your camera that effects what happens when you press the button to take the picture. With most pictures, you most likely use single frame mode. This means that when you press the button to take the picture, it takes one picture. Depending on your camera, you can change it to a continuous release mode. This means that if you hold down the button, your camera will continue to take pictures. This is fantastic for action shots, such as glitter pictures. It allows you to worry less about timing the perfect moment when you should press the trigger!
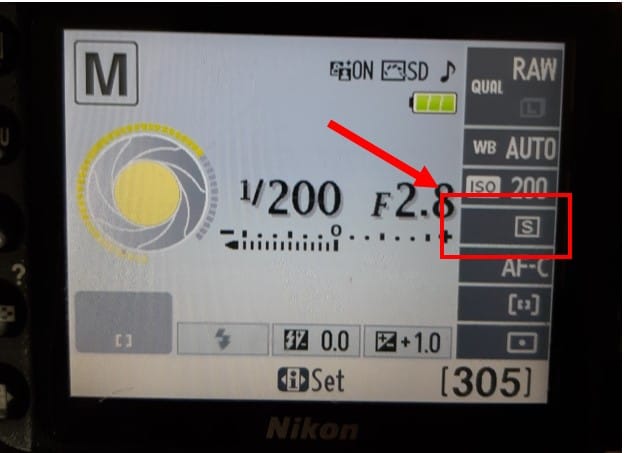
Here is how I get to continuous release mode on my Nikon:

First, select the shutter mode icon

Then, change your release mode to "continuous"
Lastly, you want a single point focal point setting. This will allow you to aim where you decide- for example on the subjects hands.
Lighting is Key for the Sparkle Factor
To get a fast shutter speed (see less movement blur), you will need a lot of light in your picture. You can take these pictures in day light, or you can use an external lighting source. I used my external flash to make sure I could provide a lot of light for my photos.
The light from a flash also helps to highlight some of the glitter! I use the external flash below for my pictures. Check out my "flash course"" of flashes to learn more about the best lighting options!

What next?
You are all set! Now, have the subject stand in front of you and fill their hands with glitter. Ask them to hold out their hands and gently blow. (not too hard or it will all blow back in their face!)
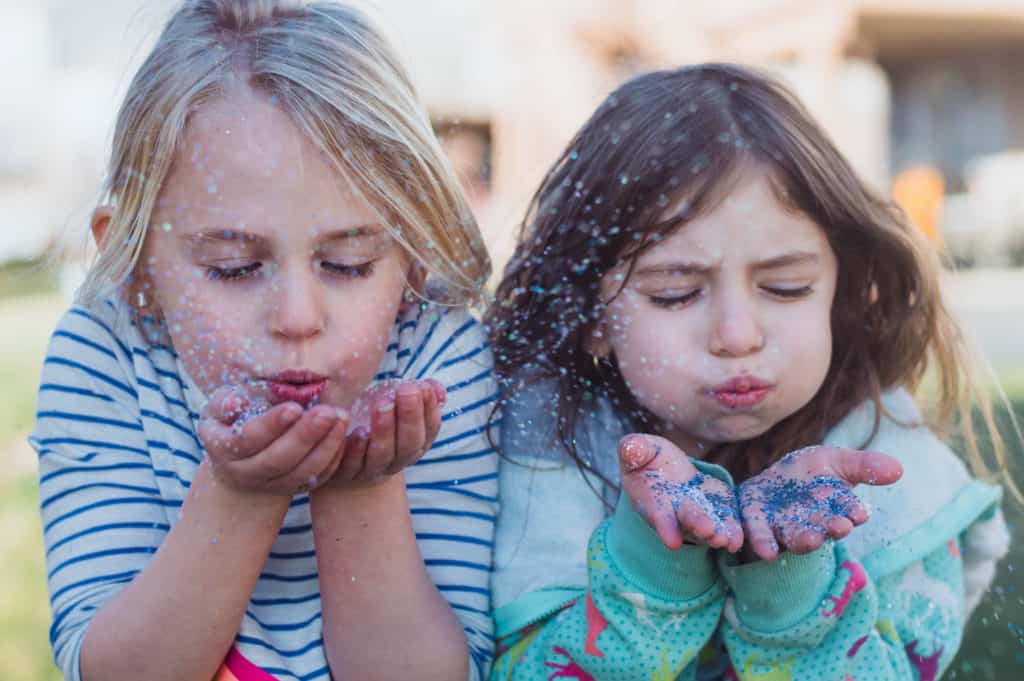
Be ready for a ton of laughs and a well-worth it mess to clean up after!
Is this something you will try? If you found this helpful, share it!
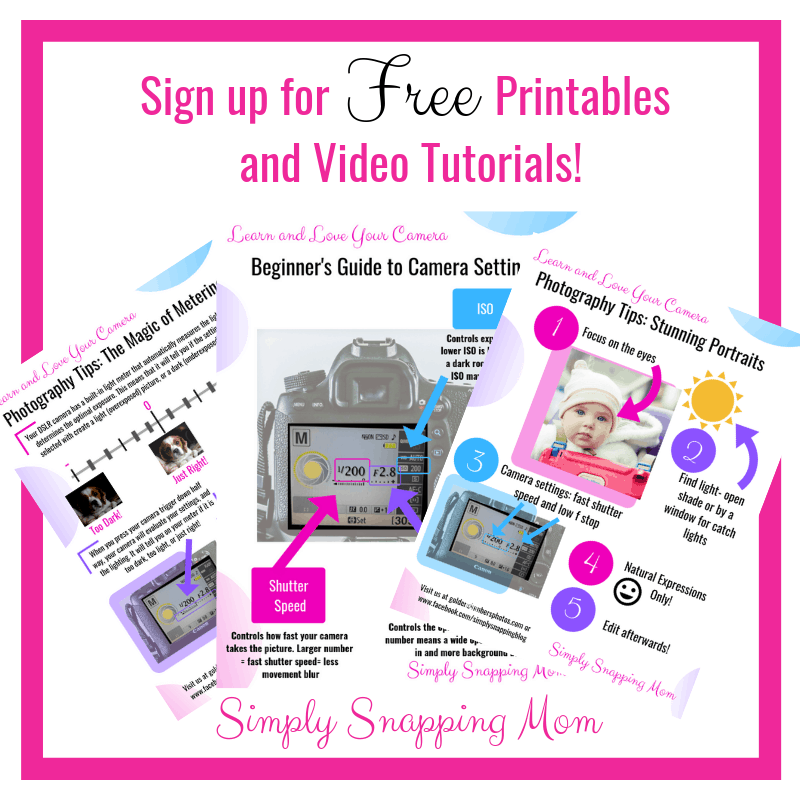
Print this guide for a free and easy reminder.

And sign up to our newsletter for access to all our freebies and video tutorials!

I wish I would've known these tips when I started photography! I had a shoot early on of a first birthday cake smash, and the mom wanted to have confetti falling. I assumed (wrongly) it would be easy. It was not! Since I didn't adjust any settings on my camera, we swept up and sprinkled confetti at least 20 times lol. I definitely should've done my research prior, an article like this would've saved me
This is very cool -- another little technique for my photo tips folder. Sounds like the sort of thing that might be fun with the grandson.... 🙂 Thanks!
I am not much of a photographer but I wish I was better! My granddaughter will be 4 soon and a glitter photo would be a fun way to capture the day. Once I check out all of your camera settings articles, I might be able to set my camera to the settings you suggested.
Oh my gosh, this looks like SO much fun! My kids would go nuts for this photo shoot. Maybe this spring when I can do it outside...I'm sure the glitter gets just about everywhere.
The glitter gets EVERYWHERE! haha
I keep learning new photography tips from your post, this was a really informative post too!
I love this!! You have such fun ideas for photos with kids. I have none yet but at least I know where to look when I do have some 🙂 This could also be a really fun idea with my girlfriends instead! 🙂
xo Chelsea | https://completelychelsea.com
My daughter would love to do a glitter photo shoot. This is such a neat idea. Thanks for making this easy!
Perfect. I was thinking of an exercise for my photography club. My kids would surely enjoy it.
This looks like a blast to do with kids! I would 100% only do this outside though hahaha
Ow these photos look so cute 😍 and the idea of using the glitter is amazing I will definitely try this method 💗
I daughter just did a glitter photo shoot for her college graduation photos. I didn’t know what it was. Thanks for sharing.
Oh great post with great shots! I absolutely love glitter pictures, but was never really sure how they were made. So cute!
Photography is awesome.... It gives us satisfaction when we click the perfect pic. Kids are also so good as well as ur tips... Good luck and keep going
Oh wow!! This is really cool. I do have a DSLR camera. I should really get it out and try this with my kids. We usually have fun doing little photo shoots just for fun and just with my iPhone X. I want to try this now though!
Wow a glitter photo shoot! I never even thought of it 🙂 Great idea and instructions! Thanks!!
This is such a cute way to do a celebration photo
Great Idea! I might just use it myself! How do you dispose of the glitter though?
It is NOT easy haha. We did ours outside for that reason!
Your little girl (I'm assuming she's yours) is so cute. And these tips are brilliant, thanks for sharing. I'm sure it's loads of fun.
These are some great tips. I saw a ballerina glitter version done by my kids school mom and I wanted to try it myself. I guess now I have no reason not to try.
Great tutorial and I love glitter photoshots! Now if only I had a good photographer and a jar full of glitter... 😍