Flashes can be great tools, but only if you use them correctly and at the right time! When used incorrectly, a flash or light source can be detrimental to your photos– they can cause eye-sore shadows, wash out the color, and flatten out your image. When you learn to use a flash properly, it can provide a great soft light in a low-light situation and really improve your photography!
The key is to know how to use it correctly! That’s where I come in.
Before grabbing a flash or light source, you should first look for natural light or adjust your camera settings! I rarely use a flash, and instead adjust my camera settings in low light. If you need any help gaining control of your camera by learning all about it’s settings, check out my posts on shutter speed, aperture, and ISO:
- Shutter Speed Explained for Photography Beginners: The Secret to Clear Photos
- Aperture Explained for Photography Beginners: The Secret to Background Blur
- ISO Explained for the Beginner Photographer: The Secret to Manual Mode
HOWEVER (there is always a ‘however’)– there will be times when even the fanciest cameras need a lighting boost .
Check out my short video on your flash options and how to use them properly!
Let’s get started learning the simple Do’s and Don’t’s with lighting!
What NOT to do
First, if you remember anything from this article remember this:
Please never use your built in camera flash.
The built in camera flash will turn your potentially beautiful photograph, into a flat, dull image. Learn from my mistakes. Here is what I mean:

With built in flash 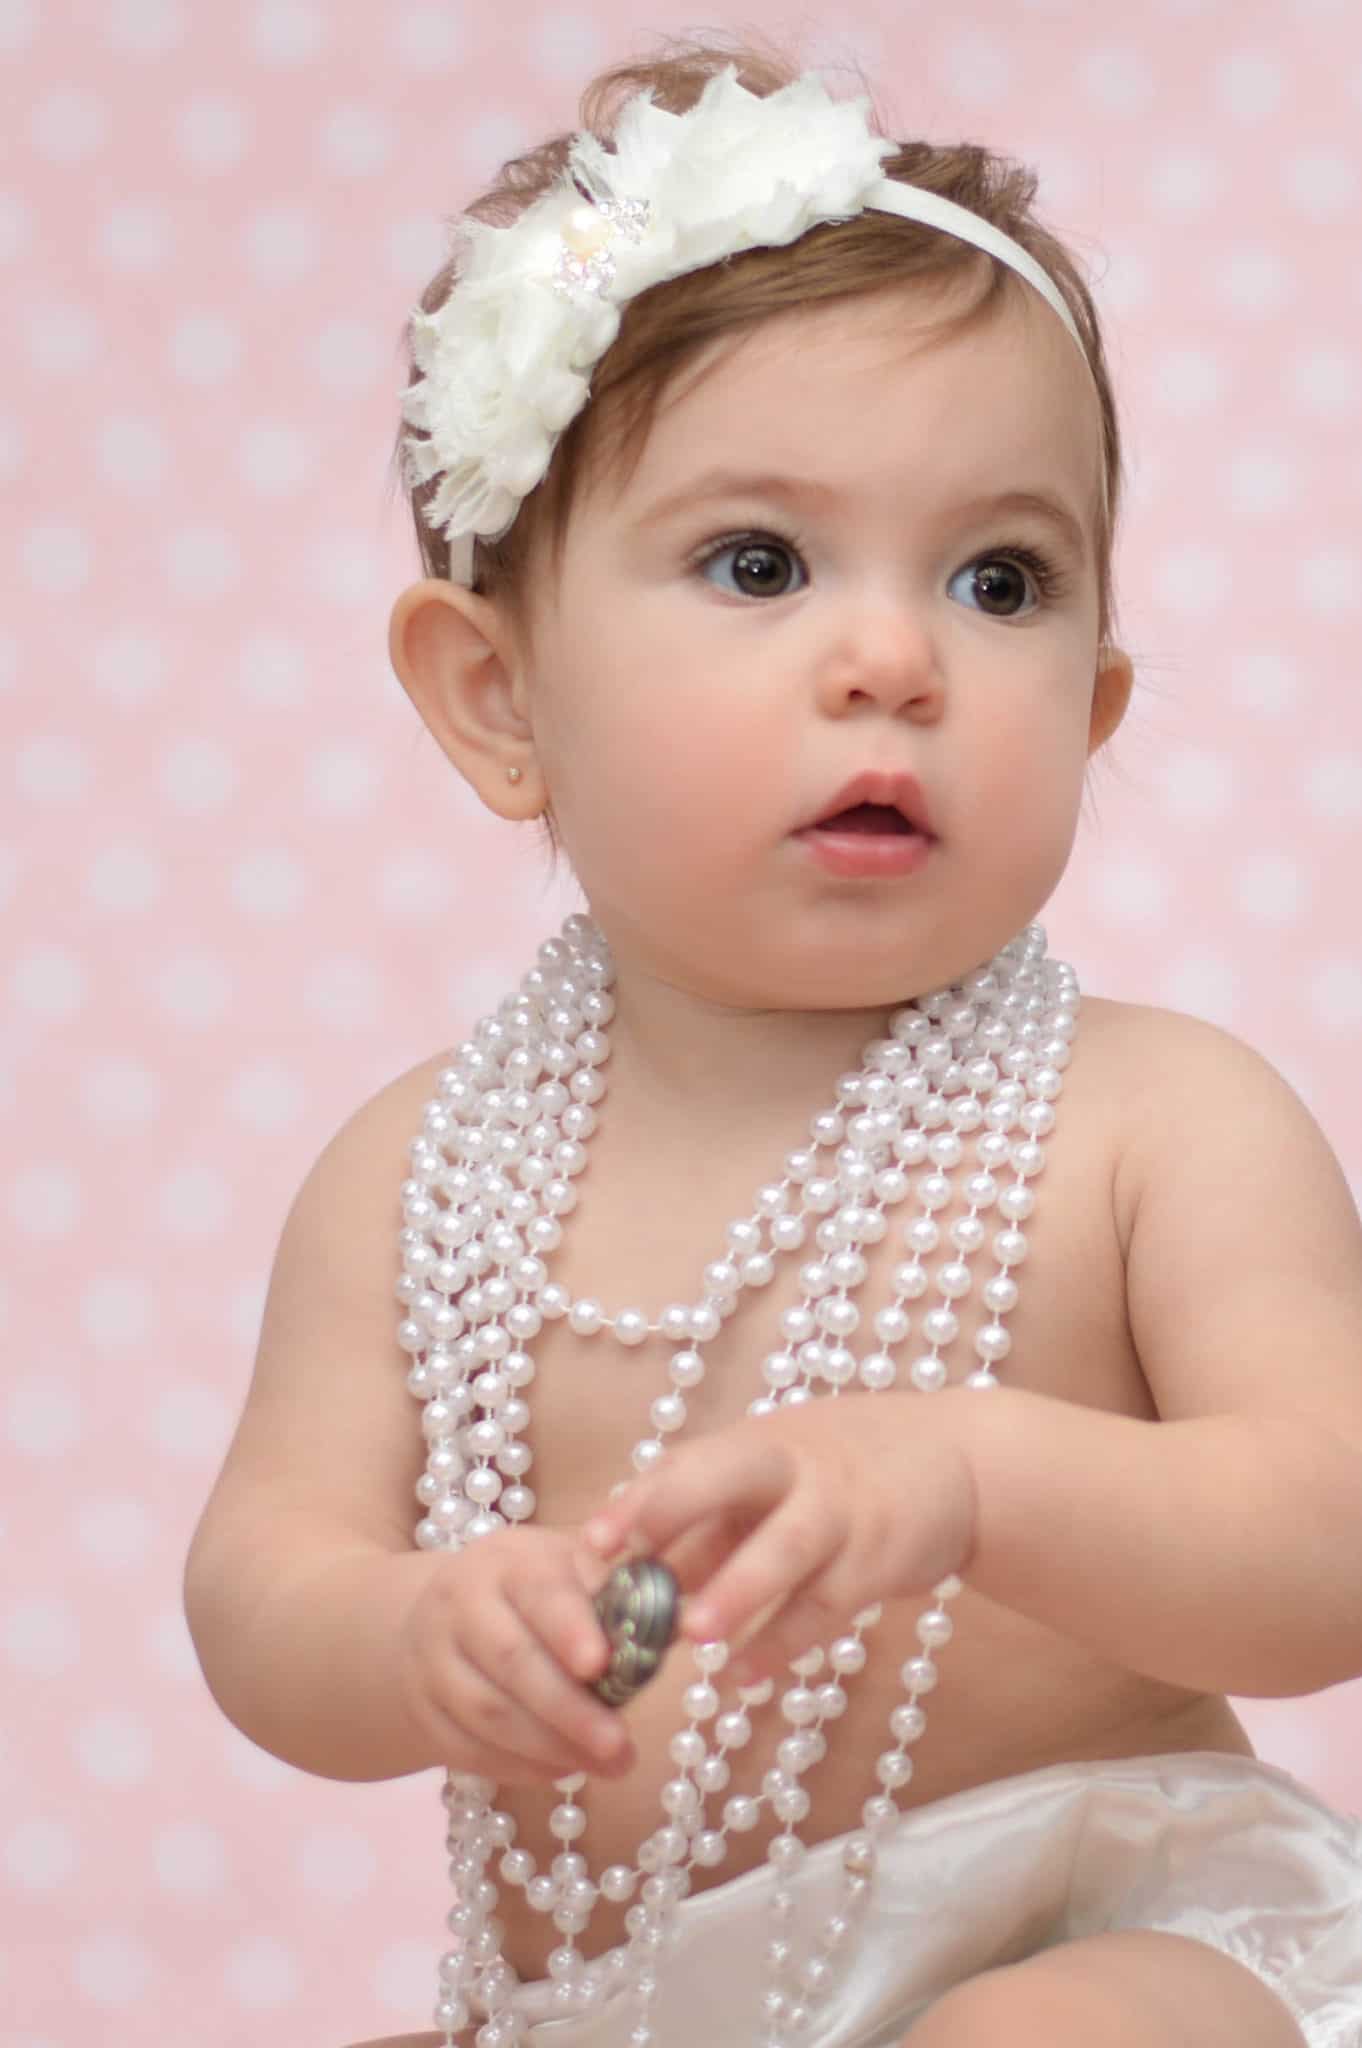
External Flash
The image on the left was taken with the built-in camera flash. You can see cringe-worthy shadows, dull colors, and a flatter looking image. The image on the right was taken with my external flash.
What is an External Flash?
An external flash is one that snaps onto your camera. With an external flash you have a lot more flexibility, such as brightness of light and where you are aiming your light. They are extremely affordable.
External flashes are great tools when you truly do not have enough light in a room. However, similar to a built in flash, there are good and bad ways to use your external flash. In this example below, even after adjusting my camera settings, my photo was still under exposed. I was able to properly use my external flash to get a bright, clear image.
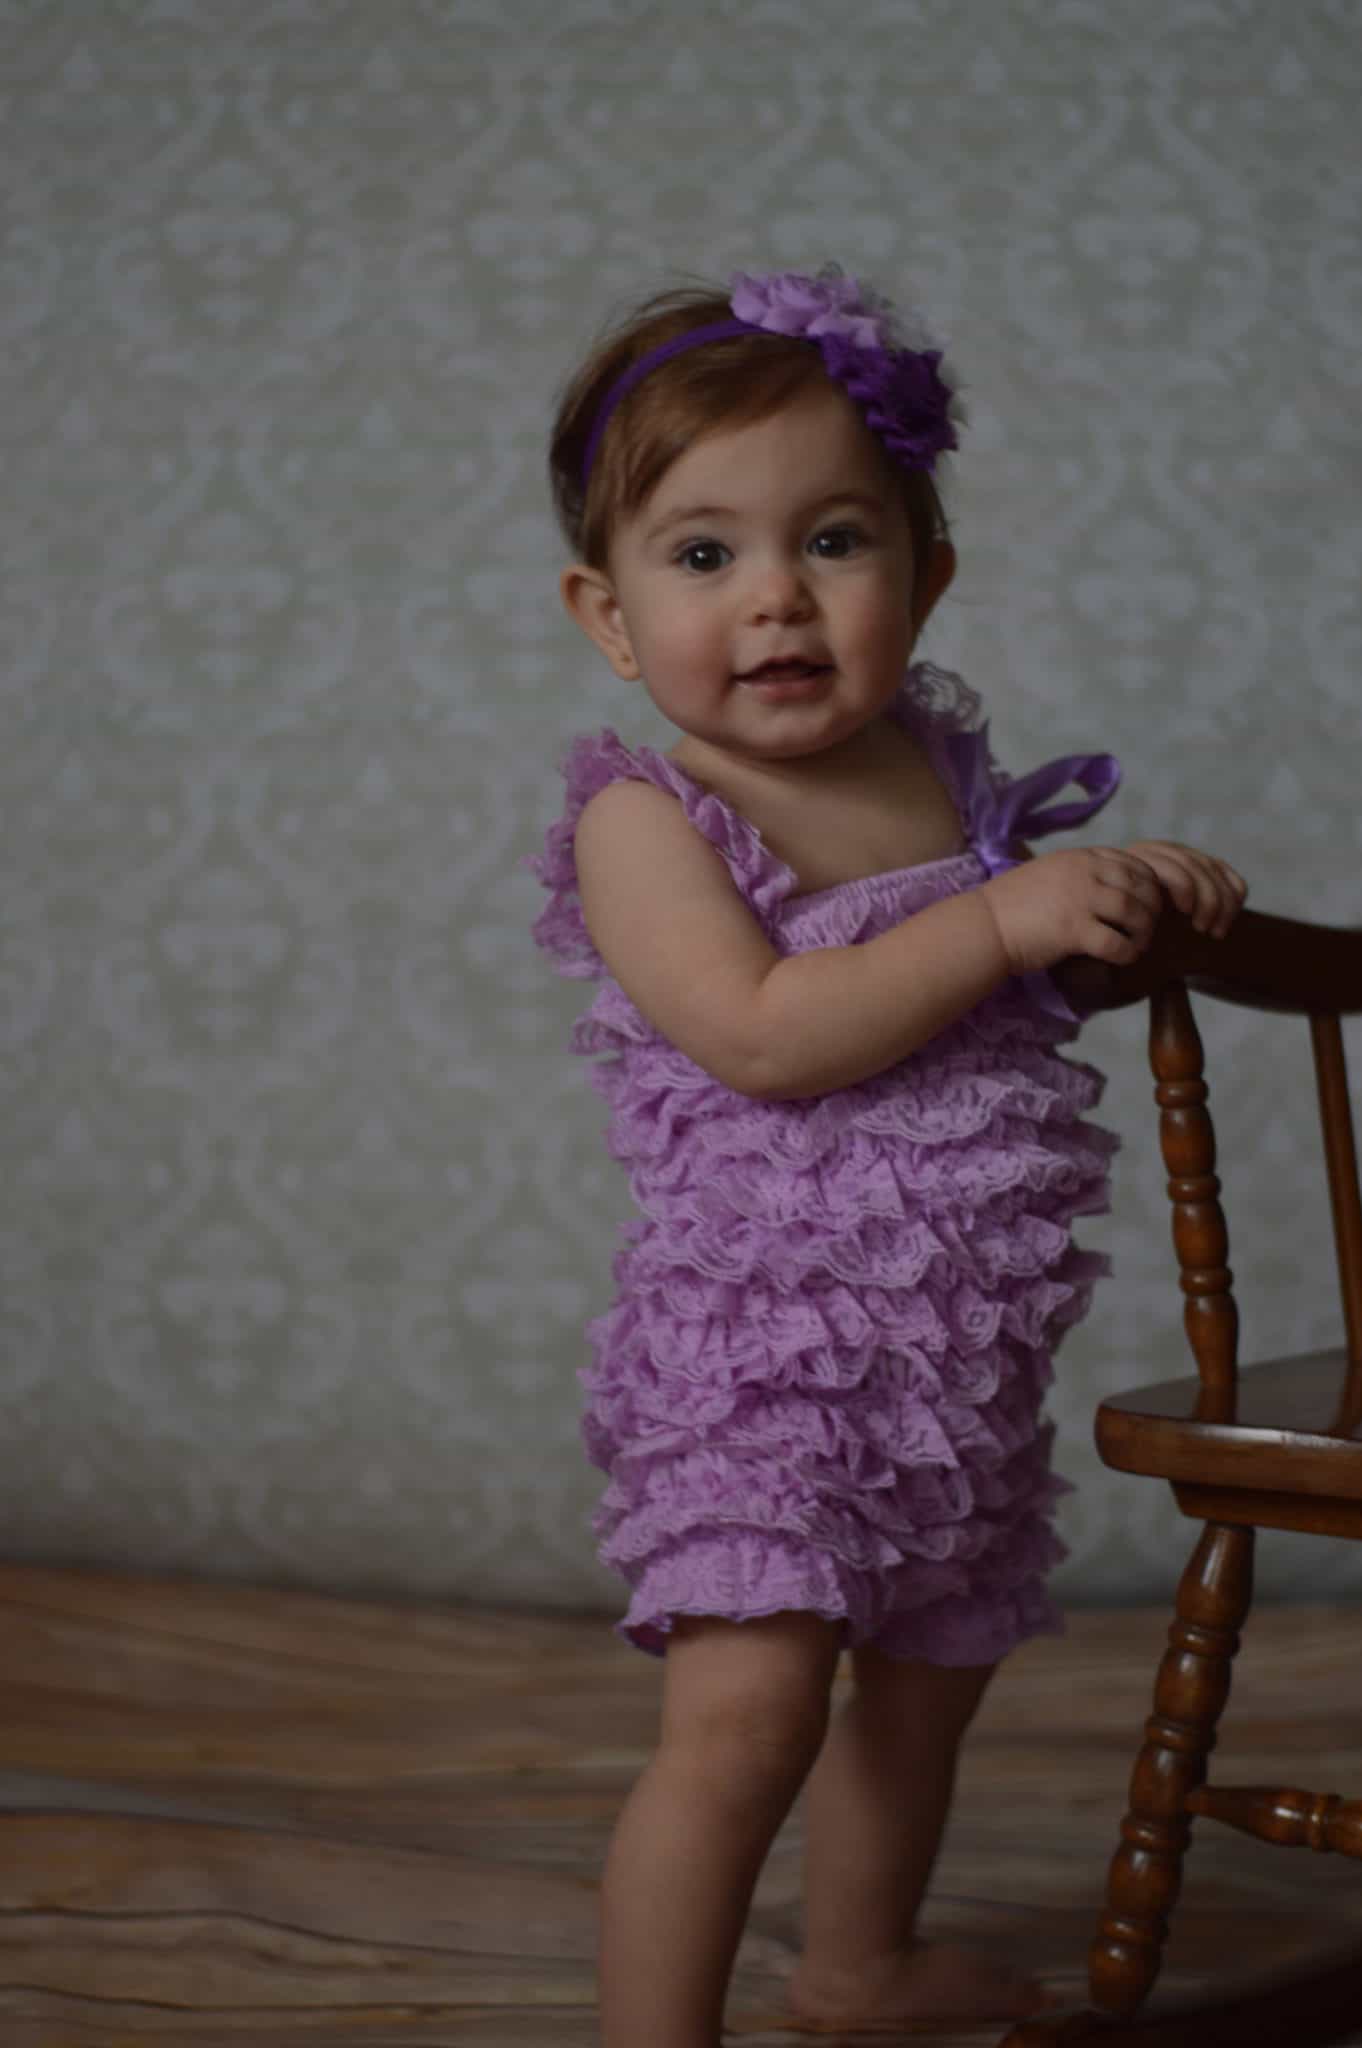
No external flash 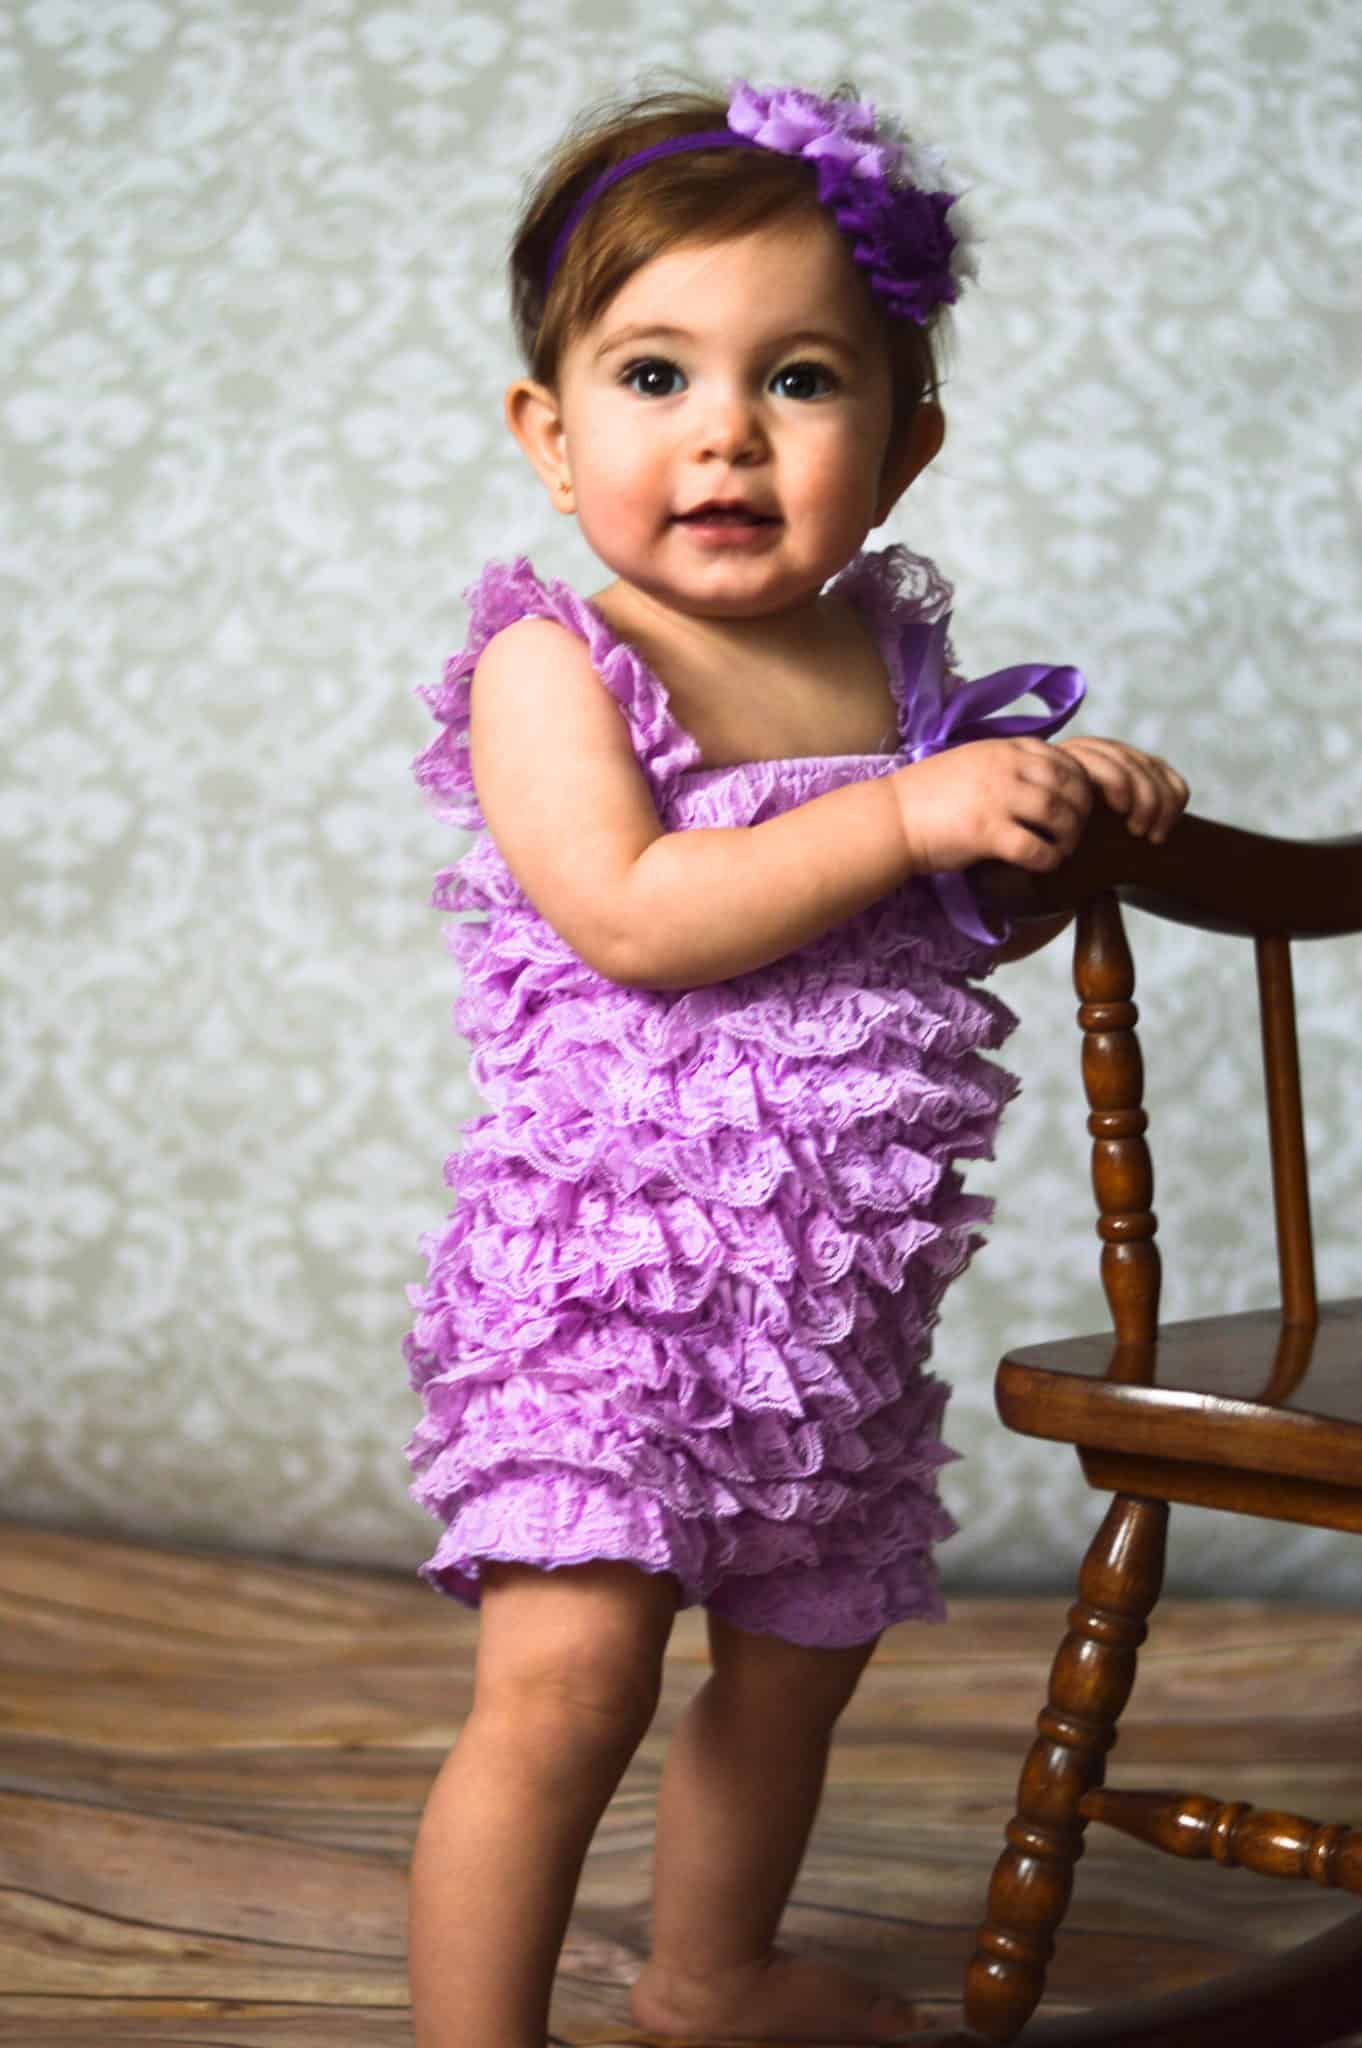
External flash
External flashes can be shockingly affordable. I purchased the below flash on sale for about $40. It works for almost any type of camera, and is super easy to use. I love that it comes with an optional reflector to push extra light to the subject if needed. Check it out!

Do you notice a difference in the pictures below? I sure do!

Built in Flash 
External Flash
External Flash “Flash Course”
To get best results with an external flash, aim the flash at the ceiling. When you aim it at the ceiling, it brightens up the room and gives your pictures a much more natural look. You can easily aim the flash anywhere, and you may have to move it around a little until you get the right angle. Sometimes, if I am in a room with light streaming in from one direction, I will aim the flash at the wall on the opposite side. This evens-out the lighting that you will get on your subject so that it is not lopsided.
You do not want to aim the flash right at someone. If you do this, you will get the same type of image as you got from your built-in flash.

External flash aimed at subject 
External flash aimed at ceiling
Ensure that the ceiling or wall you are bouncing the light off is white, or close to white. If it is a bold color, such as red, then the colors will show in the image.
Also, there are built-in reflectors or ones that you can purchase. With a reflector, you still would aim the flash at the ceiling (to brighten up the room), but the reflector will push extra light towards your subject to brighten it up.
Other Lighting Equipment
The external flash should handle the majority of your lighting needs; however, there is another great option to explore. If you are doing a lot of in- home photo shoots, you can check out a studio lighting system or a softbox. These will give a steady and constant stream of light that you will have full control over.
These are great options if you are taking pictures in a stationary location and don’t want to have to fiddle aiming a flash. The prices can vary greatly, so if you are just starting out I would start with a cheaper option. You can find great sets for $30-50. I have the below set on the right, and it works great!
When I took the below picture I used my lighting system to lighten up a dark room!
Lights Camera Action!
Flashes and other lighting sources can be necessary tools when used properly! An external flash is an inexpensive option that is easy to carry around in your camera bag for when you need it, and studio lighting gives great continuous light when used for a stationary photo shoot.
- The Best Headshot Photography Guide for New and Professional Photographers
- How to Take Pictures During the Golden Hour
- Top 5 Most Common Beginner Photography Questions Answered
- 10 Photography Posing Prompts for Natural Family Photo Sessions
- The Ultimate Guide to Everyone’s Favorite Holiday Photographs
Have you ever tried using a flash for your photography? If you found this helpful, share it!


Complete Guide to DIY Newborn Pictures -
Tuesday 28th of April 2020
[…] built-in flash. It will flatten the image, dull the color, and give eye-sore shadows. Check out my post on flashes for how to use it properly. Also, if you really want to up your portrait game, and do not have a 50 mm lens, check out […]
Quick Tips for Sharp Indoor Pictures -
Monday 23rd of September 2019
[…] If natural light doesn’t cut it, check out this post that talks all about flash options and ho… […]
Beginner Photographers Start With These Essential Tools | Reality Refinement
Thursday 25th of July 2019
[…] Any of these options will help you get great shots even in low light situations. Each has their own unique vibe; read about different lighting options here. […]
Nicole|LilliesandLashes
Tuesday 4th of June 2019
This is really helpful! I had no idea that an external flash was the solution to my problem. I get very frustrated with indoor photos when there isn't enough light because the flash just doesn't do the subject justice and ruins the photo. Thanks so much for the tips!
admin
Tuesday 4th of June 2019
I am so happy I could help! An external (attachable) flash is affordable and a great solution to dark indoor scenarios!
5 Tips for Stunning Close-up Portraits - Simply Snapping Mom
Tuesday 12th of March 2019
[…] To get the catch light effect, simply have your subject face the window or the sky. If there is no available light, I recommend having an external flash handy. The below flash, which comes with a reflector (that gives great catch lights), is affordable and easy to use. Also, check out my post on how to use a flash an other lighting options. […]