
Crazy-Simple Photography Beginner's Guide to Camera Settings Basics
The easiest tutorial on photography: designed for beginners who want to learn camera settings.
Do the settings on your digital camera look like they are written in hieroglyphics?
Are you still having trouble grasping the "beginner friendly" article on f-stop, focal length, and the exposure triangle?
Of course you are!
In fact, no beginner photographers in the history of the digital cameras era has picked up a camera and automatically mastered the camera settings. What would be the fun in that?
If you are a beginner photography ready to get off of auto mode and understand how to take your picture to the next level, you are in the right place.
Don't miss the video at the end which explains these camera settings.
Manual Mode for Photography Beginners
Manual mode refers to your ability to have full control over your camera settings.
Automatic mode does a great job "guessing" the settings that you would like, but often it guesses wrong.
When you learn how to use your basic camera settings, you will finally start taking the pictures you always dreamed of.
To teach photography, I like my students to think of your camera as an eye. Your eye is dynamic. It adjusts to light and movement. Your eye can focus on certain items. It is exactly what your camera is trying to do.
Related: The Best Camera Settings for Portrait Photography

"Shutter Speed" is your Camera's Eyelids
Shutter speed is your camera setting that determines how fast the shutter, or the 'camera's eyelid', will blink. In other words, it is the amount of time that the camera will be taking the picture.
Exercise: Start with your eyes closed. If you open your eyes for a long time, you are seeing what is occurring around you. You can see movement. On contrast, if you blink your eyes quickly, your eyes can only capture what occurred for a very fast time period (not even enough time to see anything move.). This is exactly what shutter speed is.
A slow shutter speed (1 full second in camera terms) will capture movement or motion blur.
You want to avoid capturing movement on a picture (unless your goal is a long exposure picture). One benefit of a long shutter speed is that it will allow more light to enter into your camera (since the "eyelid" is open longer); therefore, you can take pictures in lower light with slower shutter speed.
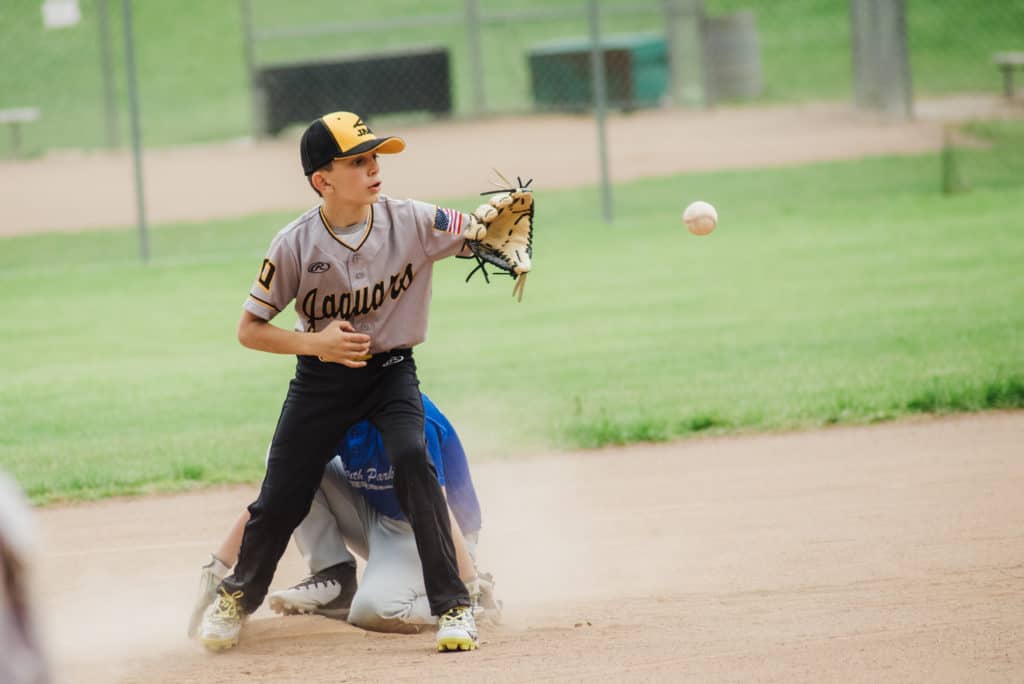
A fast shutter speed (1/500 of a second in camera terms) will not not capture movement, and will result in a clear and crisp picture.
One downside is that since the camera's "eye" is only open for a tiny period of time, so not too much light enter into the camera. What this means is that you need more light for faster shutter speeds.
The faster the "blink" (higher number under the 1), the less camera shake and blur.
Learn all about other shooting modes, the shutter button and the shutter priority mode with this super deep dive into the shutter speed setting.
Related: Simple Sports Photography Tips
"Aperture" is Your Camera's Pupil
Let's return to the eye analogy.
The pupil of your eye is the opening in the center of the iris, or that black dot. The function of the pupil is to allow light to enter into the eye. In a dark room, the pupil gets bigger (or dilates) to let more light in. Out in the sun, the pupil will shrink up (or constrict) to let less light in.
Exercise: Face a mirror in a dark room, and turn off the lights for a moment. Turn on the lights and watch your pupil shrink to let less light into your eye. This is exactly how your aperture setting works.
This camera setting is called aperture. Aperture refers to the opening of your camera, and ultimately the amount of light it will let in.
Another beautiful quality of this setting is the ability to control the depth of field (or background blur).
Aperture is measured by a number referred to as the "f stop".
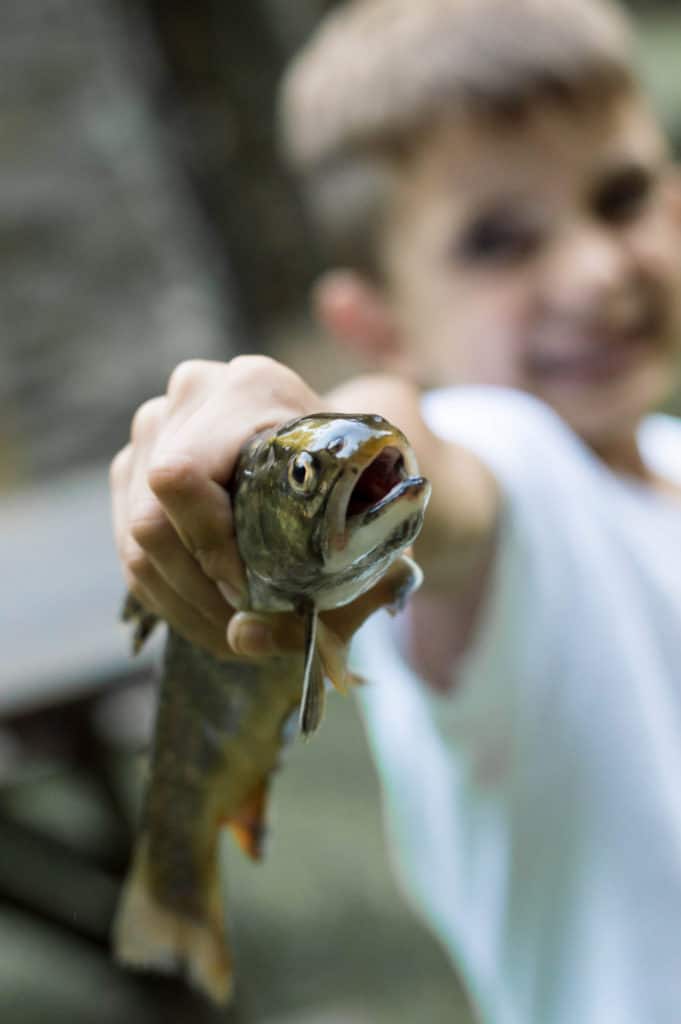
If you have a "low" f-stop, such as 3. then your camera's "pupil" is opened wide. This will allow a lot of light to enter in, and allow you to take great pictures in lower light, such as indoors or at night. It will also give a narrow depth of field or shallow depth of field (background blur).
If your f-stop is a high number, such as 16, then your camera's "pupil" is very small. Just like your eye in the sun, it will let in less light so that you can see better in bright sun.
Learn all about the aperture priority mode and how to adjust the F stop here.
"ISO" is the Camera's Sunglasses
You may have heard that there are THREE basic camera settings.
The last one, ISO, is quite unique. ISO will SUPPORT your different camera settings so that you can get the proper exposure of the picture you desire.
I like to think of ISO as the camera's sunglasses. When it is dark out, you must take your sunglasses off. When there is bright light we need some help balancing out the brightness.
Related: Learn about the Focus Mode and best Focus Point here.
A high ISO setting (such as 1600), indicates that your camera is MORE SENSITIVE to light; therefore, it can take pictures in lower light. A low ISO number (such as 100), indicates that your camera is LESS sensitive to light, or you need MORE light to take a properly exposed picture.
Therefore, after you set the shutter speed (for a sharp image) and aperture (for depth of field) to what you want, the ISO can be adjusted to fit the lighting needs.
Learn all about how to use ISO and other camera modes.
Photography For Beginners Summary
Whether you are starting out with your first DSLR camera, or you are an experienced photography having an understanding of these settings will help you master photography.
Let's recall what we learning about
- Shutter speed is the camera's "eyelids". Faster shutter speeds (higher numbers) will allow for less movement blur, and also let in less light.
- Aperture is the camera's "pupil". A wider camera opening (lower f stop numbers) will allow for great pictures in low light and more background blur.
The best way to learn how to use your camera is to take is slow, and learn one setting at a time. I walk beginners through plan in this free, three step photography tutorial.
Your camera, just like your eye, is constantly evaluating and balancing light and movement. By thinking of your camera as an eye, these mysterious camera settings will start to make sense and photography will magically CLICK! (pun intended).
Now you are ready move to my complete photography tutorial, and learn exactly how to use these settings, and learn about your camera's exposure meter and focus points.
The Ultimate Beginner's Guide to Photography
Instantly download our FREE, 20-page Photography Book for Beginners: Simply Snapping, by simply typing in your email below!




Great tips Renee. Very helpful for a layman like me.
I’m learning. Right now I am working on indoor basketball pictures for the kids. So, I need a low f stop (wide pupil) and fast shutter speed so the shots are not blurred, is this correct? And high ISO? I’m using the 50mm, too. And I’m in love. Your information is straightforward and to the point. I like that. It makes sense to me as a new photographer.
Yes! It is probably a little dark in the room, so you will need a low f stop. You will also need a fast shutter speed so that it is not blurry (maybe around at least 1/250 s). ISO will be the key! You will have to adjust ISO so that it will not be too dark. You will most likely have to have a pretty fairly high ISO. Great job!! You don't sound that new to photography! 🙂
Hi, I would really like to implement these photographing tips shared in this post. Keep up the good work.
I always love reading your photography tips, they make me want to up my photography game!
I'm loving your site! just read a bunch of your posts! very helpful for photographers, it's not easy to give explain to other and give tips to other as co-photographers here every artist has his own technique but giving tips about basics that's just cool 🙂
I love your photography tips. I am not good at photography but love to improve my skills.I will try to implement these. .Thanks for sharing
I love that you compared the photography process to your eye! It makes it all so much easier to understand. More like second nature so you don’t have to stop and think too hard about the settings and you can focus more on the content of your photos and have fun!
Nice. I'm a photographer bit I still learned something new by reading your article. Thanks a lot. 🙂
Thanks for sharing! I learned so much about photography and I look forward to putting them to use!
Thank you for explaining about the lenses, they do confuse me
i’m not much of a photographer, but your analogies were great!
This is really helpful! I am actually looking to purchase a camera in the near future, so this was extremely insightful as to what things I should be looking for for the type of photographs I would like to take.
OMG I'm so happy that I found your article and your comparison of the camera and human eye is amazing it made the understanding so much easier Thank you so much for sharing such amazing information 💗
I love your photos. I could definitely improve my photography skills!
So the camera is the eye and the shutter is the eyelid. Cute analogy.
I really wish I was better with a camera or at least had a better eye to see the photo
I’ve wanted to get into photography but it’s intimidating and overwhelming. Your tips are relatable and easy to understand. I’m going to give it a try!
I never realized that there is so much depending on the lenses when taking pictures, well now I realized why my photos were sometimes looking blurry and what not, I'll probably have to re read this a few times to get the feel for it, thank you for sharing these amazing tips and knowledge about cameras, it will come in handy when my friends allow me to take their pictures again xD
I enjoyed reading your post. It's like a whole refresher course made simple.
This is very informative especially for us beginners..thanks for sharing 👍🏻
Now I actually understand a camera, I might actually buy one 😅