
Complete Guide to Flashes and Photography Lighting
Flashes can be great tools, but only if you use them correctly and at the right time! When used incorrectly, a flash or light source can be detrimental to your photos-- they can cause eye-sore shadows, wash out the color, and flatten out your image. When you learn to use a flash properly, it can provide a great soft light in a low-light situation and really improve your photography!
The key is to know how to use it correctly! That's where I come in.
Before grabbing a flash or light source, you should first look for natural light or adjust your camera settings! I rarely use a flash, and instead adjust my camera settings in low light. If you need any help gaining control of your camera by learning all about it's settings, check out my posts on shutter speed, aperture, and ISO:
- Shutter Speed Explained for Photography Beginners: The Secret to Clear Photos
- Aperture Explained for Photography Beginners: The Secret to Background Blur
- ISO Explained for the Beginner Photographer: The Secret to Manual Mode
HOWEVER (there is always a 'however')-- there will be times when even the fanciest cameras need a lighting boost .
Check out my short video on your flash options and how to use them properly!
Let's get started learning the simple Do's and Don't's with lighting!
What NOT to do
First, if you remember anything from this article remember this:
Please never use your built in camera flash.
The built in camera flash will turn your potentially beautiful photograph, into a flat, dull image. Learn from my mistakes. Here is what I mean:

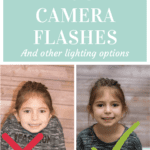
With built in flash 
External Flash
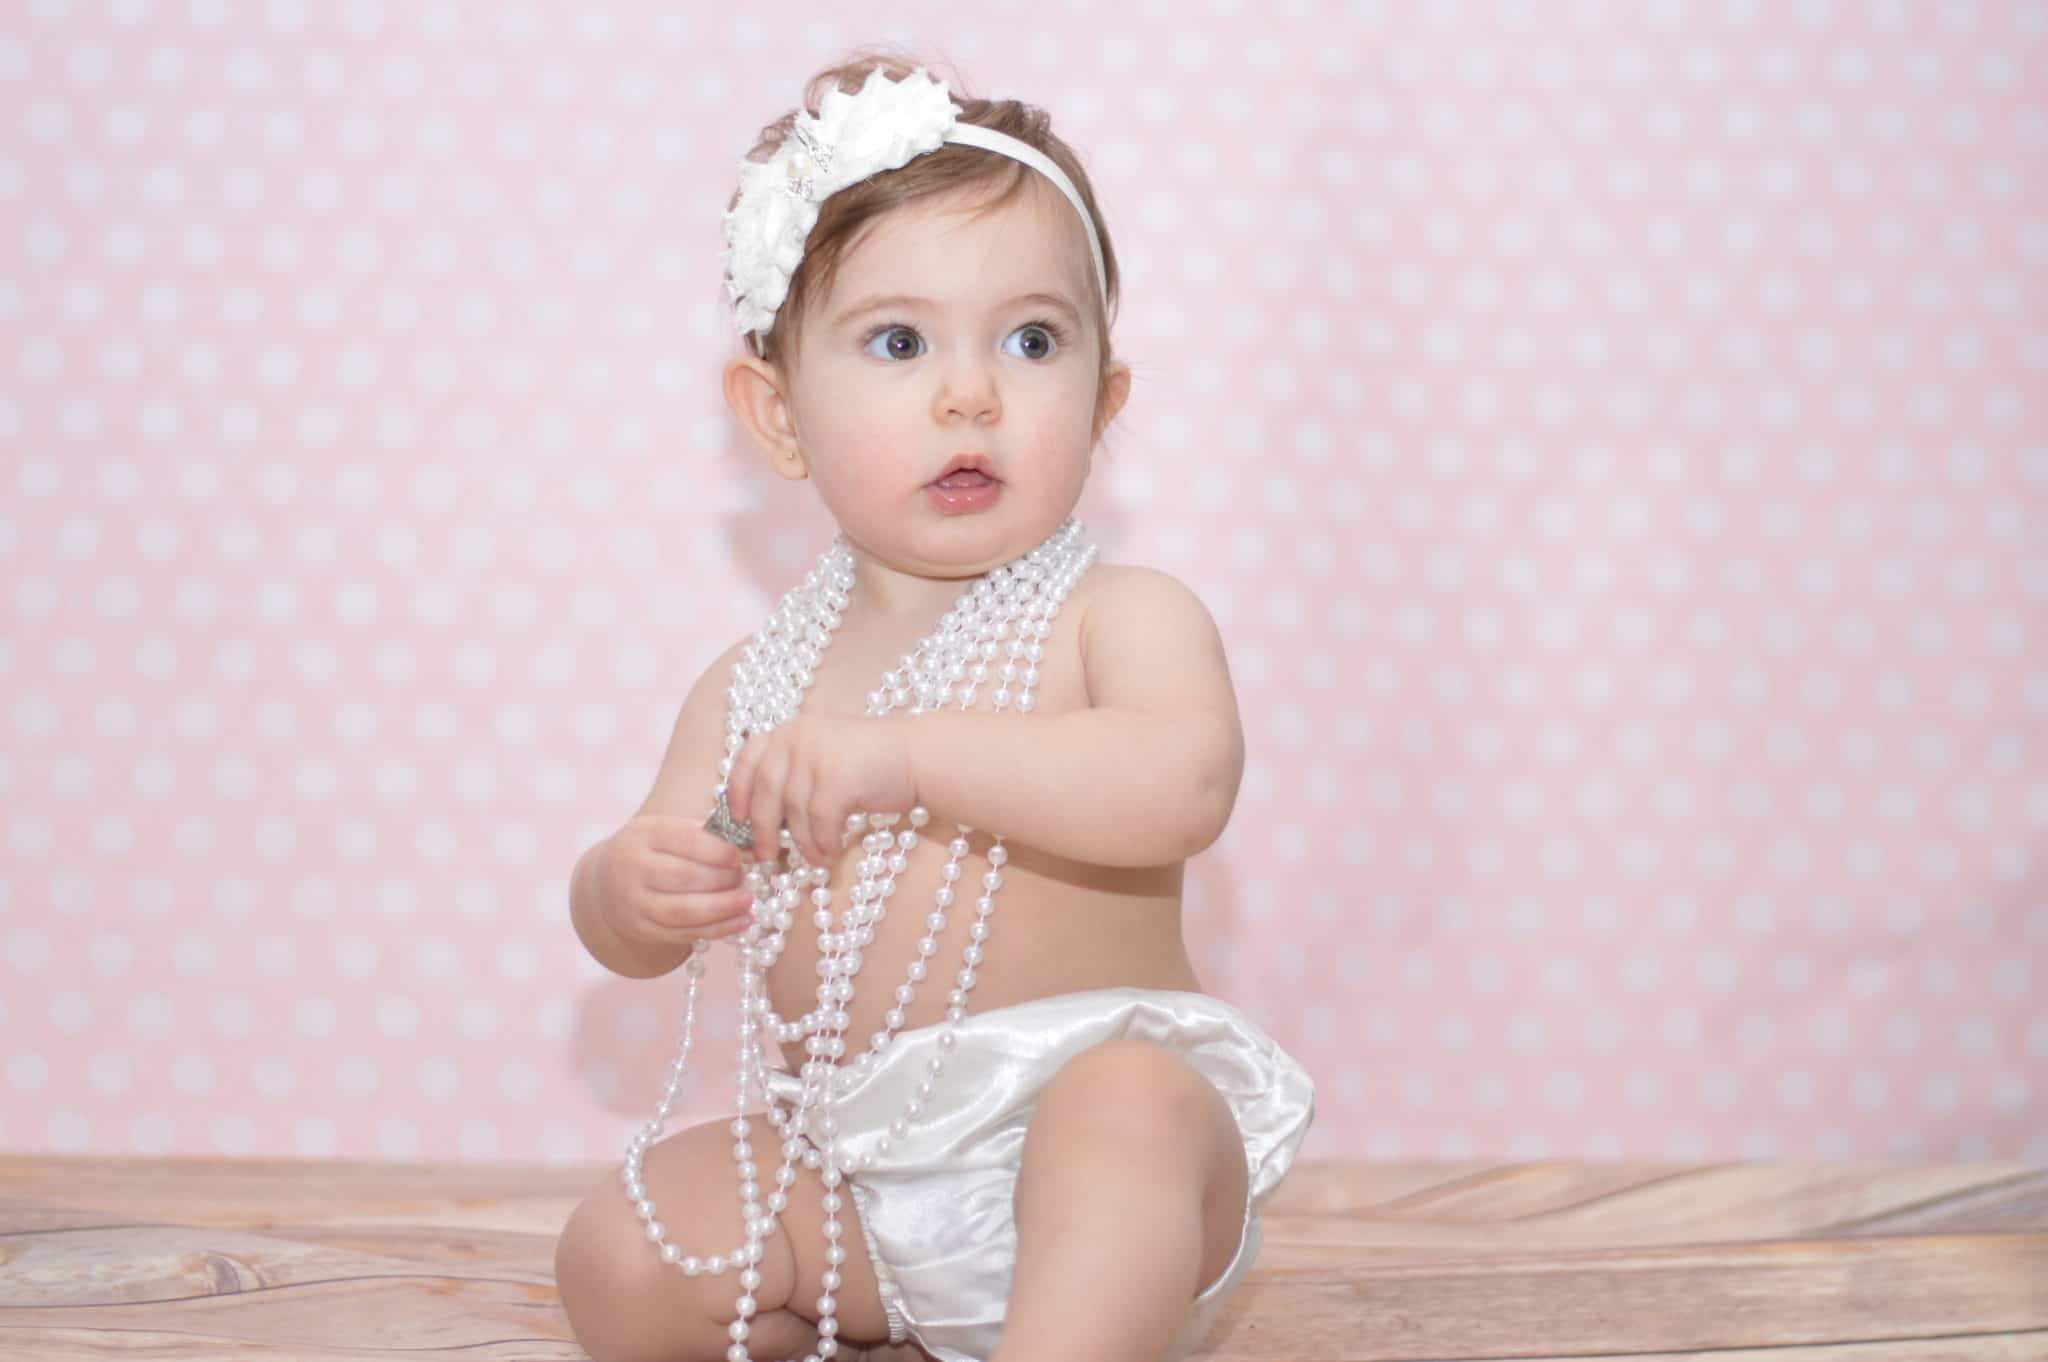
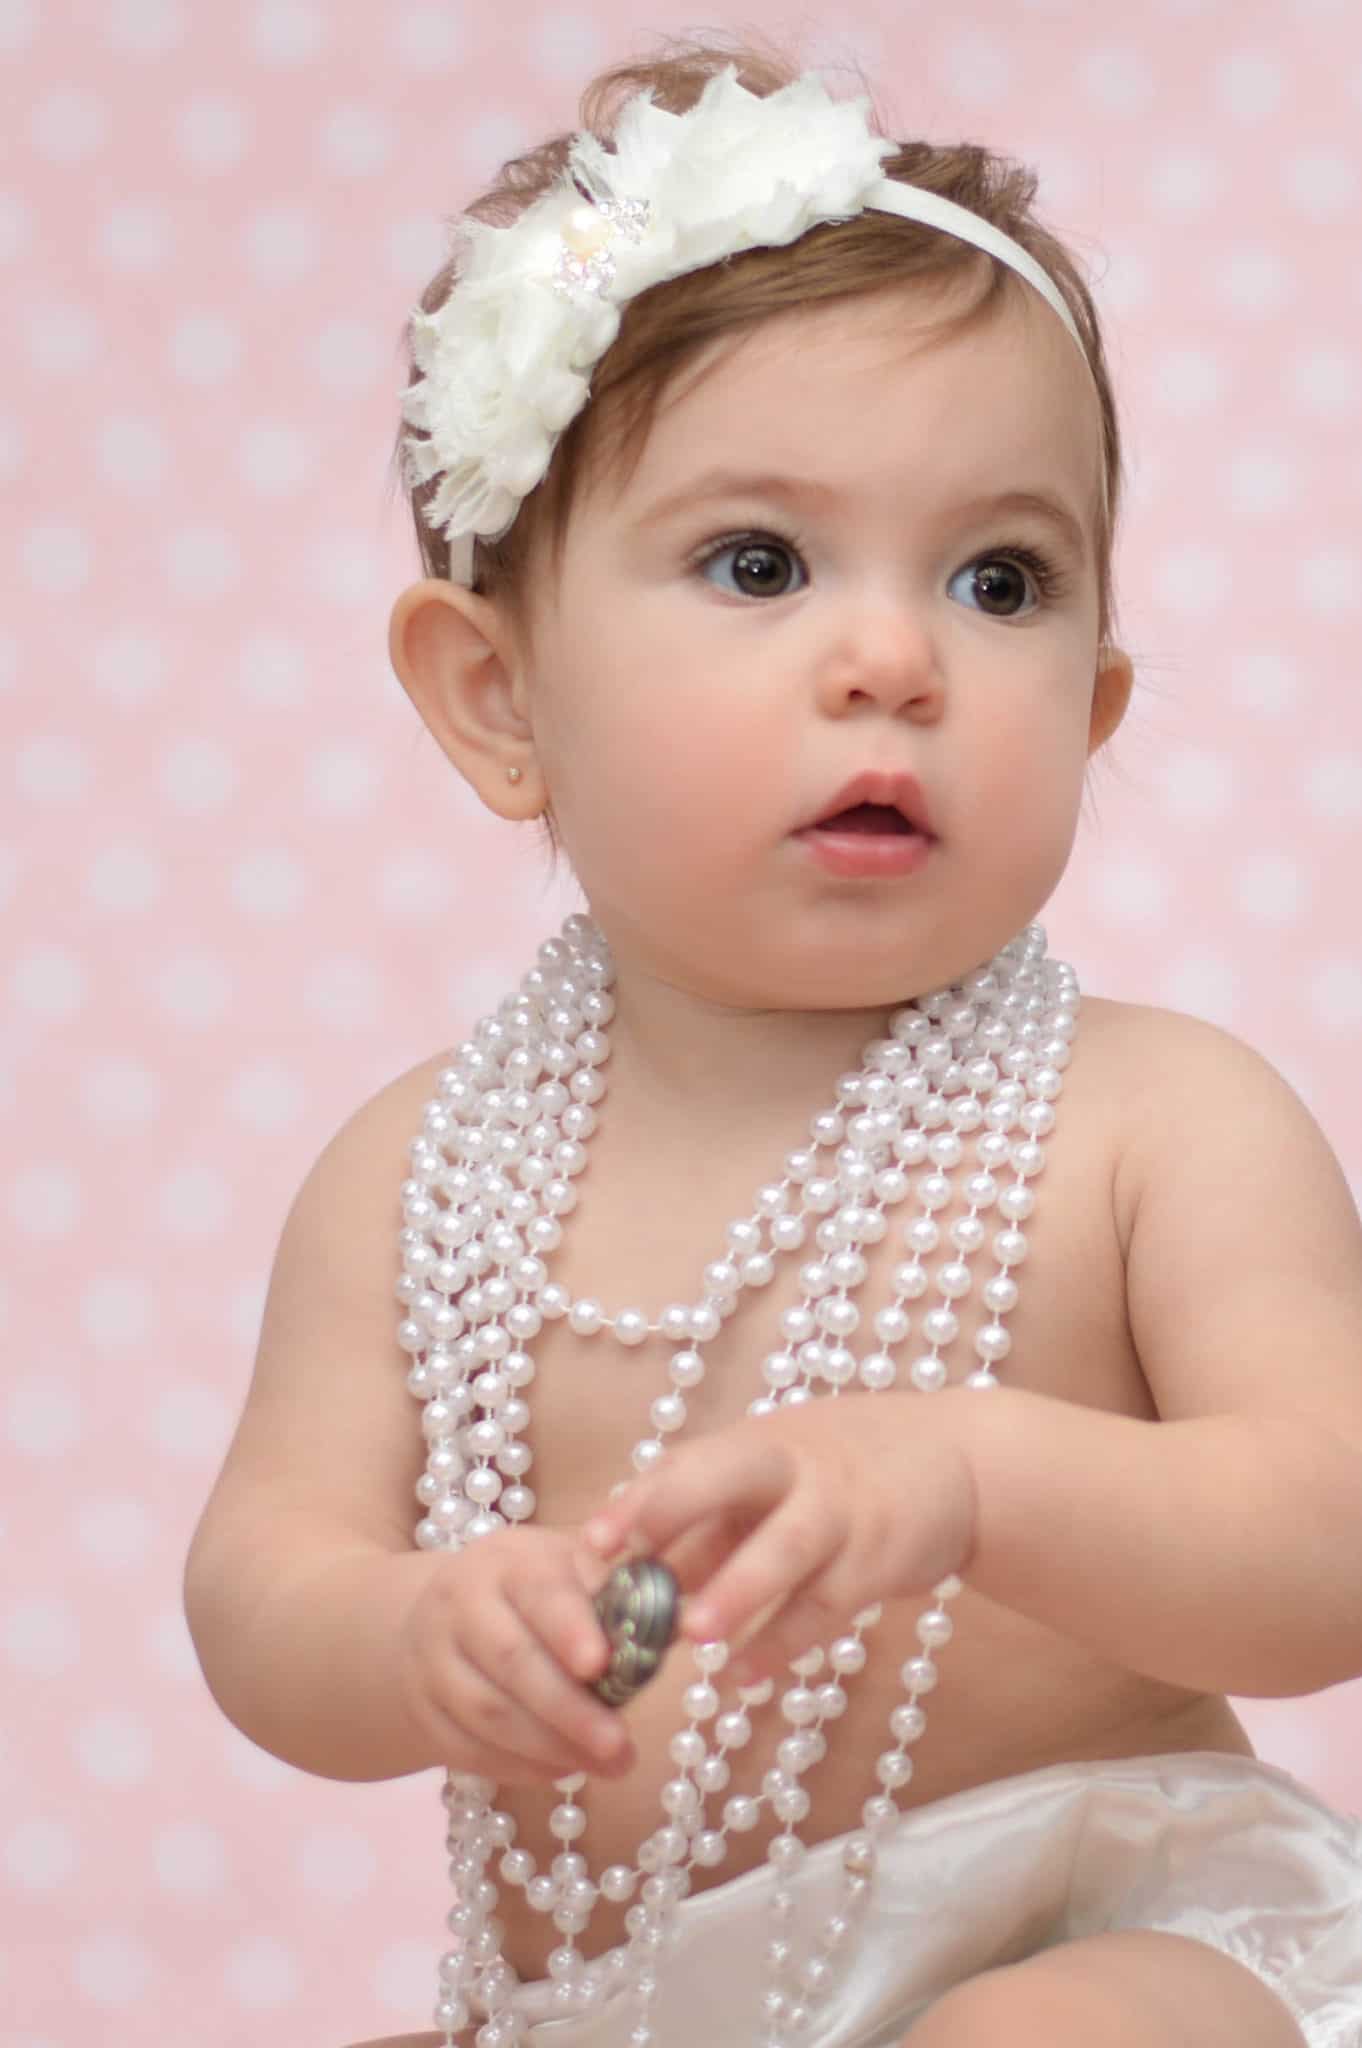
The image on the left was taken with the built-in camera flash. You can see cringe-worthy shadows, dull colors, and a flatter looking image. The image on the right was taken with my external flash.
What is an External Flash?
An external flash is one that snaps onto your camera. With an external flash you have a lot more flexibility, such as brightness of light and where you are aiming your light. They are extremely affordable.
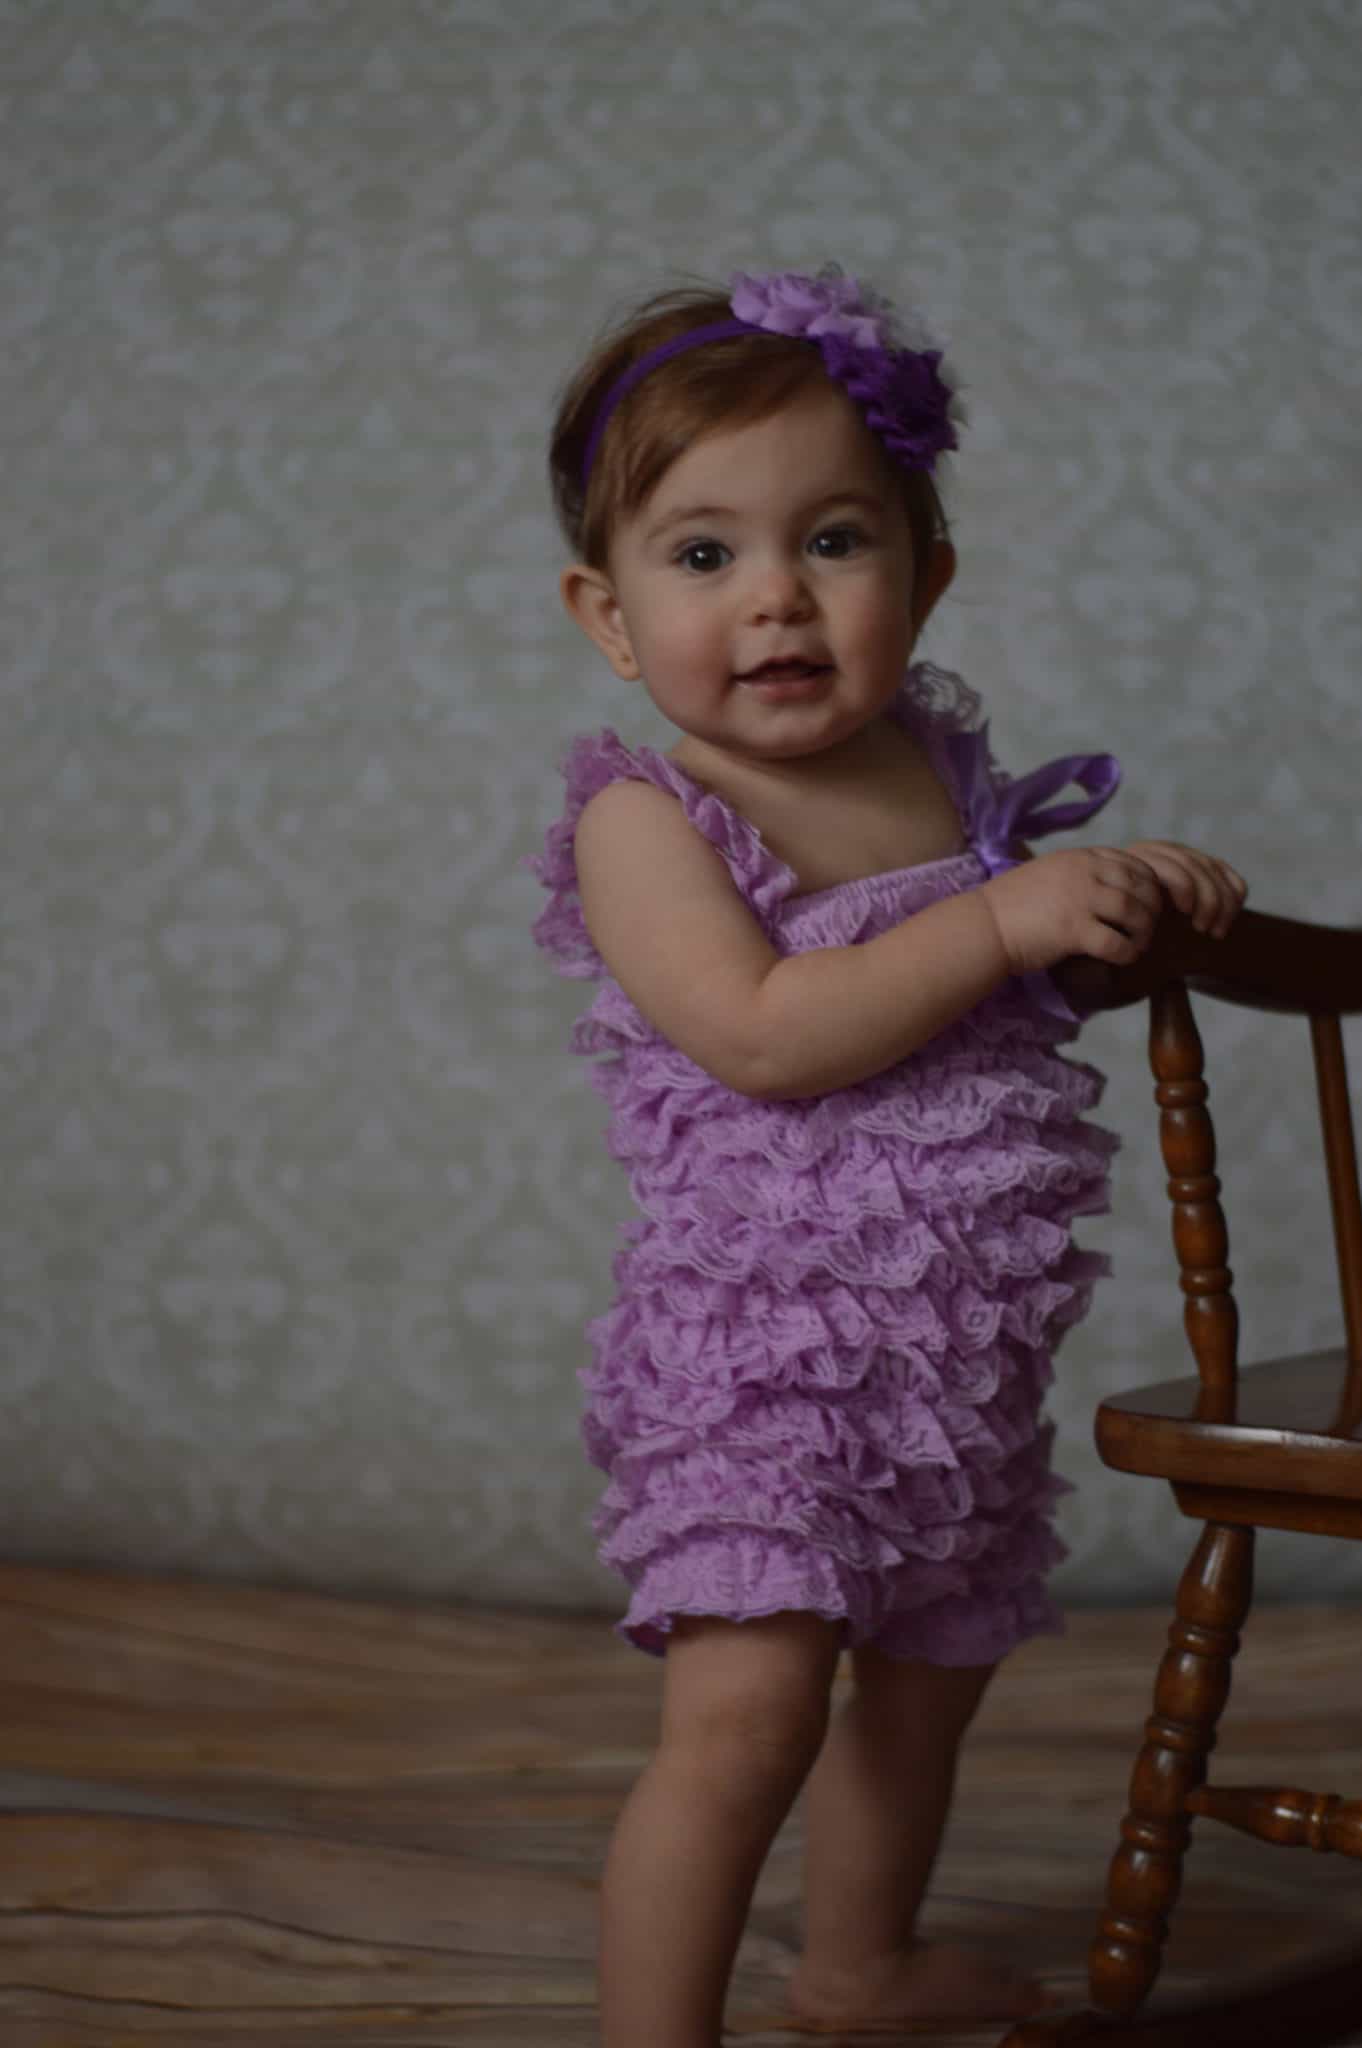
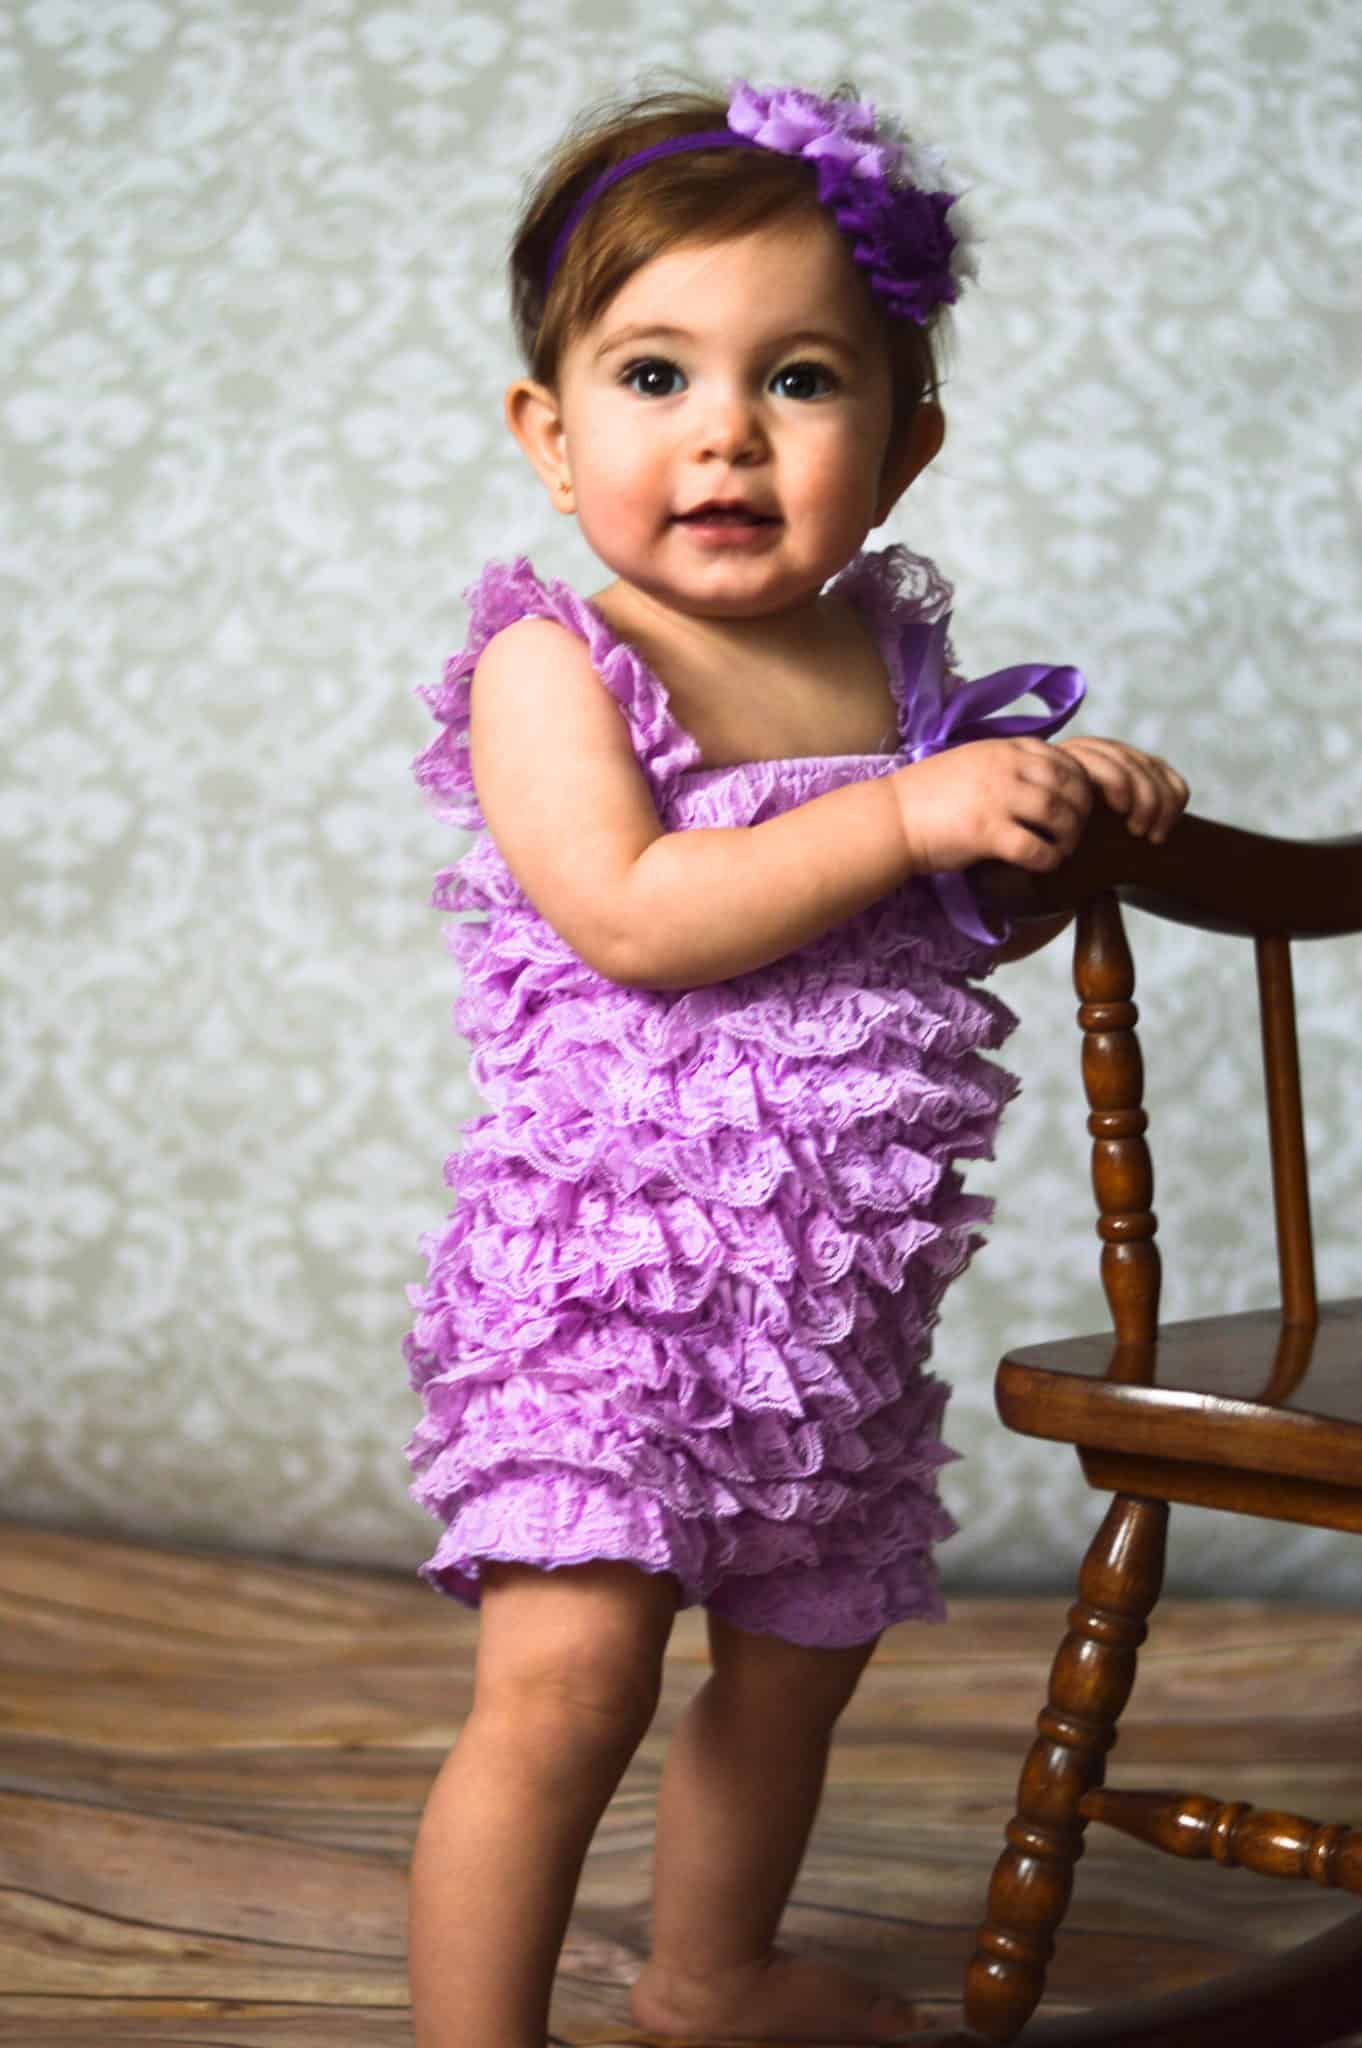
External flashes are great tools when you truly do not have enough light in a room. However, similar to a built in flash, there are good and bad ways to use your external flash. In this example below, even after adjusting my camera settings, my photo was still under exposed. I was able to properly use my external flash to get a bright, clear image.
No external flash External flash
External flashes can be shockingly affordable. I purchased the below flash on sale for about $40. It works for almost any type of camera, and is super easy to use. I love that it comes with an optional reflector to push extra light to the subject if needed. Check it out!


Do you notice a difference in the pictures below? I sure do!

Built in Flash External Flash


External Flash "Flash Course"
To get best results with an external flash, aim the flash at the ceiling. When you aim it at the ceiling, it brightens up the room and gives your pictures a much more natural look. You can easily aim the flash anywhere, and you may have to move it around a little until you get the right angle. Sometimes, if I am in a room with light streaming in from one direction, I will aim the flash at the wall on the opposite side. This evens-out the lighting that you will get on your subject so that it is not lopsided.
You do not want to aim the flash right at someone. If you do this, you will get the same type of image as you got from your built-in flash.
External flash aimed at subject External flash aimed at ceiling


Ensure that the ceiling or wall you are bouncing the light off is white, or close to white. If it is a bold color, such as red, then the colors will show in the image.
Also, there are built-in reflectors or ones that you can purchase. With a reflector, you still would aim the flash at the ceiling (to brighten up the room), but the reflector will push extra light towards your subject to brighten it up.
Other Lighting Equipment
The external flash should handle the majority of your lighting needs; however, there is another great option to explore. If you are doing a lot of in- home photo shoots, you can check out a studio lighting system or a softbox. These will give a steady and constant stream of light that you will have full control over.
These are great options if you are taking pictures in a stationary location and don't want to have to fiddle aiming a flash. The prices can vary greatly, so if you are just starting out I would start with a cheaper option. You can find great sets for $30-50. I have the below set on the right, and it works great!
When I took the below picture I used my lighting system to lighten up a dark room!

Lights Camera Action!
Flashes and other lighting sources can be necessary tools when used properly! An external flash is an inexpensive option that is easy to carry around in your camera bag for when you need it, and studio lighting gives great continuous light when used for a stationary photo shoot.
- The Best Headshot Photography Guide for New and Professional Photographers
- How to Take Pictures During the Golden Hour
- Top 5 Most Common Beginner Photography Questions Answered
- 10 Photography Posing Prompts for Natural Family Photo Sessions
- The Ultimate Guide to Everyone's Favorite Holiday Photographs
Have you ever tried using a flash for your photography? If you found this helpful, share it!


Wow love the side by side photos to really show the difference. This was really helpful!
Fascinating! I hadn't heard of an external flash before. I need to go get one before my kiddos' birthdays!
Great post and I agree the lighting makes a huge difference.
Very informative, with some brilliant tips. I love the example you've given to show the difference.
These are great tips. I’ve always used the built in camera and wondered why my pictures didn’t come out well. Now I know! I also think it’s great to use natural light when you can
Agree with you there! I try to use natural light any chance I get!
I'm starting to get really into photography. At least I now know that when I finally buy a camera to replace my phone, I need to grab a bit more than that. Thanks!
Thank you so much for the tip about built in flash because I have never tried to use external flash when I take pictures. Somehow I always think it is useless to have one. How many different brands did you use? Which one do you recommend?
Yes! I have used several different brand, but my most recent one is the one in the post. I love it and find it the easiest to use!
Like you, I’ve found that my pictures look great without using the automatic flash.
Great! Now I know how important external flashes are. I have one but since my passion is landscape photography I did not use my flash ever since.
Woow!! Very nice review post you have shared here!! Love it!! thank you : D
cheers, siennylovesdrawing
This is so helpful! I recently have upgraded my camera, and am in need of a flash! I had no idea they could be so afforable. I really like your before and after photos. They help visually explain what to look for in your photos to know that you are doing it wrong. Incredibly helpful for beginners like myself 🙂 Thank you!
great pieces here. nice to know some technique. Well done!
These were really great tips for my photography. Really appreciate it.
This was so helpful! I'm trying to step up my photography game this year so will invest in an internal flash thanks to this post!
I hate using camera flash because photos look so washed out. This post, however, has shed a new light on camera flashes. Very informative!
Nice tips. Great to know for all pictures.
First thing, they are very adorable! Few days back I was very fascinated to learn photography. Me and my friend used to go out and click anything random. I learnt about aperture, in depth field and few other skills. After that it slowly faded away and now I rarely pick my camera, After seeing your post I'm feeling like to start again. Btw, great tips! I liked the use of external flash.
That makes me so happy that you are debating jumping back into photography!
Very informative post! I agree lighting can really make or break a pic!